Just before AWS re:Invent 2024, Amazon Cognito released a new feature called Managed Login. Using this, Amazon Cognito will provide the fully-managed, hosted sign-in and sign-up experience for your users. This guide will show you how to configure an Amazon Cognito User Pool with a custom domain and Managed Login; all done with the AWS Cloud Development Kit (CDK).
AWS SES Identity
In order to use a custom domain for Amazon Cognito; for hosting the login page and sending emails; we need to create an identity in Amazon SES. Based on the example guide for running a serverless container with AWS Fargate, we can configure Amazon SES on the existing stack and Amazon Route 53 Hosted Zone.
const zone = new aws_route53.PublicHostedZone(stack, "HostedZone", {
  zoneName: "serverless-container.aws.sbstjn.com",
});

const mail = new aws_ses.EmailIdentity(stack, "Identity", {
  identity: aws_ses.Identity.publicHostedZone(zone),
  mailFromDomain: `mail.serverless-container.aws.sbstjn.com`,
});
This will create a new identity in AWS SES and configure the domain for sending emails. Necessary DNS records (for DKIM and SPF) are created in Amazon Route 53 automatically.
$ > cdk diff

[…]

Stack serverless-container

Resources

[+] AWS::Route53::RecordSet Identity/DkimDnsToken1 IdentityDkimDnsToken133E6CCBA
[+] AWS::Route53::RecordSet Identity/DkimDnsToken2 IdentityDkimDnsToken2AD0AA6D9
[+] AWS::Route53::RecordSet Identity/DkimDnsToken3 IdentityDkimDnsToken3A6A24F78
[+] AWS::SES::EmailIdentity Identity Identity2D60E2CC
[+] AWS::Route53::RecordSet Identity/MailFromMxRecord IdentityMailFromMxRecord4D92B544
[+] AWS::Route53::RecordSet Identity/MailFromTxtRecord IdentityMailFromTxtRecord8A2CF0BC
With the identity created, we can now configure the Cognito User Pool and make use the AWS SES identity.
Amazon Cognito User Pool
The configuration of Amazon Cognito and the User Pool is a beast. There are countless variants and options; this guide will only cover the basics. Some of the fundamental settings cannot be changed after the User Pool is created. So you need to get comfortable with re-creating it if needed …
For a common service, you typically want to have:
- Self-service sign-up with username and email,
- mandatory MFA configuration (email e.g.),
- case-insensitive username and email, and
- email verification,
The following configuration works fine for this, but you may need to adjust it to your needs:
const users = new aws_cognito.UserPool(stack, "Pool", {
  selfSignUpEnabled: true,
  mfa: aws_cognito.Mfa.REQUIRED,
  signInCaseSensitive: false,
  email: aws_cognito.UserPoolEmail.withSES({
    sesRegion: Stack.of(stack).region,
    fromEmail: `no-reply@${zone.zoneName}`,
    replyTo: `no-reply@${zone.zoneName}`,
    fromName: "Your Sender Name",
    sesVerifiedDomain: zone.zoneName,
  }),
  standardAttributes: {
    email: {
      mutable: true,
      required: true,
    },
  },
  signInAliases: {
    phone: false,
    username: true,
    email: false,
  },
  mfaSecondFactor: {
    sms: true,
    otp: false,
    email: true,
  },
  autoVerify: {
    email: true,
    phone: true,
  },
  featurePlan: aws_cognito.FeaturePlan.PLUS,
  deviceTracking: {
    challengeRequiredOnNewDevice: true,
    deviceOnlyRememberedOnUserPrompt: true,
  },
});
After creating the User Pool, you may also want to add an Administrator group to it:
users.addGroup("Administrators", {
  groupName: "Administrators",
  description: "Administrators group",
});
This will allow you to manage users and groups in the User Pool in your future application.
Custom Domain for Cognito
The Managed Login for Cognito is the newest feature for Cognito. The provided login page is hosted on AWS and can be configured to use a custom domain. As the login page needs to be available on a hostname different than a running application (like the serverless container), we need to decide on a subdomain and may create a new certificate for it.
const domainName = `auth.${zone.zoneName}`;

const certificateAuth = new aws_certificatemanager.Certificate(
  stack,
  "CertificateAuth",
  {
    domainName,
    validation: aws_certificatemanager.CertificateValidation.fromDns(zone),
  }
);
Of course, you can also update the existing certificate and configure the subdomain or a general wildcard usage:
const certificate = new aws_certificatemanager.Certificate(
  stack,
  "Certificate",
  {
    domainName: "serverless-container.aws.sbstjn.com",
    validation: aws_certificatemanager.CertificateValidation.fromDns(zone),
    subjectAlternativeNames: ["auth.serverless-container.aws.sbstjn.com"],
  }
);
With a certificate in place, we can now configure the User Pool Domain:
const domain = new aws_cognito.CfnUserPoolDomain(stack, "Domain", {
  userPoolId: users.userPoolId,
  domain: domainName,
  customDomainConfig: {
    certificateArn: certificateAuth.certificateArn,
  },
  managedLoginVersion: 2,
});

new aws_route53.ARecord(stack, "DNSRecords", {
  zone,
  recordName: domainName,
  target: aws_route53.RecordTarget.fromAlias({
    bind: (_record) => ({
      hostedZoneId: "Z2FDTNDATAQYW2",
      dnsName: domain.attrCloudFrontDistribution,
    }),
  }),
});
To enable the newly released Managed Login for Cognito, you need to set the propertymanagedLoginVersion to value 2 . For the Amazon Route 53, use need to reference one of AWS magic IDs again; when creating an alias for a CloudFront Distribution (which is used internally for the custom domain), you need to reference Z2FDTNDATAQYW2 as Hosted Zone.
Running cdk deploy will now take a while, as the Certificate Manager needs to validate the (updated) certificate and Cognito is creating a CloudFront Distribution for the custom domain.
Managed Login Branding
In order to use the Managed Login, we need to have an example application. On a next guide, the matching frontend will follow. For now, I expect you have a running application that you can configure and use on localhost for testing. So, first it needs a new Client for the User Pool.
const website = new aws_cognito.UserPoolClient(stack, `ClientWebsite`, {
  userPool: users,
  authSessionValidity: Duration.minutes(3),
  idTokenValidity: Duration.minutes(5),
  refreshTokenValidity: Duration.minutes(60),
  accessTokenValidity: Duration.minutes(5),
  supportedIdentityProviders: [
    aws_cognito.UserPoolClientIdentityProvider.COGNITO,
  ],
  oAuth: {
    callbackUrls: ["http://localhost:3000"],
    logoutUrls: ["http://localhost:3000"],
  },
});
Of course, adapt the hostname and port to your application. Finally, you can configure the Managed Login for the CognitoUser Pool:
new aws_cognito.CfnManagedLoginBranding(stack, "ManagedLoginBranding", {
  userPoolId: users.userPoolId,
  clientId: website.userPoolClientId,
  returnMergedResources: true,
  useCognitoProvidedValues: true,
});
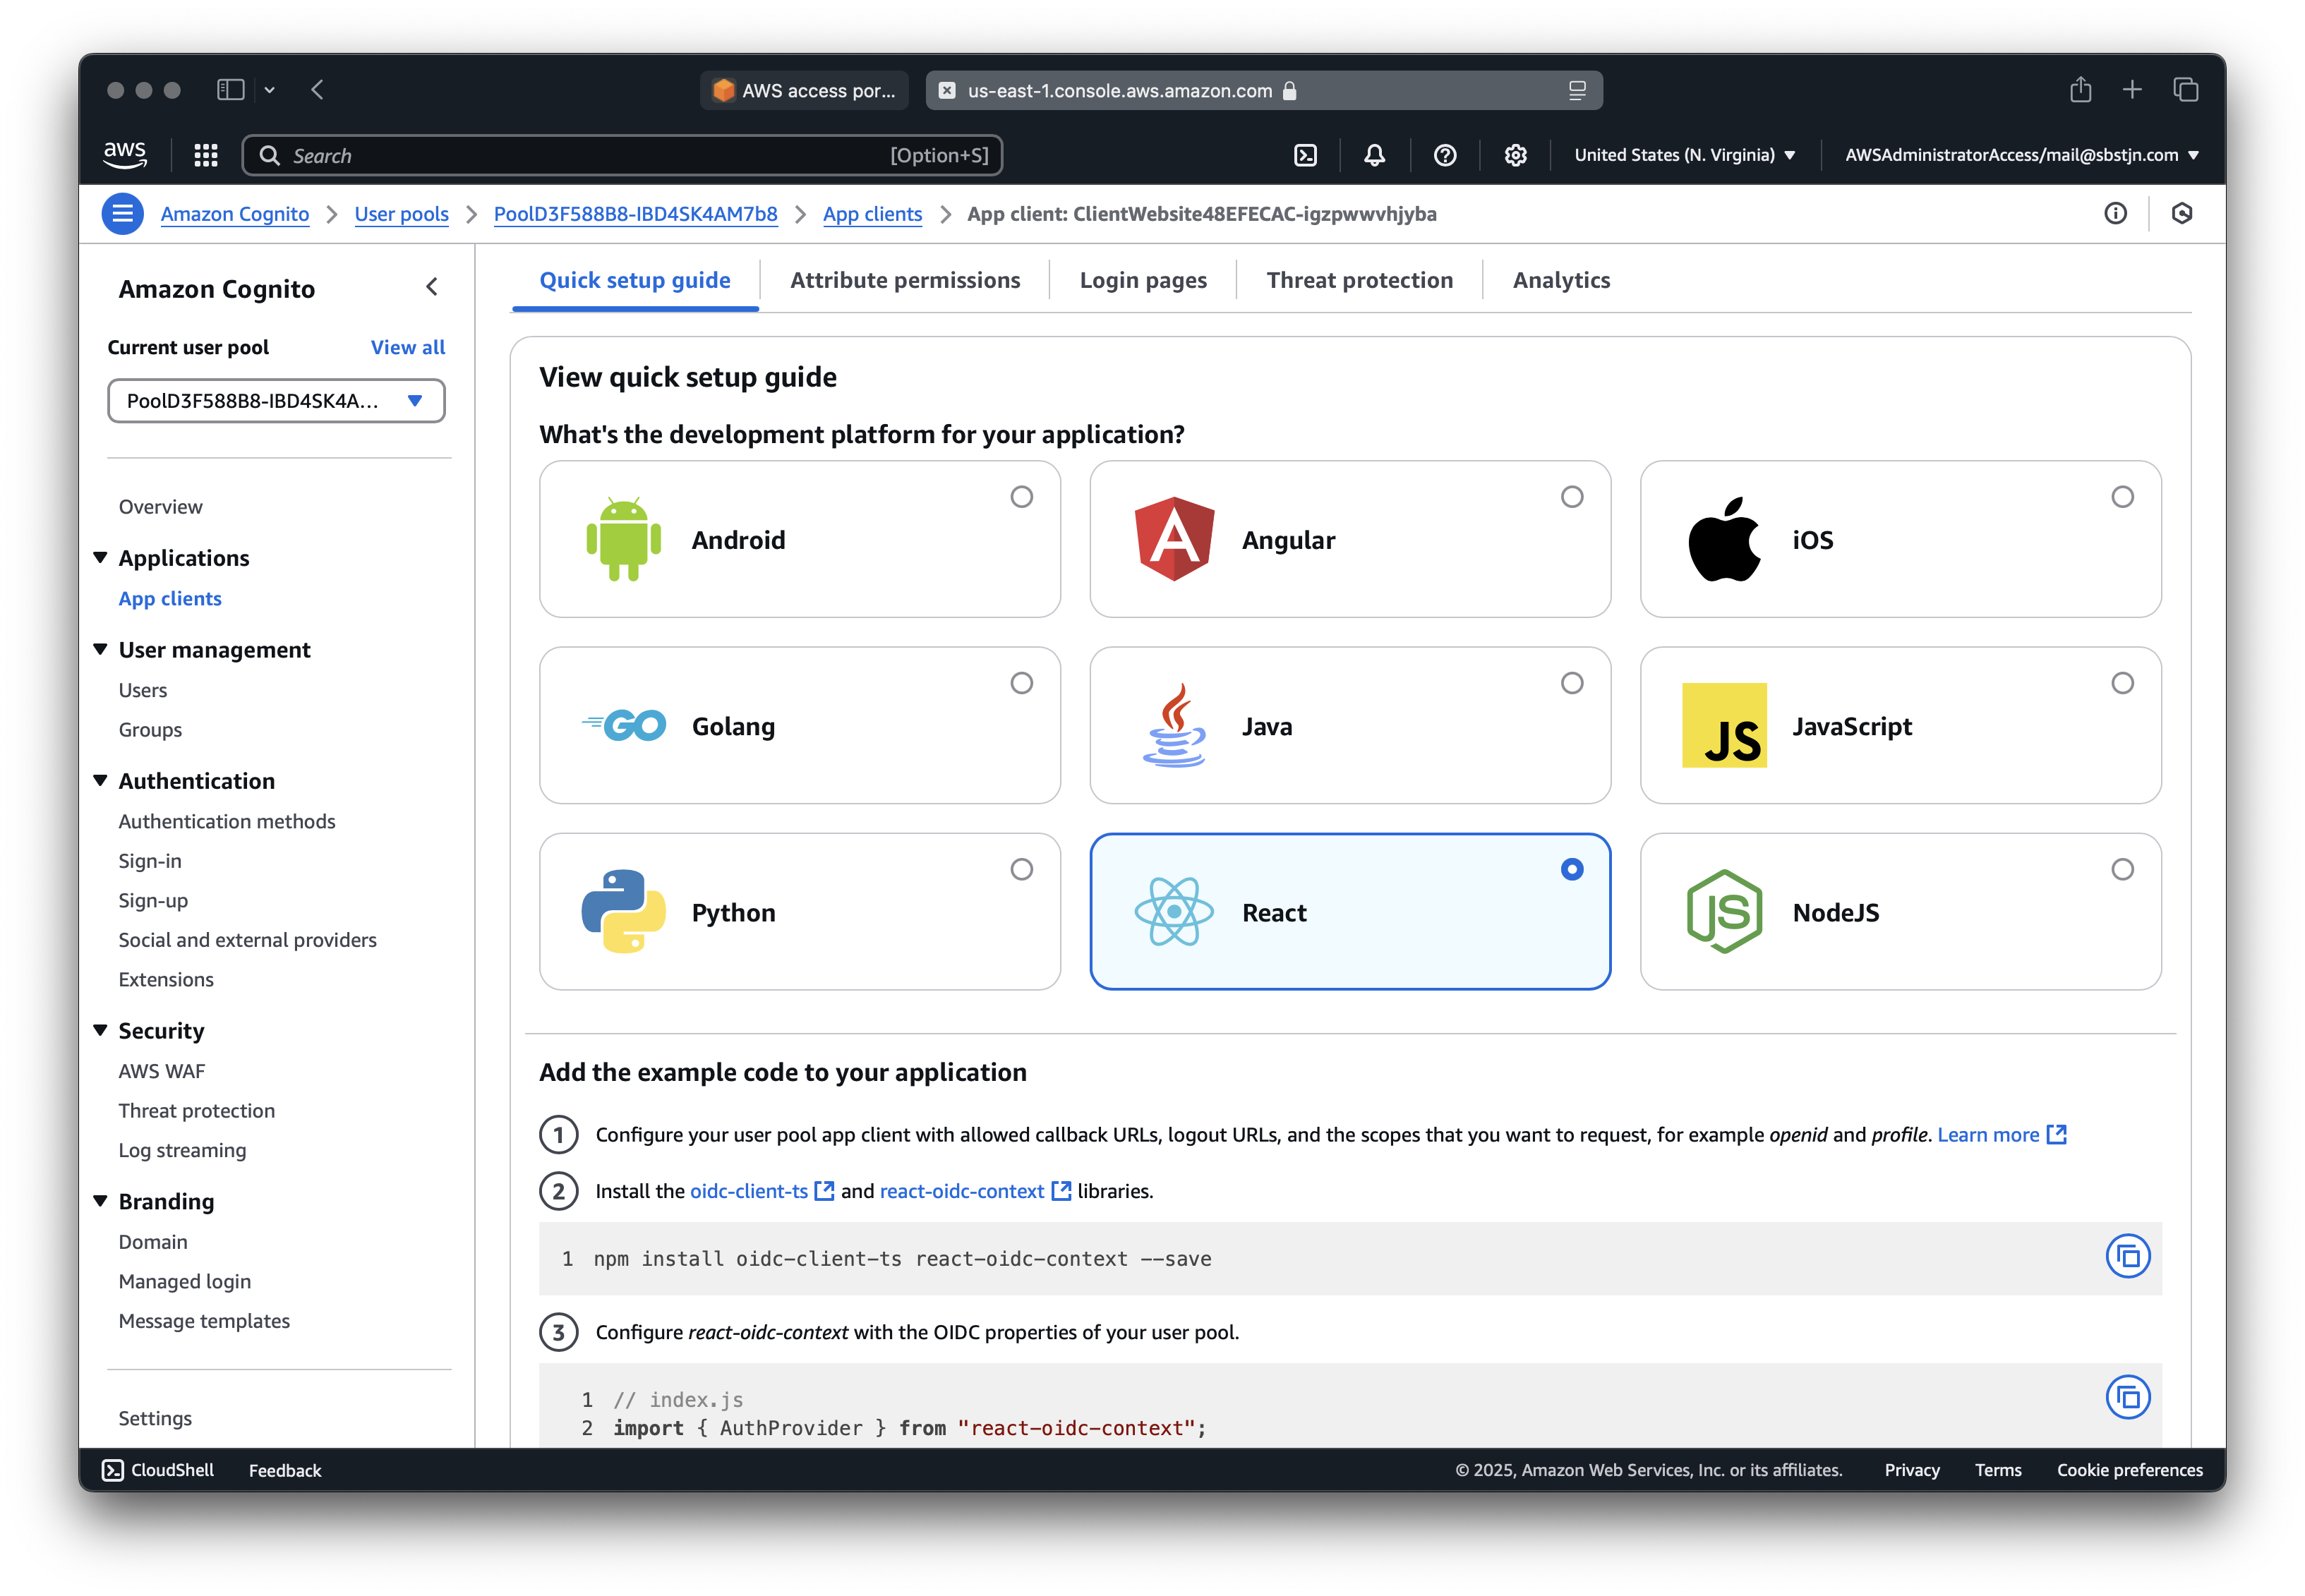
Nice; now you have everything in place to use the Managed Login for Cognito. But how? The AWS Management Console will show you various ways to configure a client for your Cognito User Pool.
To easily retrieve the needed values from your CDK Stack, you can add some CloudFormation Outputs:
new CfnOutput(stack, "UserPoolClientId", {
  value: website.userPoolClientId,
});

new CfnOutput(stack, "UserPoolId", {
  value: users.userPoolId,
});

new CfnOutput(stack, "UserPoolCustomDomain", {
  value: domainName,
});
With these, you can configure React and the react-oidc-context package.
$ > cdk deploy

[…]

Outputs

UserPoolClientId: 2fmsl2inigb8ffvgfepfiq
UserPoolId: us-east-1_lapSPfa
UserPoolCustomDomain: auth.serverless-container.aws.sbstjn.com
Update your client, React e.g. and you should be able to login.
const cognitoAuthConfig = {
  authority: "https://cognito-idp.us-east-1.amazonaws.com/us-east-1_lapSPfa",
  client_id: "2fmsl2inigb8ffvgfepfiq",
  redirect_uri: "http://localhost:3000",
  response_type: "code",
  scope: "aws.cognito.signin.user.admin email openid phone profile",
};
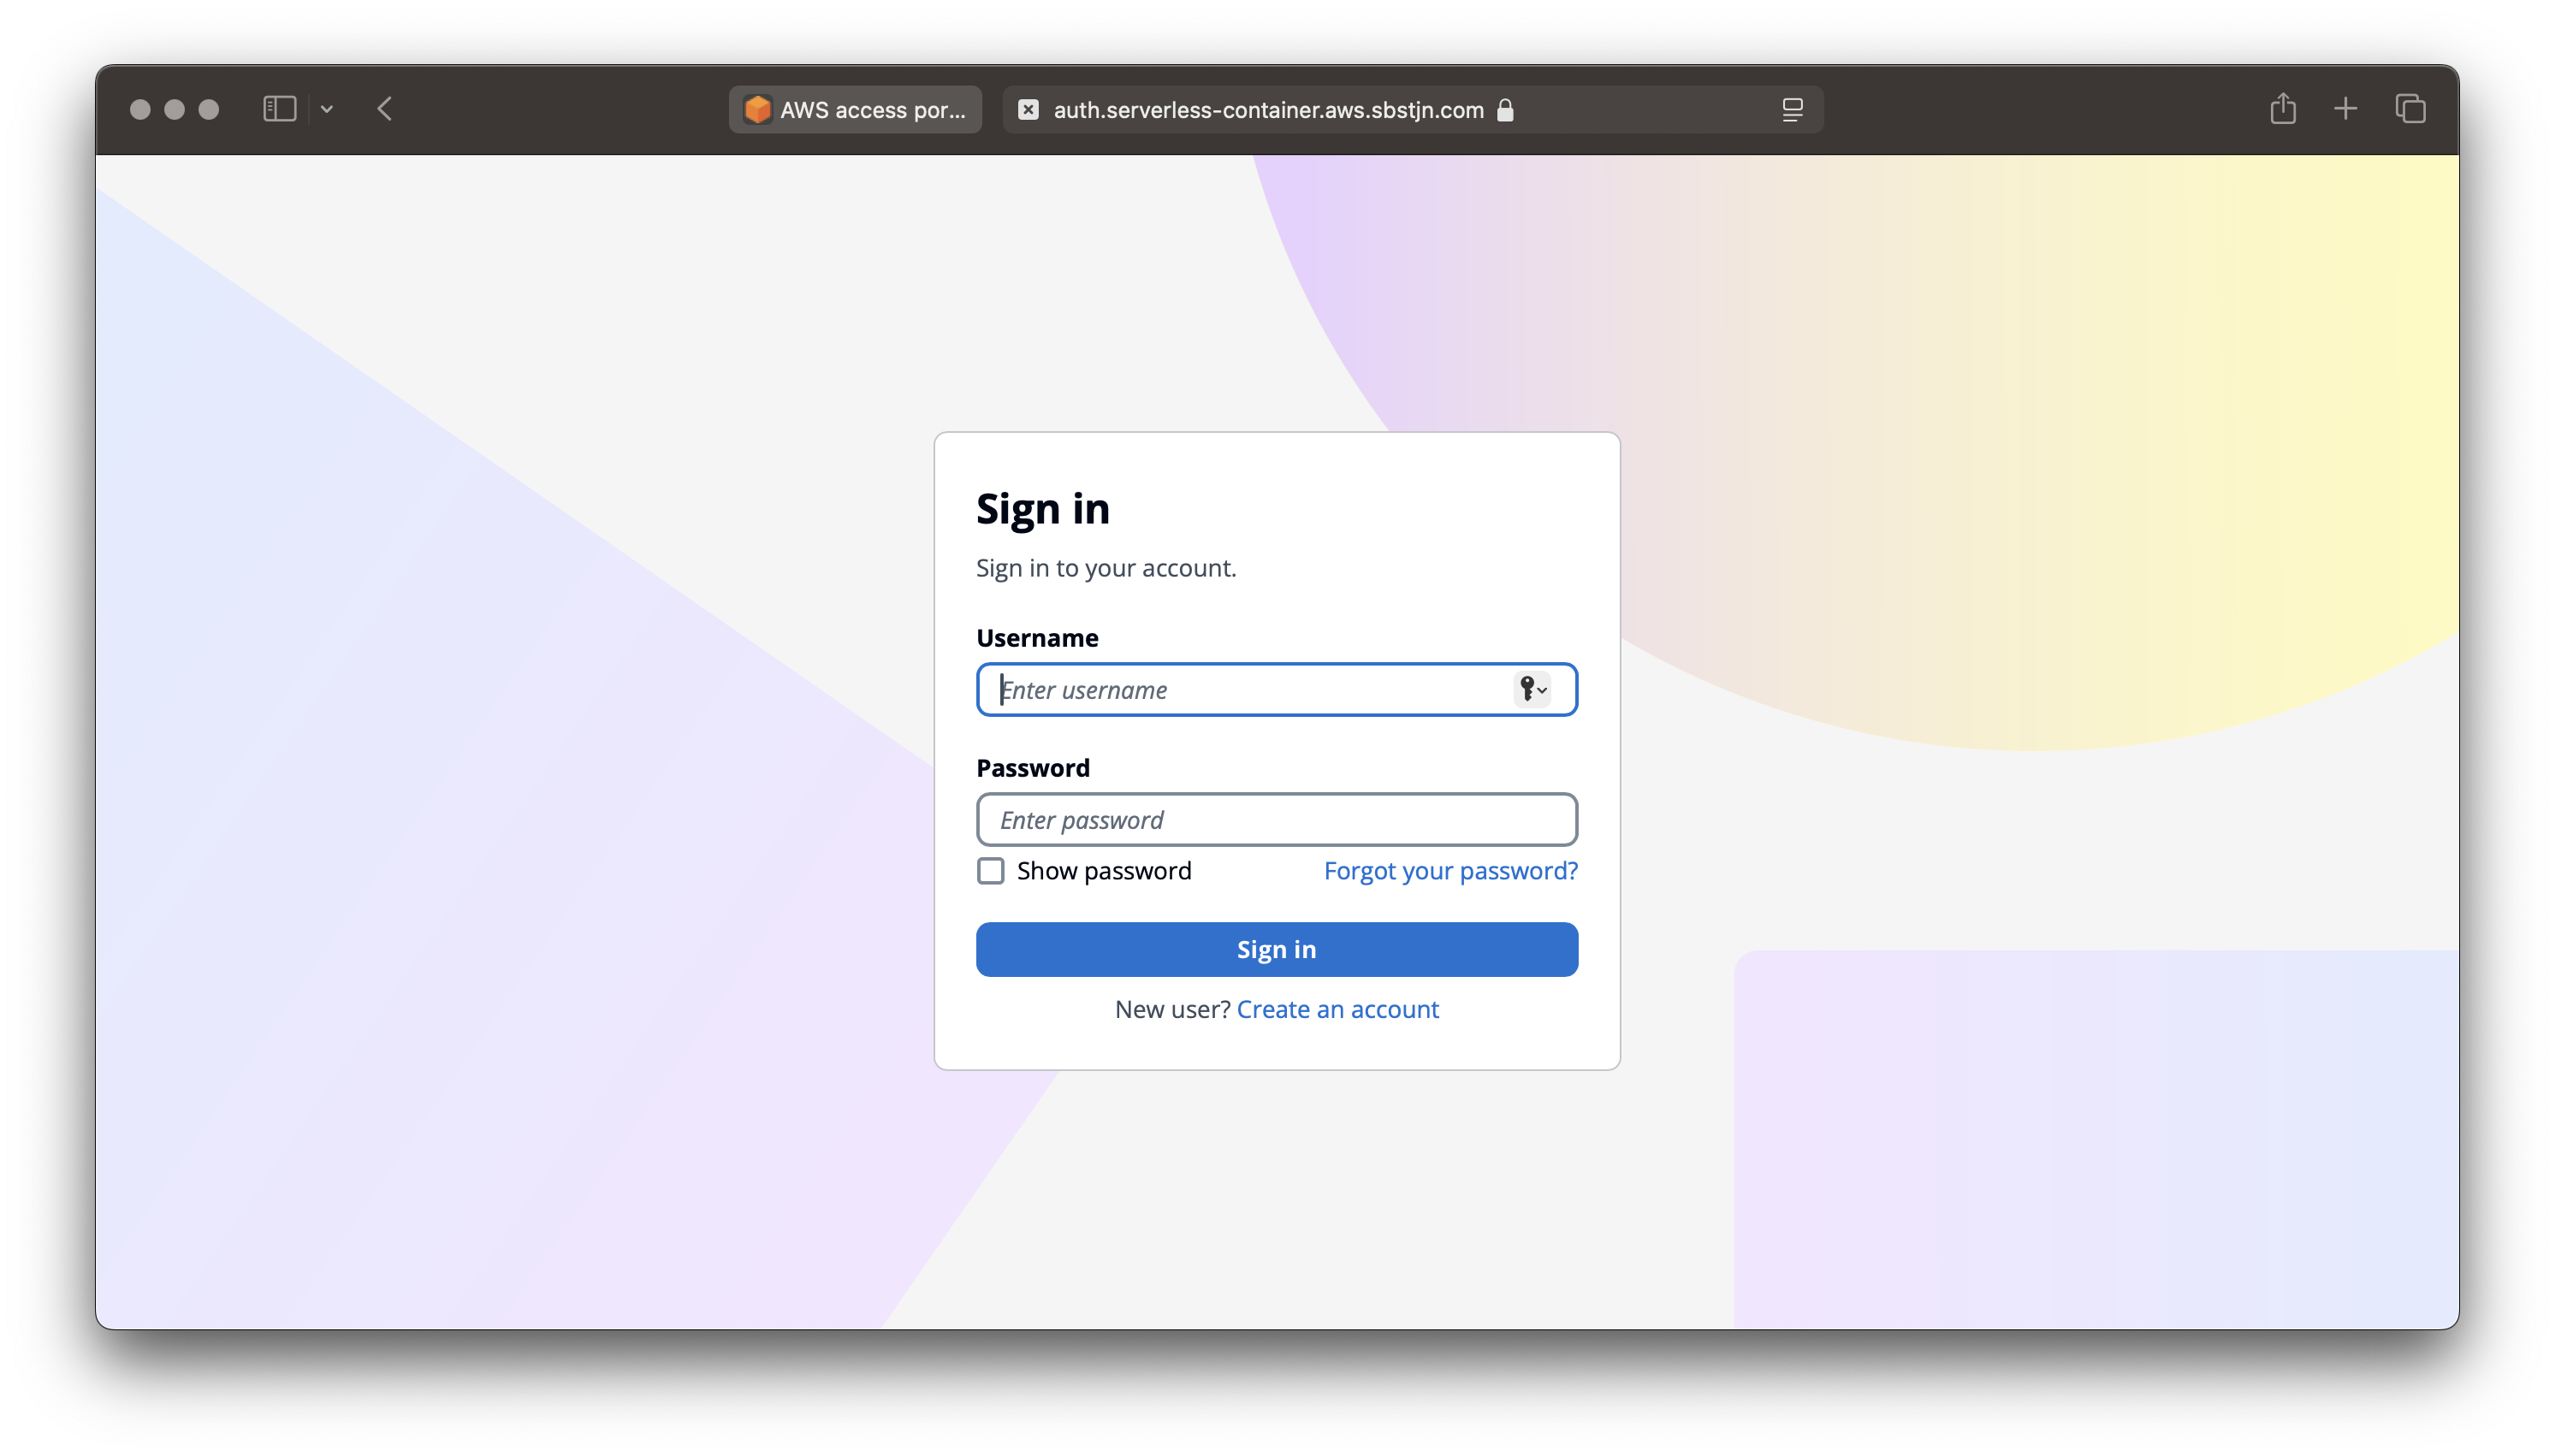
Based on the User Pool configuration, the login is using a username and password. It’s required to have a verified email address; and on login a verification email is sent to the user. A pretty common flow for a service. Have fun! 🎉