There are plenty of tools and services for continuous delivery available. Most of them are either directly built into the source code management tools you already use, or perfectly integrate with them. You might be familiar with CircleCI, Travis CI, GitLab CI, or GitHub Actions.
Of course, AWS has its services for covering the needs of continuous integration and continuous delivery. With AWS CodePipeline you can manage and orchestrate the stages and tasks of a pipeline and AWS CodeBuild is a slick pay-per-use approach for executing commands in containerized environments.
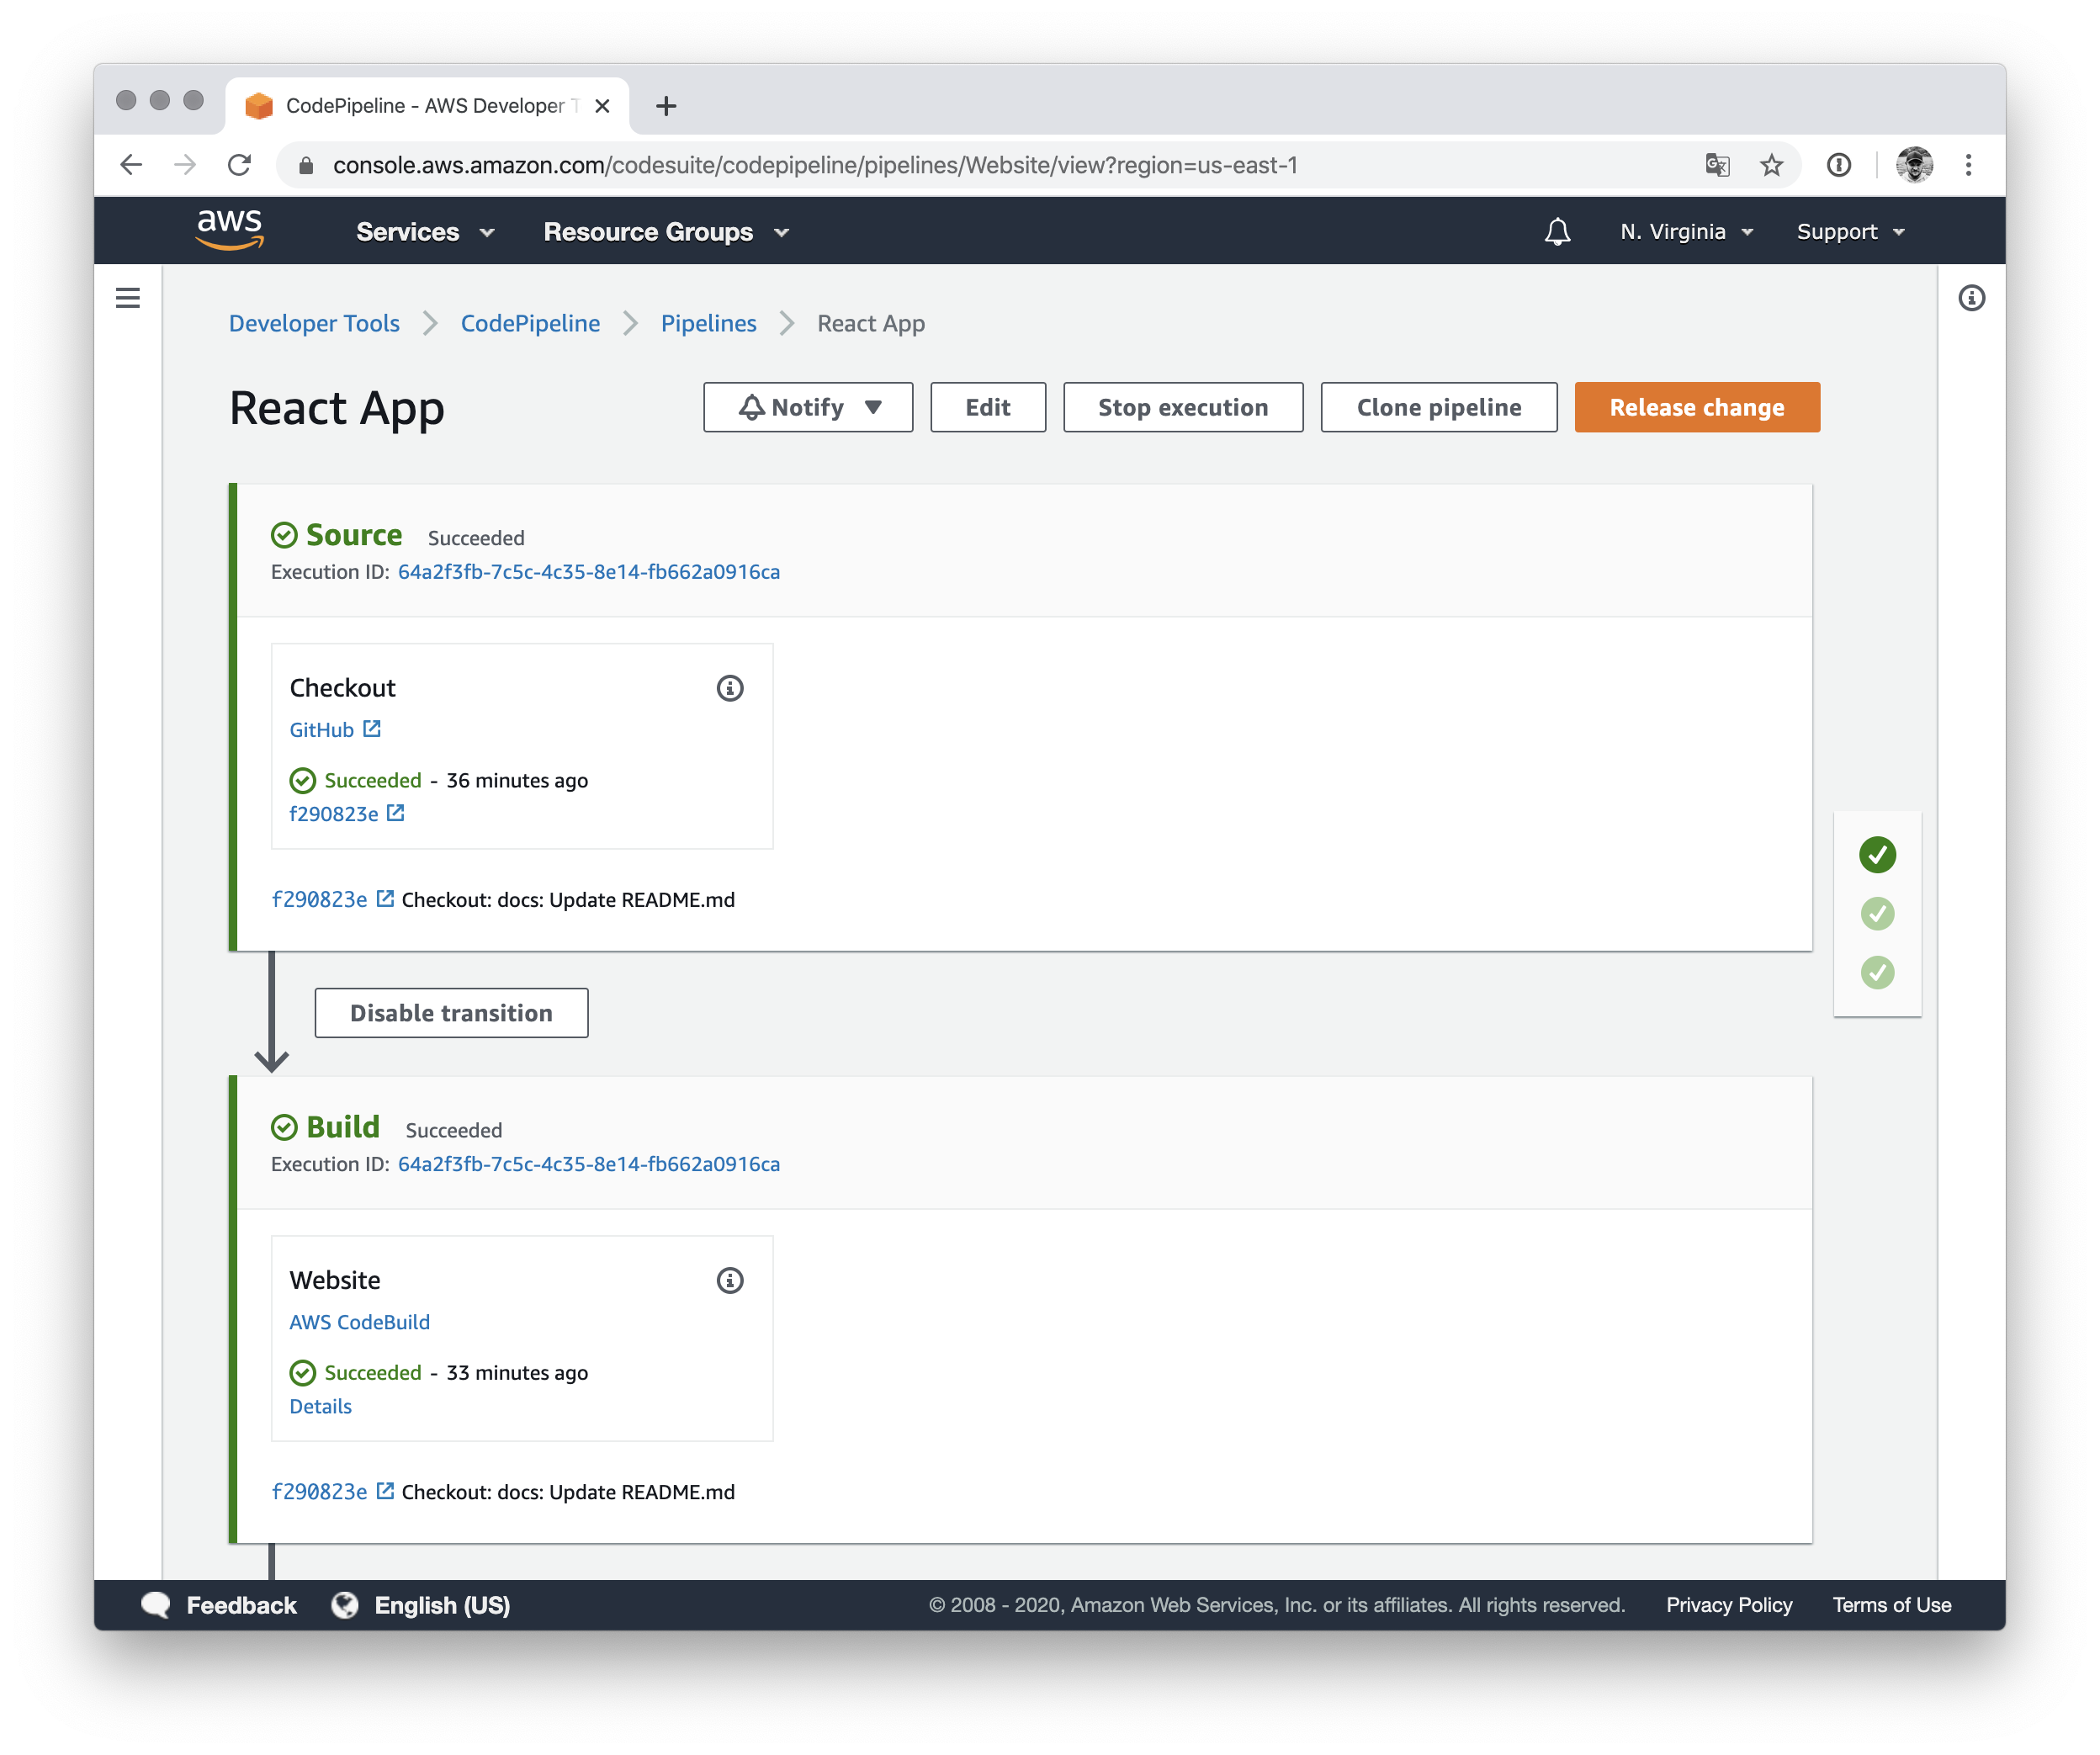
Final Goal
With the example project on GitHub, you can create a CI/CD pipeline using AWS CodePipeline and deploy a React SPA written in TypeScript to an Amazon S3 bucket to have a static website.
The provided GitHub repository contains a basic application created with create-react-app and the pipeline consists of thee steps: checkout, build, and deploy.
Every push to the master branch of the repository will trigger a pipeline run and deployment. Of course, everything is configured with the AWS CDK.
Introduction
For most services, you configure a pipeline with a YAML configuration in your source code’s repository. A pipeline typically consists of stages and jobs inside those stages. Most of the time, you will end up with stages for code checkout or dependency installation, and of course for testing, building, and finally deploying your application.
Using the AWS CDK to describe the AWS CodePipeline and AWS CodeBuild resources, you can get rid of the language switch and implement the pipeline’s components in the same language as you write your application: TypeScript, for example.
Preliminaries
You need to have the AWS CDK installed on your computer, configured AWS environment variables for CLI usage, cloned the repository, and - of course - install all needed dependencies.
# Configure AWS CLI
$ > export AWS_ACCESS_KEY_ID="…"
$ > export AWS_SECRET_ACCESS_KEY="…"
$ > export AWS_SESSION_TOKEN="…"

# Install AWS CDK
$ > yarn global add aws-cdk

# Clone GitHub repository
$ > git clone https://github.com/sbstjn/cra-pipeline.git
$ > cd cra-pipeline

# Install dependencies
$ > yarn install
GitHub Token
To access your source code located at GitHub, you need to configure a personal access token and store it somewhere in AWS so AWS CodePipeline can access it. The AWS Secrets Manager is a perfect fit for this job.
Besides the permission to access your (private) repositories, the token needs to have permission to configure Webhooks in your GitHub repository. After you created the access token, create a new secret in AWS Secrets Manager with the token as the value.
$ > aws secretsmanager create-secret \
    --name GitHubToken \
    --secret-string abcdefg1234abcdefg56789abcdefg \
    --region us-east-1

{
  "ARN": "arn:aws:secretsmanager:us-east-1:123456789001:secret:GitHubToken-uNBxTr",
  "Name": "GitHubToken",
  "VersionId": "4acda3d1-877f-4032-b38e-17bc50239883"
}
Configuration
The project includes a config.ts file to configure the location of your source code and the AWS region in which you want to deploy your AWS CodePipeline and AWS CodeBuild resources.
export const config = {
  github: {
    owner: "sbstjn",
    repository: "cra-pipeline",
  },
  env: { region: "us-east-1" },
};
If you never used the AWS CDK in your AWS account or desired region, you need to bootstrap the AWS CDK basics.
$ > yarn cdk bootstrap --region us-east-1

⏳  Bootstrapping environment aws://123456789001/us-east-1...

0/2 | 5:06:49 PM | CREATE_IN_PROGRESS   | AWS::S3::Bucket | StagingBucket
0/2 | 5:06:50 PM | CREATE_IN_PROGRESS   | AWS::S3::Bucket | StagingBucket Resource creation Initiated
1/2 | 5:07:11 PM | CREATE_COMPLETE      | AWS::S3::Bucket | StagingBucket

✅  Environment aws://123456789001/us-east-1 bootstrapped.
Deploy AWS CodePipeline and AWS CodeBuild
Thanks to the AWS CDK, the deployment of the infrastructure is nothing more than using an additional command:
$ > yarn cdk deploy Pipeline

Pipeline: deploying...
Pipeline: creating CloudFormation changeset...

✅  Pipeline

Outputs:
Pipeline.WebsiteURL = http://pipeline-files8e6940b8-3p9gac9qjzax.s3-website-us-east-1.amazonaws.com
The WebsiteURL will point to an empty Amazon S3 bucket. When you push a new commit to the master branch of your repository, AWS CodePipeline is triggered using GitHub Webhooks and AWS CodeBuild will build your React application. If the checkout of your sources and the React build process finished without errors, AWS CodePipeline will copy all static files to your S3 bucket. Done.
The Details
I try to store all AWS CDK files in a infra folder; You’ll find a folder for the CloudFormation Stacks, a buildspec.yml file for AWS CodeBuild and a index.ts for AWS CDK. All the interesting parts are stored in infra/stacks/pipeline.ts and I’ll try to briefly walk you through the contents.
First things first: You need an S3 bucket to store the static files in the end.
// Amazon S3 bucket to store CRA website
const bucketWebsite = new S3.Bucket(this, "Files", {
  websiteIndexDocument: "index.html",
  websiteErrorDocument: "error.html",
  publicReadAccess: true,
});
To pass artifacts from one AWS CodeBuild task to another, you need artifacts:
// AWS CodeBuild artifacts
const outputSources = new CodePipeline.Artifact();
const outputWebsite = new CodePipeline.Artifact();
Now, of course, you need a pipeline in AWS CodePipeline!
// AWS CodePipeline pipeline
const pipeline = new CodePipeline.Pipeline(this, "Pipeline", {
  pipelineName: "Website",
  restartExecutionOnUpdate: true,
});
As mentioned in the introduction, you will end up with three stages and actions in your pipeline. Let’s start with the basic stage for downloading your sources from GitHub. This stage will read your GitHub access token from AWS Secrets Manager.
// AWS CodePipeline stage to clone sources from GitHub repository
pipeline.addStage({
  stageName: "Source",
  actions: [
    new CodePipelineAction.GitHubSourceAction({
      actionName: "Checkout",
      owner: props.github.owner,
      repo: props.github.repository,
      oauthToken: CDK.SecretValue.secretsManager("GitHubToken"),
      output: outputSources,
      trigger: CodePipelineAction.GitHubTrigger.WEBHOOK,
    }),
  ],
});
All artifacts of the initial action are stored in outputSources and will be used as the input for the next action to build your static files. The build process uses AWS CodeBuild, configured with a simple buildspec.yml file.
// AWS CodePipeline stage to build CRA website and CDK resources
pipeline.addStage({
  stageName: "Build",
  actions: [
    // AWS CodePipeline action to run CodeBuild project
    new CodePipelineAction.CodeBuildAction({
      actionName: "Website",
      project: new CodeBuild.PipelineProject(this, "BuildWebsite", {
        projectName: "Website",
        buildSpec: CodeBuild.BuildSpec.fromSourceFilename(
          "./infra/buildspec.yml"
        ),
      }),
      input: outputSources,
      outputs: [outputWebsite],
    }),
  ],
});
Again, the artifacts of this action need to be stored for further processing. This time, it’s the outputWebsite artifact and all you need to do now is to copy all files to your S3 bucket. AWS CodePipeline offers a great default action to handle this task!
// AWS CodePipeline stage to deployt CRA website and CDK resources
pipeline.addStage({
  stageName: "Deploy",
  actions: [
    // AWS CodePipeline action to deploy CRA website to S3
    new CodePipelineAction.S3DeployAction({
      actionName: "Website",
      input: outputWebsite,
      bucket: bucketWebsite,
    }),
  ],
});
That’s all. Nothing fancy, just a straight forward solution using native AWS features and components. Have a good day, thank you for reading, and happy continuous integration!