With AWS, there are many ways to get something done; finding the perfect solution is one of the challenges. A simple task, like deploying a container, can be done in many ways; this guide will show you how to deploy an application in a Docker container using AWS Fargate and AWS Cloud Development Kit.
On a high level, this will cover:
- Running a Docker container locally
- Publishing the Docker container to an ECR repository
- Deploying the container with ECS Fargate
- Have custom DNS with Route 53
Everything is configured using the AWS Cloud Development Kit (CDK).
The Docker Container
To get started, we need to have a Dockerfile and a simple use cases: a static website. Of course, this can be anything else, but for this example, we will use a static website. You may argue, this shall not a container at all, instead just files in S3. This is true, but the point is, we want to have a container with the most simple application.
Start with creating a local file in ./src/index.html and a Dockerfile like this:
# Create source files

$ > mkdir -p src
$ > echo "Welcome." > src/index.html

# Create Dockerfile

$ > touch Dockerfile
FROM nginx:latest
COPY ./src/index.html /usr/share/nginx/html/index.htmlNext, you can build and run the container locally:
$ > docker build -t app .
$ > docker run -p 8080:80 app
Open your browser and navigate to http://localhost:8080, you should see the content of your ./src/index.html file.
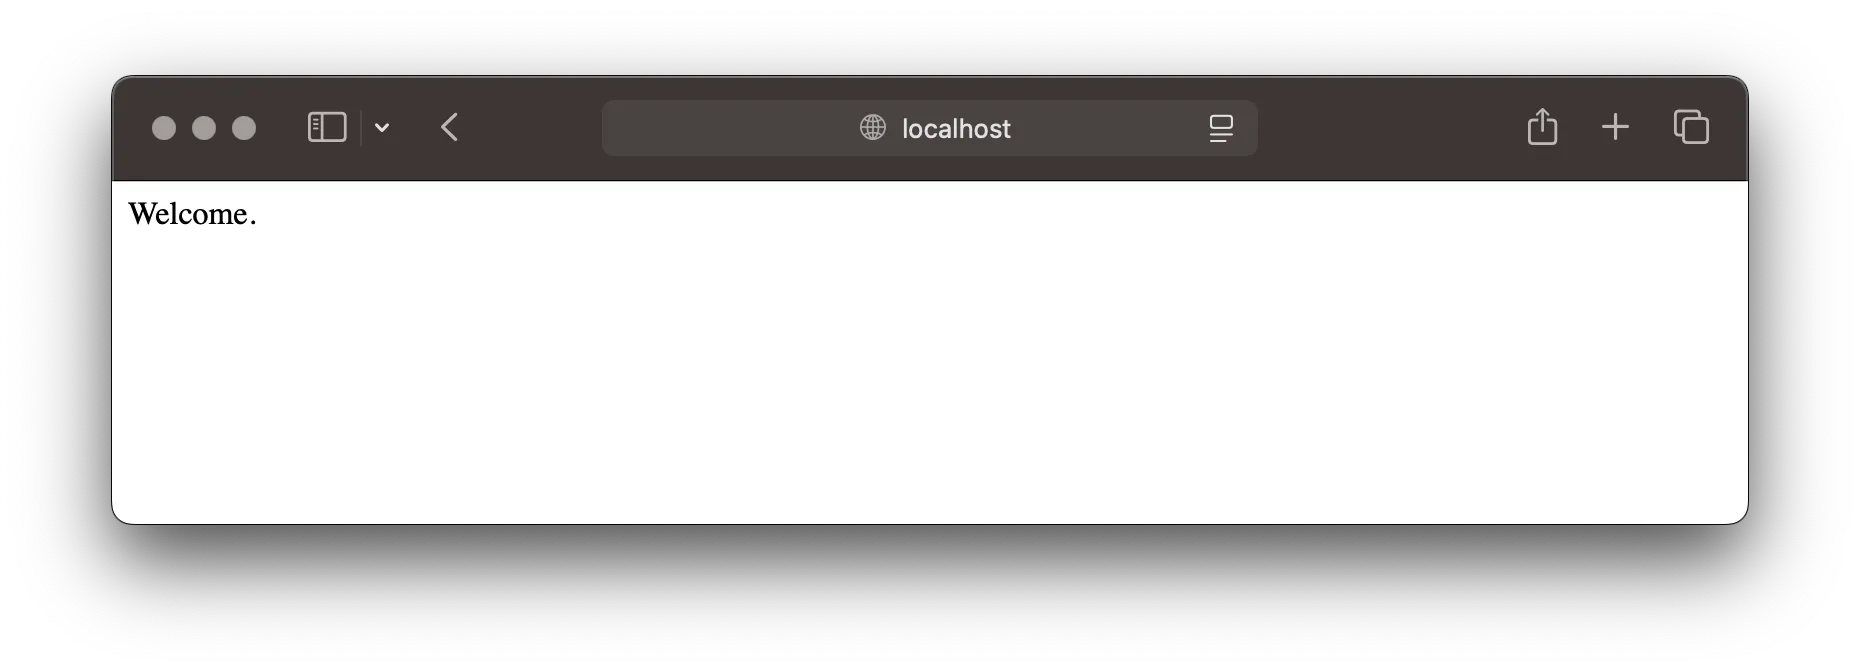
Boom, we have a simple application running locally. Now, how to get this to AWS?
Needed AWS Infrastructure
What is needed to deploy the container to AWS next? Well, to have a truly production-ready setup, we need quite a few things:
- Amazon ECR Repository to store the Docker image,
- Amazon ECS Cluster & AWS Fargate Service to run the container serverless,
- Amazon VPC with Subnets and Route Tables to run the container(s) in,
- Application Load Balancer to distribute traffic to the container(s),
- Amazon Route 53 HostedZone & DNS Records for custom domain, and
- AWS Certificate Manager for SSL certificates
This may seem like a lot, but it is actually quite simple to configure all of this using the AWS Cloud Development Kit (CDK). Additionally, this infrastructure scales and will be highly available out-of-the-box. This is production-ready from the ground up.
AWS Infrastructure with CDK
With an existing CDK project, we can simply add the needed components; first, start with the baseline infrastructure to store the container: an Amazon ECR Repository.
import { App, aws_ecr, CfnOutput, Stack } from "aws-cdk-lib";

const app = new App();
const stack = new Stack(app, "serverless-container");

const repository = new aws_ecr.Repository(stack, "Repository", {
  repositoryName: "serverless-container",
});

new CfnOutput(stack, "RepositoryUri", {
  value: repository.repositoryUri,
});
Next, you can deploy the stack:
$ > npx cdk deploy

 ✅ serverless-container

✨  Deployment time: 19.08s

Outputs:
RepositoryUri = 120032447123.dkr.ecr.us-east-1.amazonaws.com/serverless-container
With the repository deployed, you can push your container to it next:
$ > docker build -t app . --platform=linux/amd64

$ > aws ecr get-login-password --region us-east-1 \
  | docker login --username AWS --password-stdin \
    120032447123.dkr.ecr.us-east-1.amazonaws.com

$ > docker tag app 120032447123.dkr.ecr.us-east-1.amazonaws.com/serverless-container:latest
$ > docker push 120032447123.dkr.ecr.us-east-1.amazonaws.com/serverless-container:latest
Notice the --platform=linux/amd64 flag; this is needed to build the container for the correct architecture running on AWS Fargate.
Network Infrastructure
For running the container, we need some basic network components and AWS resources: VPC, Route 53 HostedZone, and ECS Cluster:
const vpc = new aws_ec2.Vpc(stack, "VPC", {
  vpcName: "serverless-container",
  maxAzs: 3,
});

const zone = new aws_route53.PublicHostedZone(stack, "HostedZone", {
  zoneName: "serverless-container.aws.sbstjn.com",
});

const cluster = new aws_ecs.Cluster(stack, "Cluster", {
  clusterName: "serverless-container",
  containerInsights: true,
  vpc,
});

new CfnOutput(stack, "ZoneNameservers", {
  value: Fn.join(" ", zone.hostedZoneNameServers!),
});
$ > npx cdk deploy
✅ serverless-container
✨ Deployment time: 19.08s
Outputs:
RepositoryUri = 120032447123.dkr.ecr.us-east-1.amazonaws.com/serverless-container
ZoneNameservers = ns-123.awsdns-01.net ns-2345.awsdns-02.org ns-3456.awsdns-03.co.uk ns-456.awsdns-29.comThe nameservers are needed to configure the DNS records in your domain registrar or DNS provider. Create a new NS record with the nameservers from the output; otherwise, AWS Certificate Manager will not be able to create a certificate for the domain next.
Deploy Container with Fargate
Thanks to AWS ECS Patterns in CDK, we can deploy the Fargate service with a single construct and do not need to worry about the underlying components:
const service = new aws_ecs_patterns.ApplicationLoadBalancedFargateService(
stack,
"Service",
{
cluster,
serviceName: "serverless-container",
memoryLimitMiB: 2048,
cpu: 512,
desiredCount: 3,
taskImageOptions: {
image: aws_ecs.ContainerImage.fromEcrRepository(repository, "latest"),
containerPort: 80,
},
taskSubnets: {
subnets: vpc.privateSubnets,
},
loadBalancerName: cluster.clusterName,
healthCheck: {
command: ["CMD-SHELL", "curl -f http://localhost/ || exit 1"],
interval: Duration.seconds(30),
timeout: Duration.seconds(10),
retries: 3,
},
}
);The ECS Patterns construct will create a new load balancer and service, and configure the necessary settings. An output with the DNS name of the load balancer is created as well:
$ > npx cdk deploy

 ✅ serverless-container

✨  Deployment time: 19.08s

Outputs:
RepositoryUri = 120032447123.dkr.ecr.us-east-1.amazonaws.com/serverless-container
ZoneNameservers = ns-123.awsdns-01.net ns-2345.awsdns-02.org ns-3456.awsdns-03.co.uk ns-456.awsdns-29.com
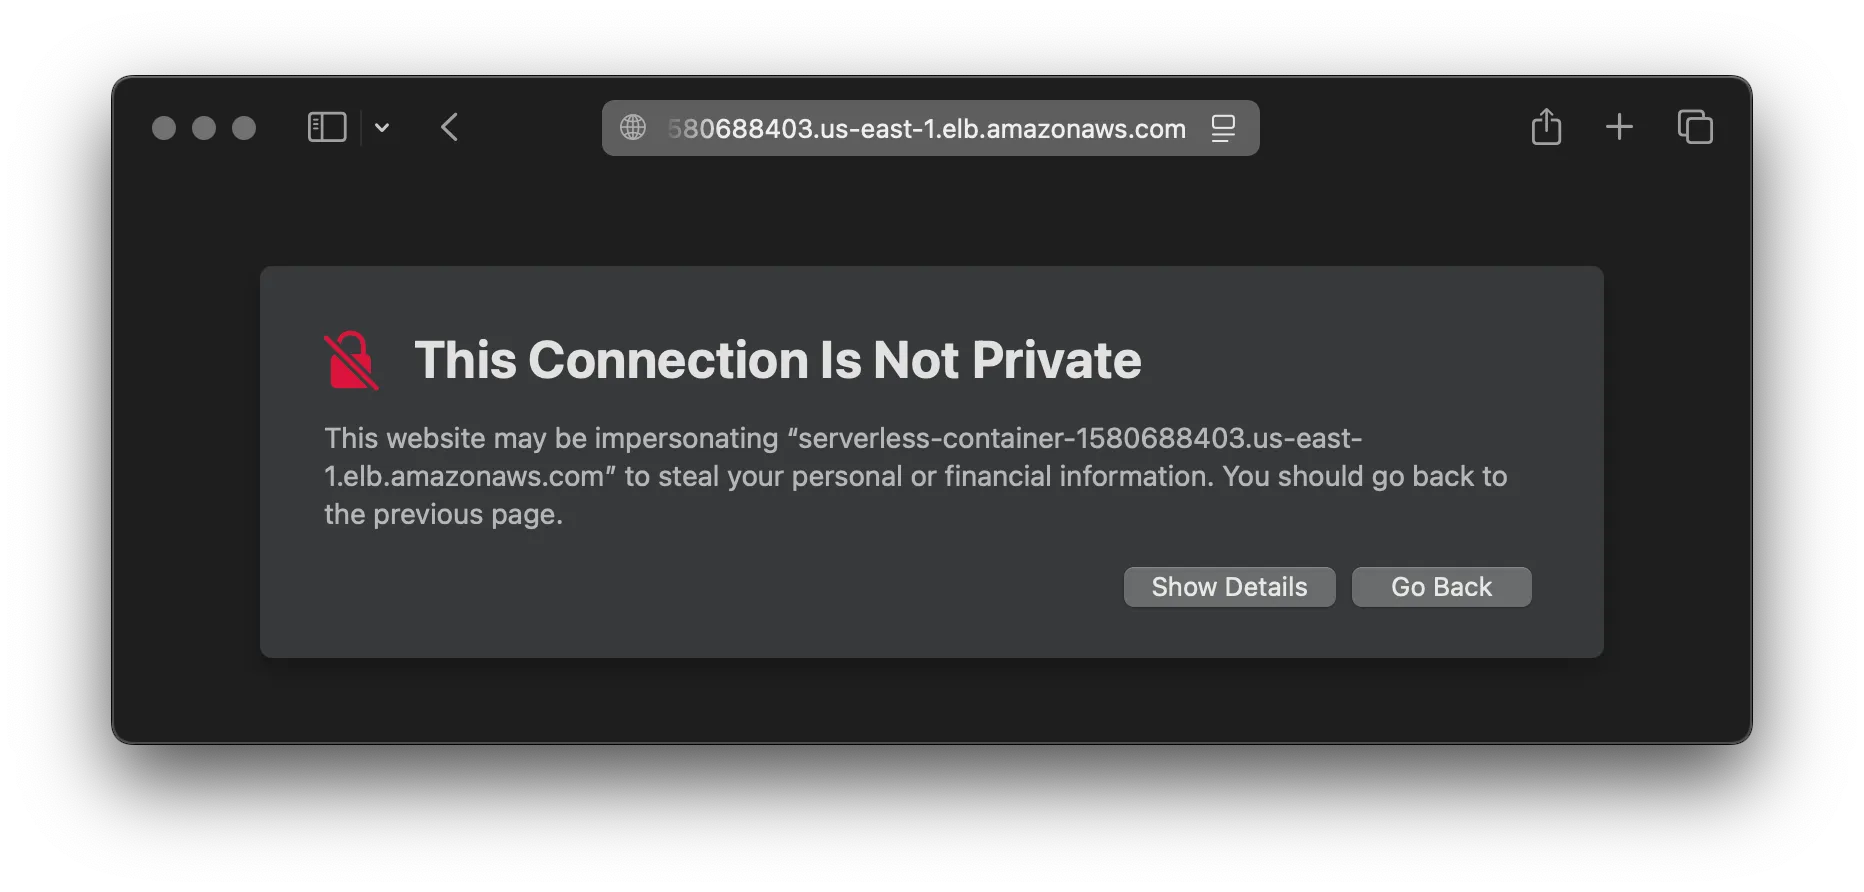
ServiceServiceURL250C0FB6 = http://serverless-container-1580688403.us-east-1.elb.amazonaws.comUsing you web browser, you should now be able to access your application running on AWS Fargate.

Per default, the service will be available with a random DNS name on AWS. This is not what we want, so we need to create a new DNS record in Route 53, create a certificate in AWS Certificate Manager, and configure the load balancer to use the certificate.
Custom DNS and Certificate
First, let’s create a new certificate in AWS Certificate Manager. This requires a valid configuration of the NS records for your HostedZone!
const certificate = new aws_certificatemanager.Certificate(
  stack,
  "Certificate",
  {
    domainName: "serverless-container.aws.sbstjn.com",
    validation: aws_certificatemanager.CertificateValidation.fromDns(zone),
  }
);
Using DNS validation, the certificate will be created and validated automatically. Internally, AWS will create the needed DNS record in your HostedZone.
Finally, move the certificate on top of the ECS service construct and pass it to the service. When deploying the stack, you will notice the change in Security Group configuration:
$ > npx cdk deploy

[…]

┌───┬─────────────────────────────────────┬─────┬──────────┬─────────────────┐
│   │ Group                               │ Dir │ Protocol │ Peer            │
├───┼─────────────────────────────────────┼─────┼──────────┼─────────────────┤
│ - │ ${Service/LB/SecurityGroup.GroupId} │ In  │ TCP 80   │ Everyone (IPv4) │
├───┼─────────────────────────────────────┼─────┼──────────┼─────────────────┤
│ + │ ${Service/LB/SecurityGroup.GroupId} │ In  │ TCP 443  │ Everyone (IPv4) │
└───┴─────────────────────────────────────┴─────┴──────────┴─────────────────┘

[…]

Outputs:
RepositoryUri = 120032447123.dkr.ecr.us-east-1.amazonaws.com/serverless-container
ZoneNameservers = ns-123.awsdns-01.net ns-2345.awsdns-02.org ns-3456.awsdns-03.co.uk ns-456.awsdns-29.com
ServiceServiceURL250C0FB6 = https://serverless-container-1580688403.us-east-1.elb.amazonaws.com
Additionally, the service URL output now is using HTTPS. When accessing the service, your web browser should complain about the certificate not matching the domain, but this is expected - for now.
To fix this, all we need is a custom DNS record.
Configure custom DNS
Using Route 53, you need to create a new alias record next:
new aws_route53.RecordSet(stack, "RecordSet", {
  zone,
  recordName: "serverless-container.aws.sbstjn.com",
  recordType: aws_route53.RecordType.A,
  target: aws_route53.RecordTarget.fromAlias(
    new aws_route53_targets.LoadBalancerTarget(service.loadBalancer)
  ),
});
After your next deployment, you can access the service using the custom DNS name! And the correct SSL certificate is used.
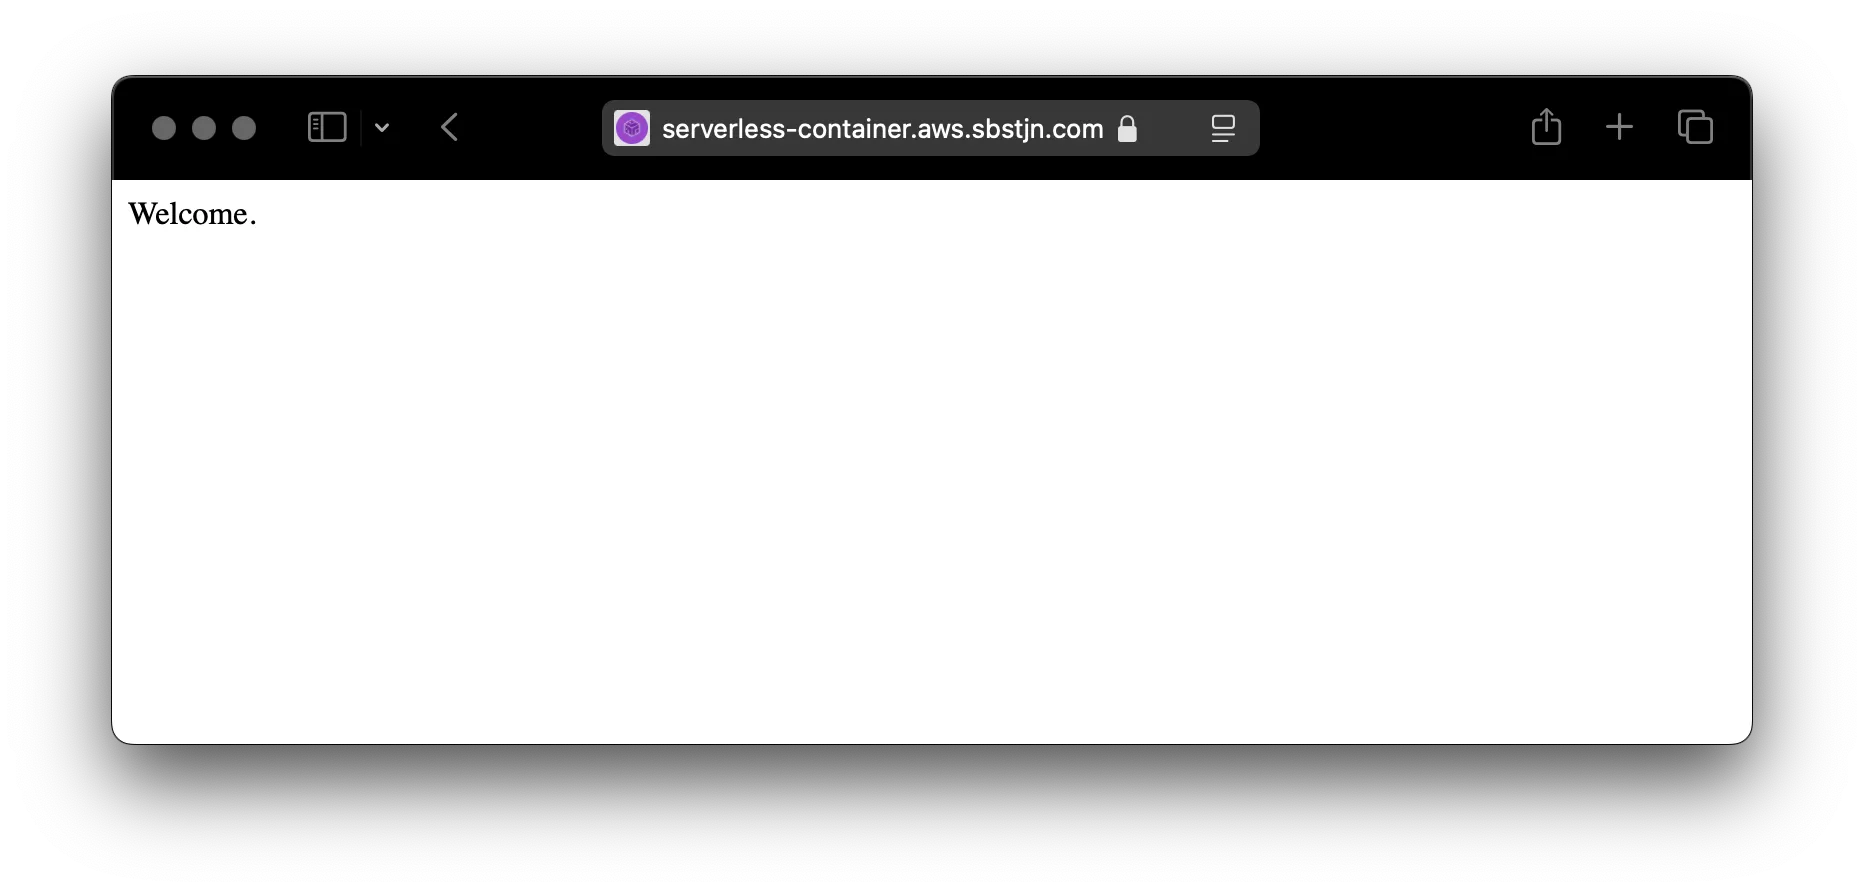
Awesome! 🎉
Further Reading
To have a more robus service, add DNS Failover with Route 53 and read about how to deploy new containers automatically when you push them to the container registry.