At re:Invent 2021, AWS Amplify announced AWS Amplify Studio, a visual development portal to build and operate web applications. Together with Figma, you can easily manage UI components and generate React components without any development tasks.
Create React Application with TypeScript
To get started, create an example react application using create-react-app; after installing dependencies, you can start a local web server and see the default react application.
# Create react app
$ > npx create-react-app react-figma-amplify-studio-example \
		--template typescript
$ > cd react-figma-amplify-studio-example

# Start local web server
$ > npm start
This project folder will be the root for all upcoming steps and at the end of this guide, you will have integrated AWS Amplify, AWS Amplify Studio, and your Figma UI Components into a standard React application.
Create Amplify Project
The Figma integration is based on AWS Amplify. Open your AWS Management Console and select the AWS Amplify service in your desired AWS Region.
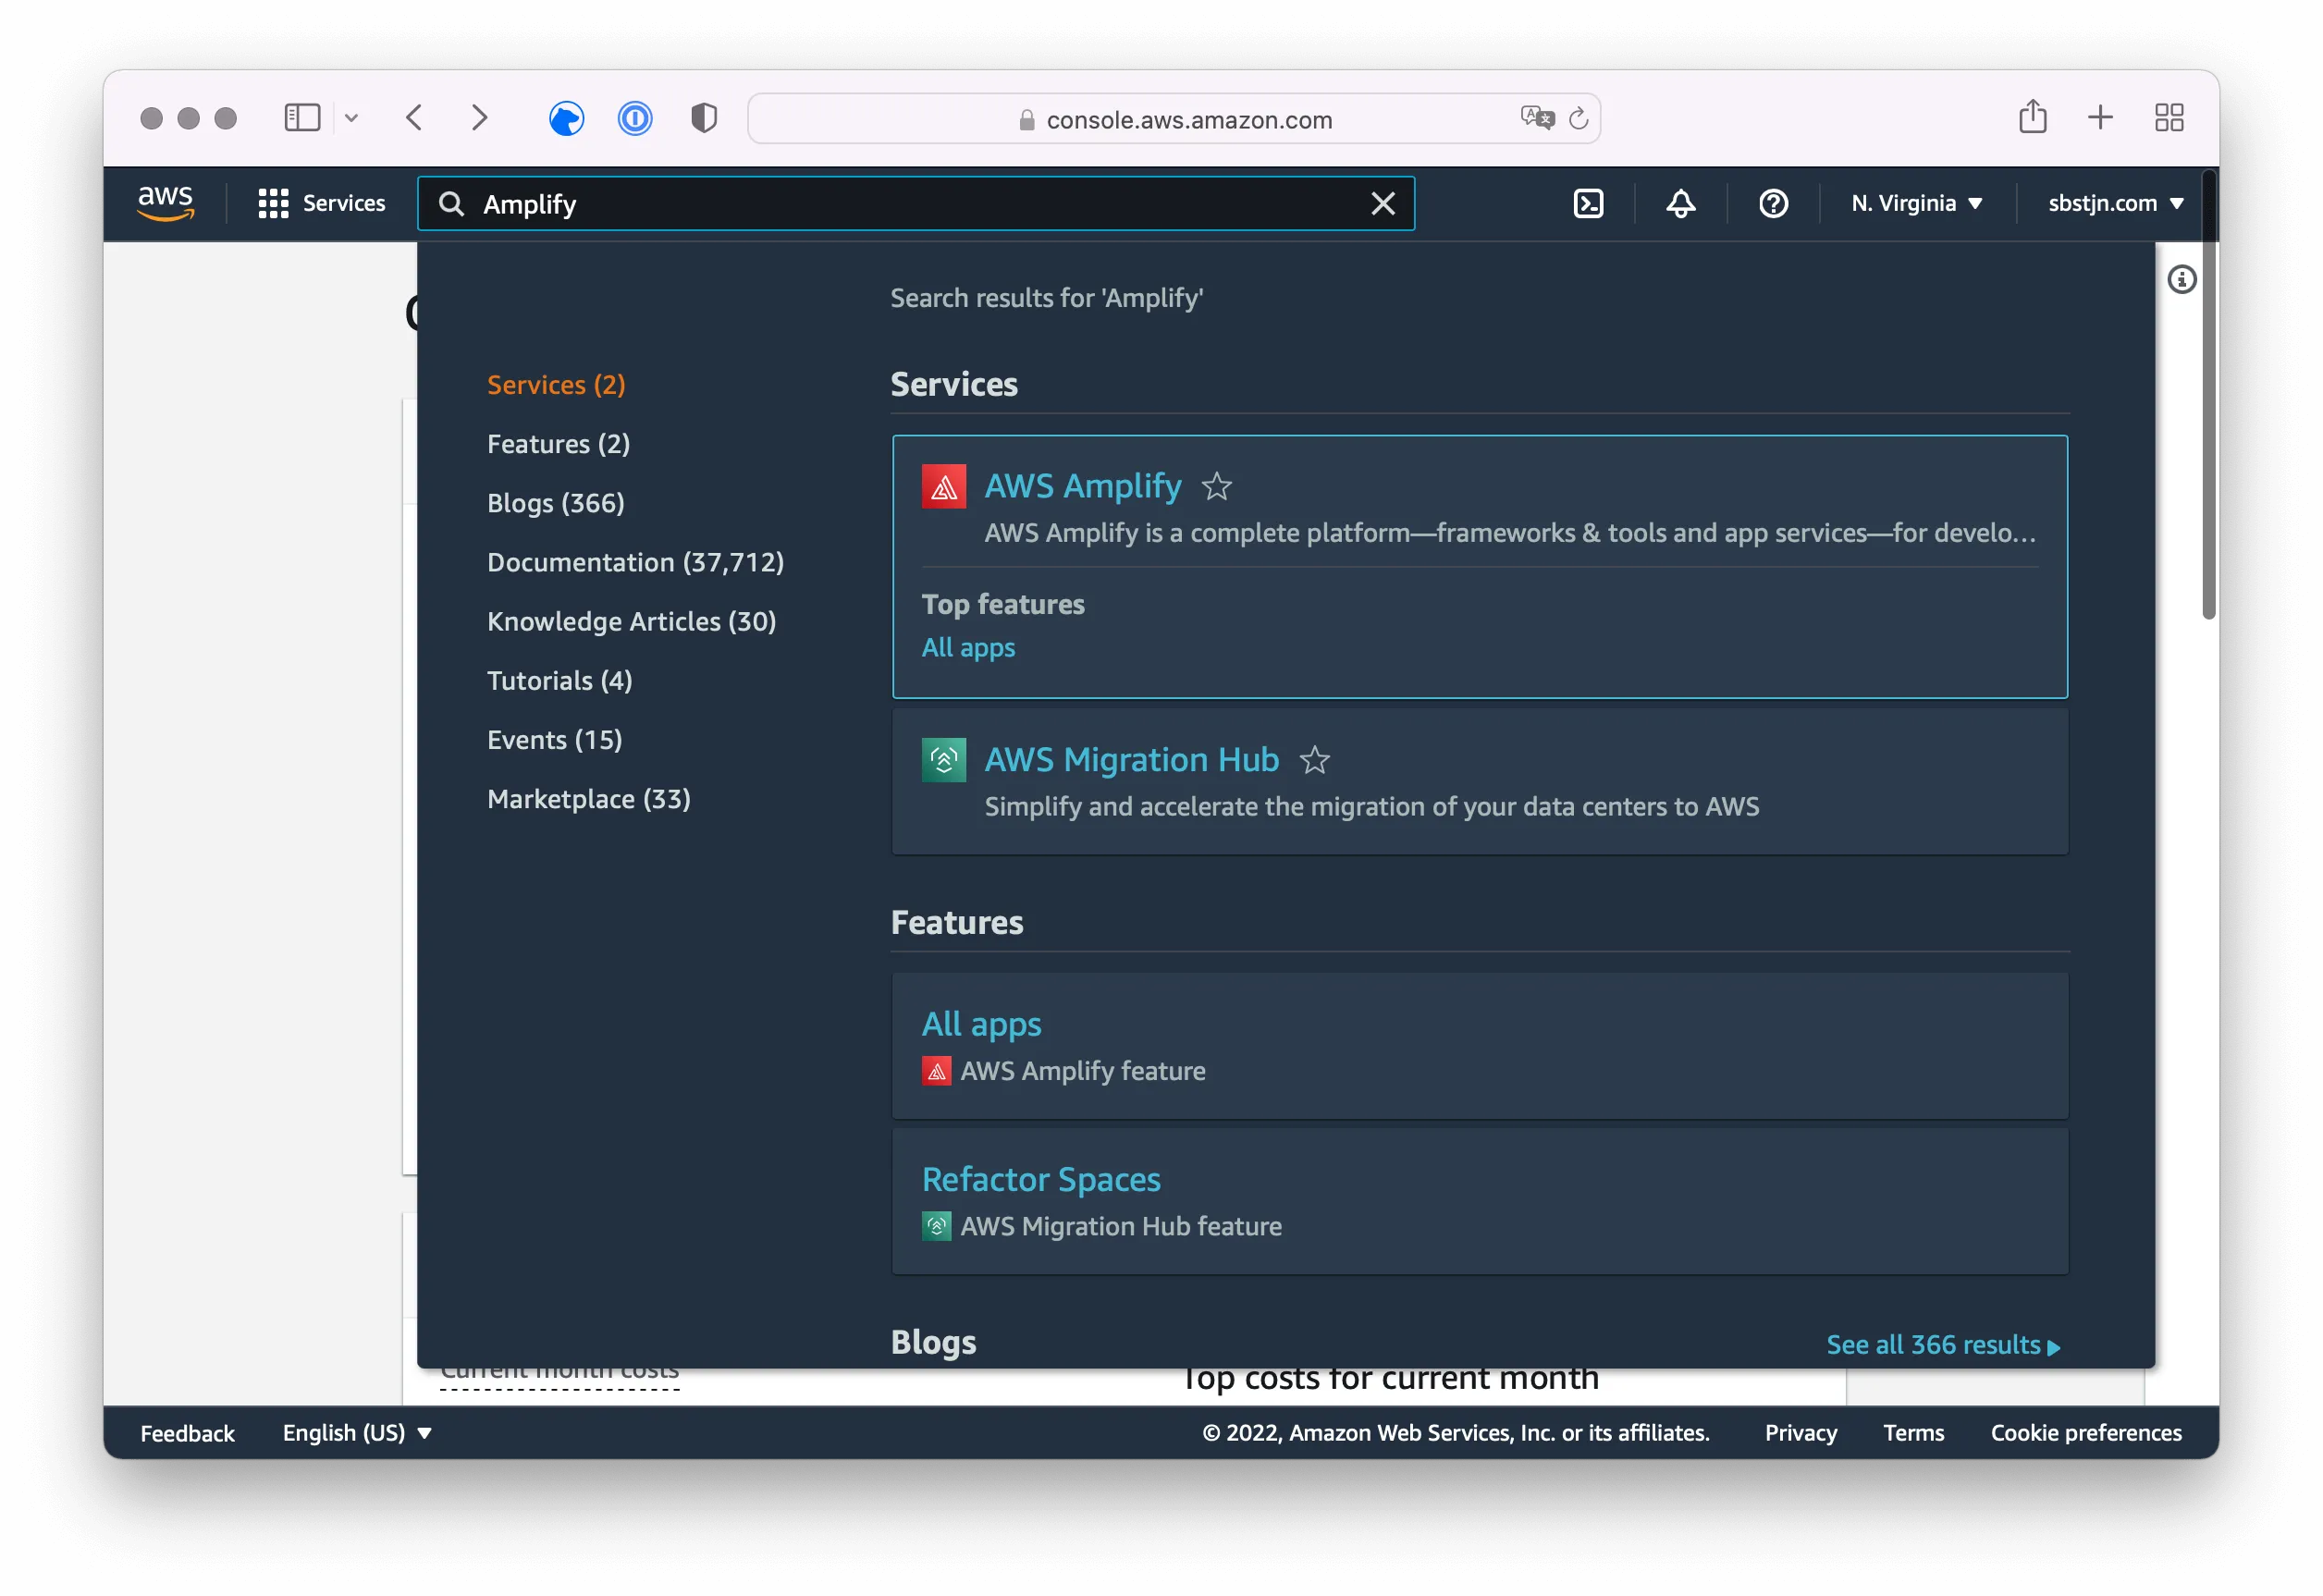
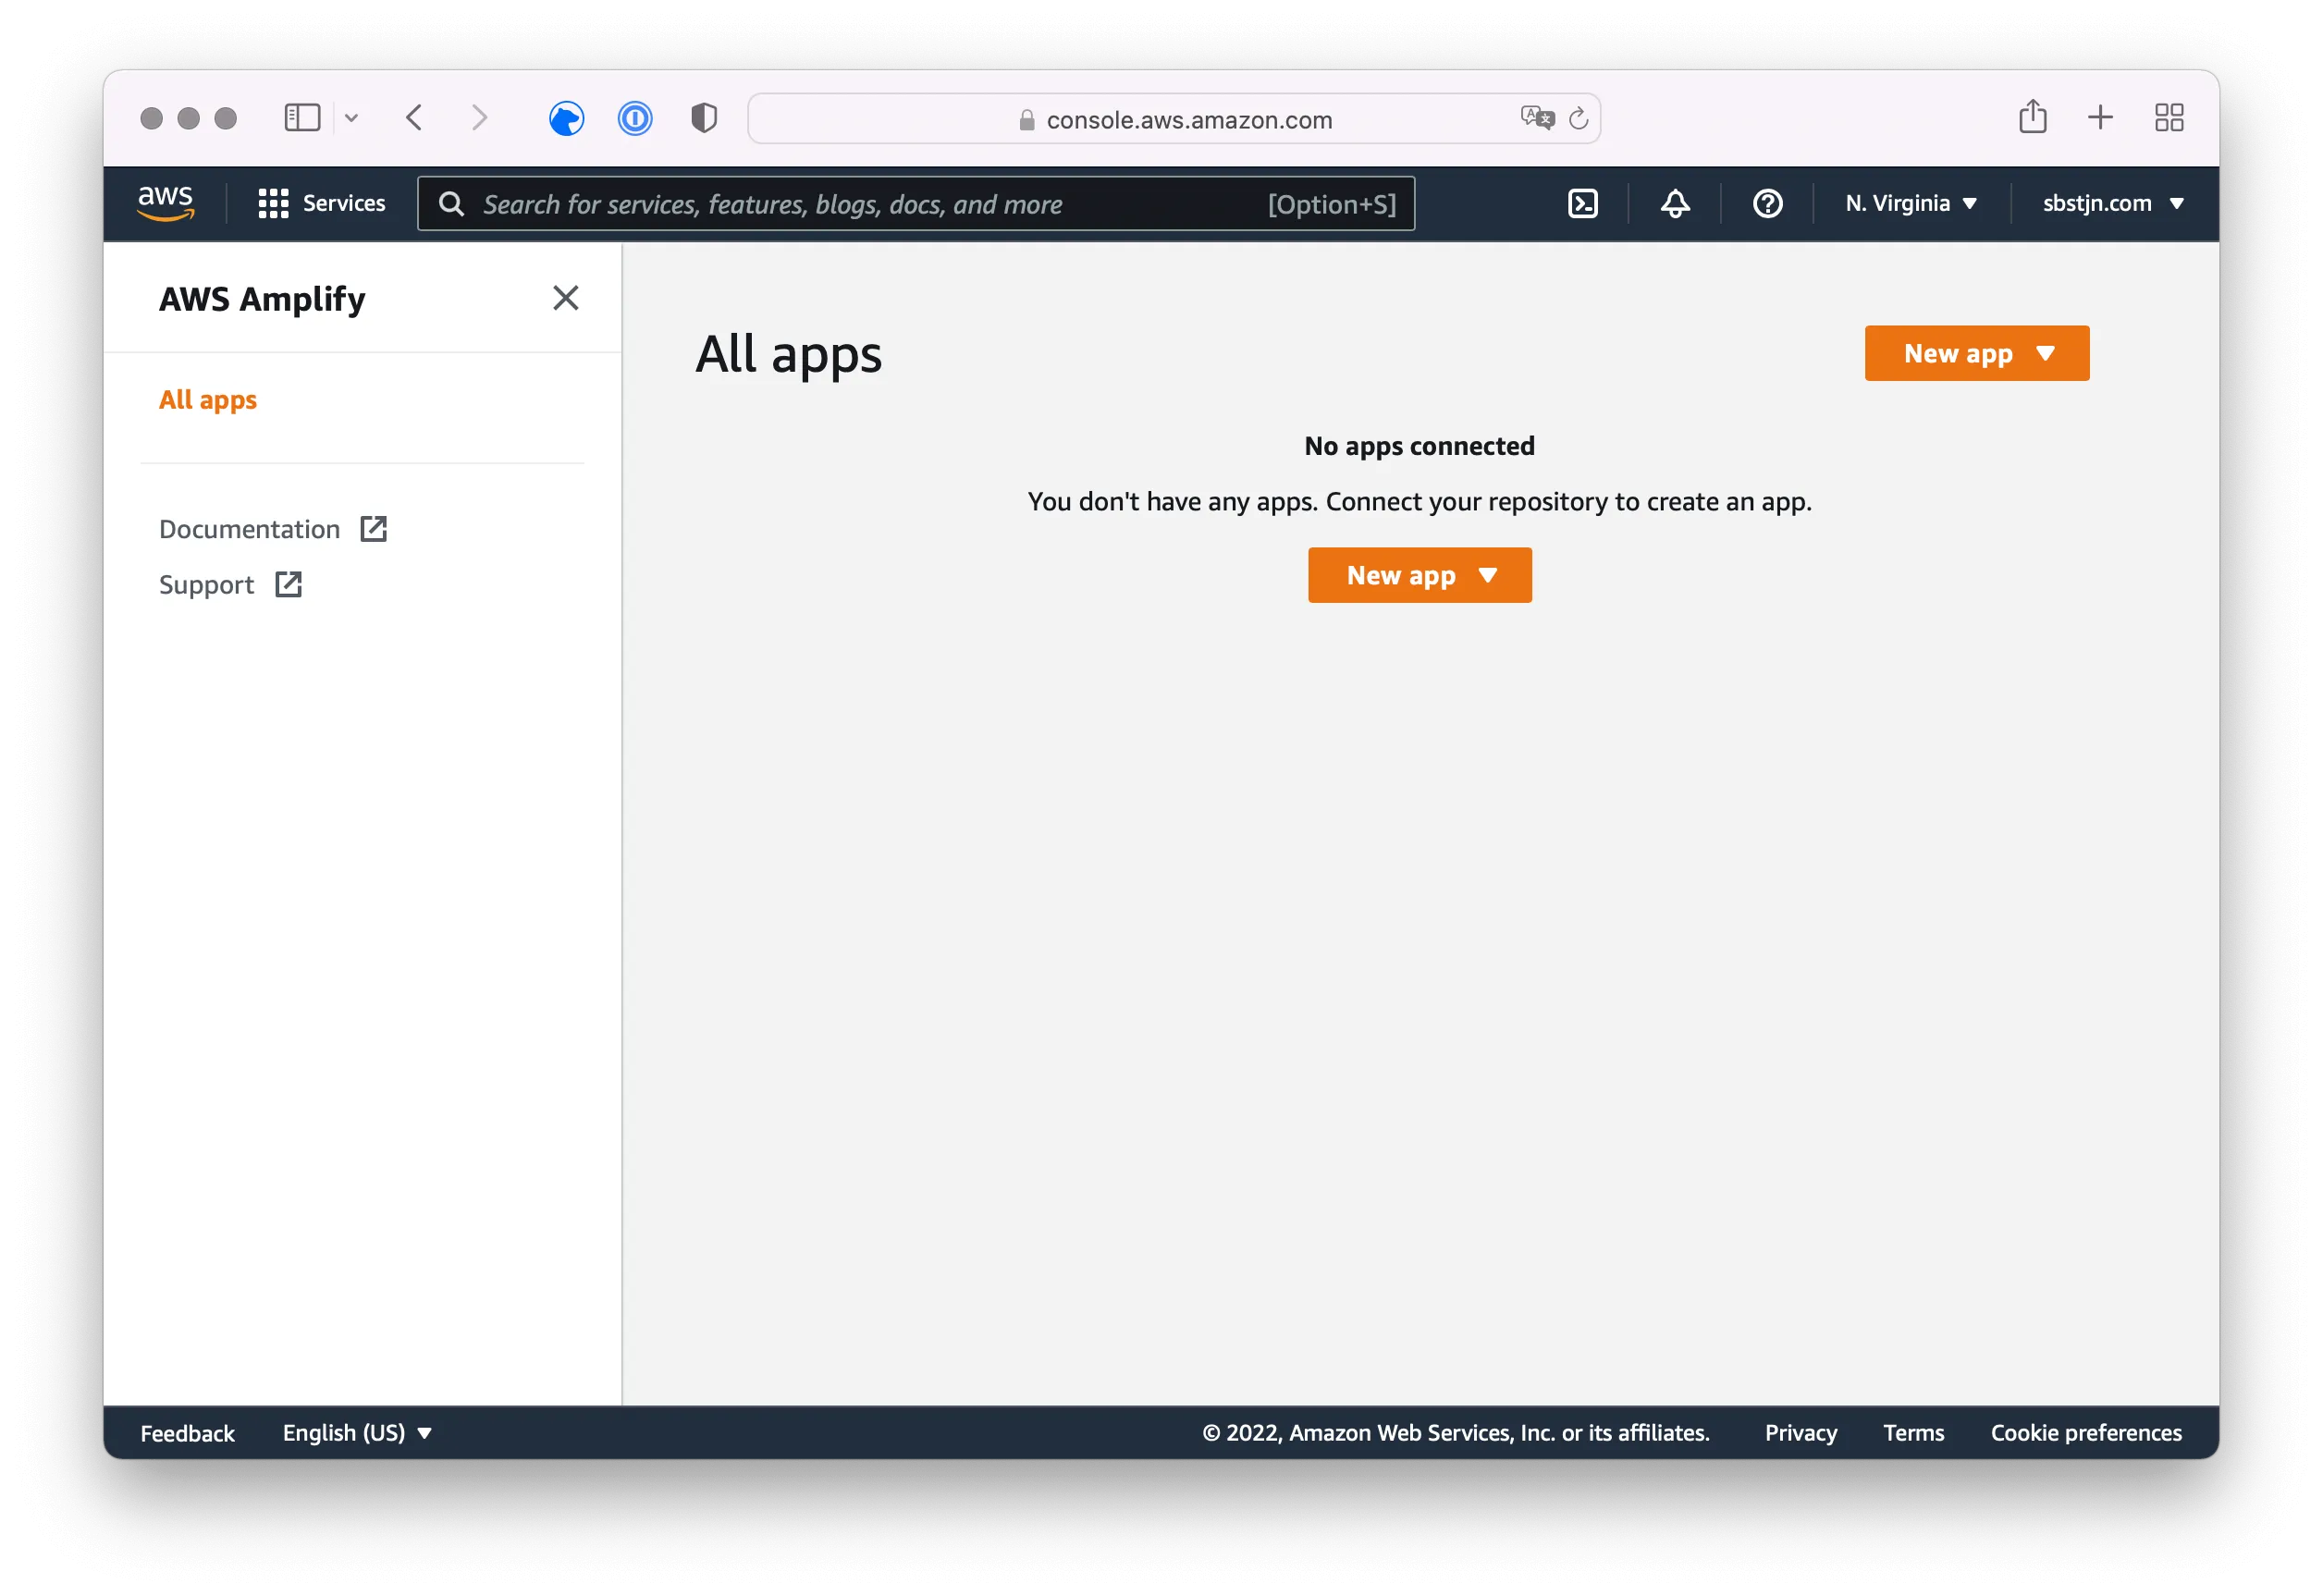
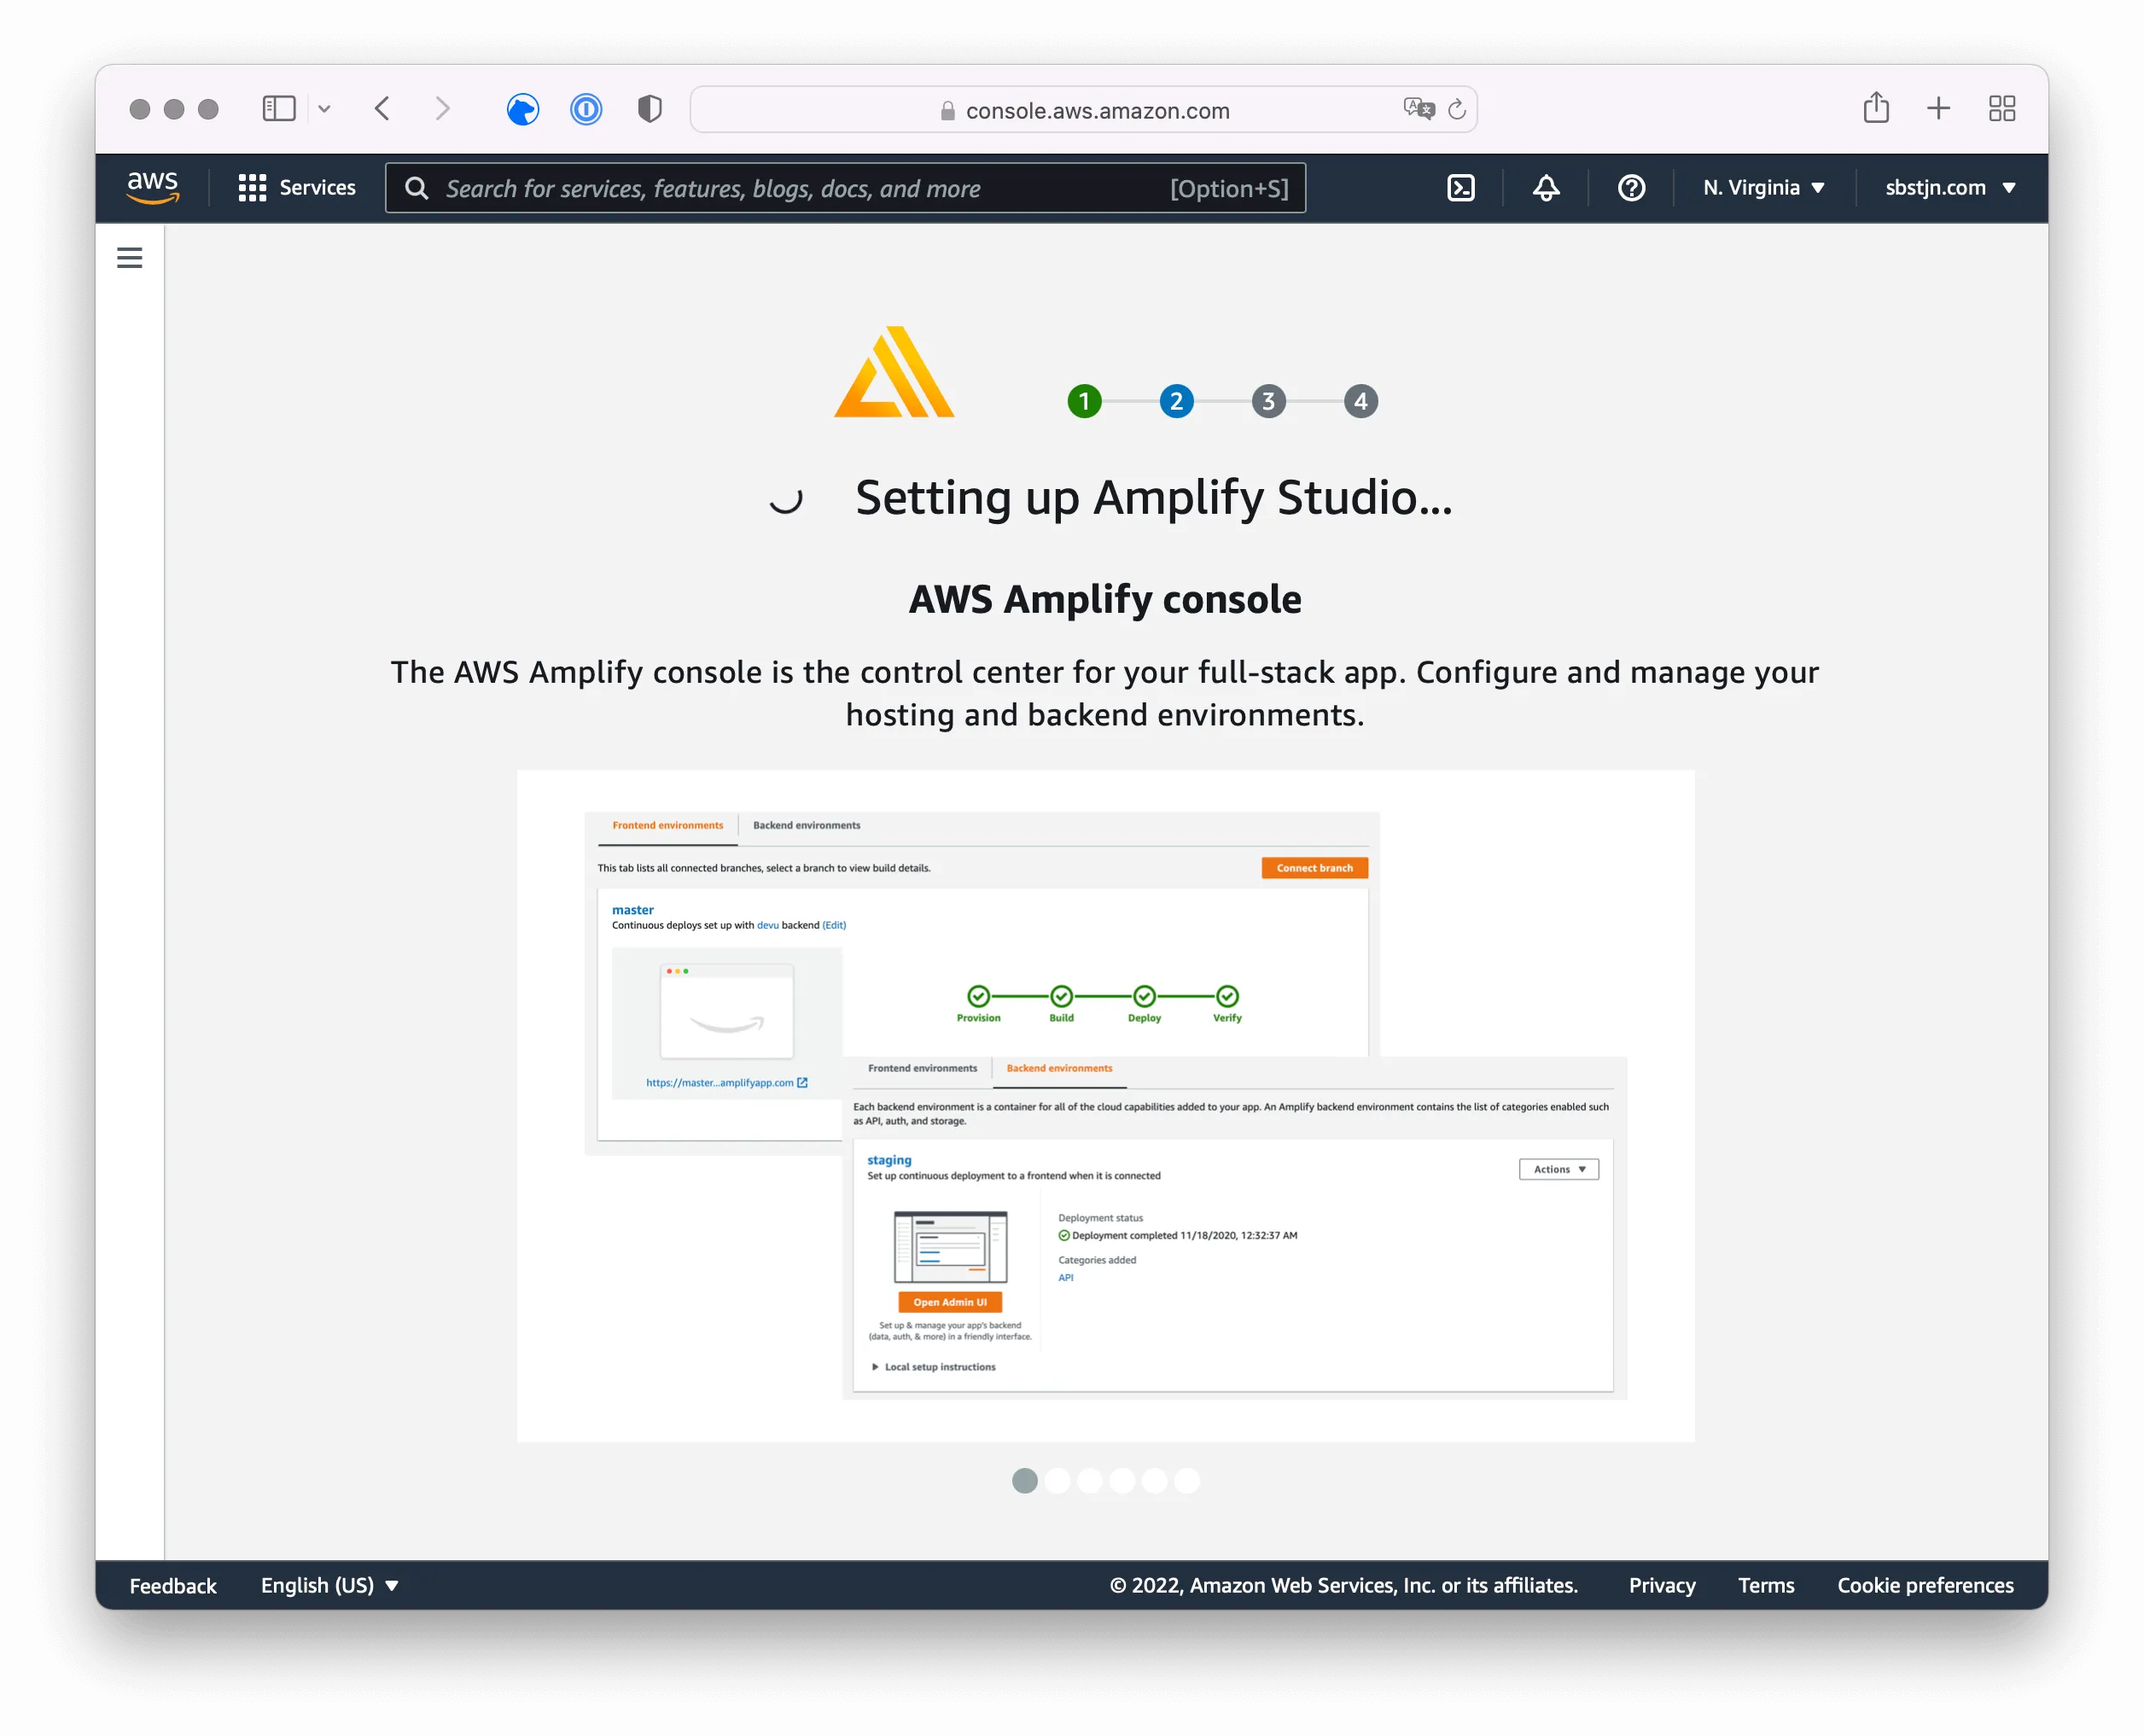
Using the menu on the left side, select All apps, create a New app and choose to Build an app. Provide a name for your application and wait for the configuration to finish.
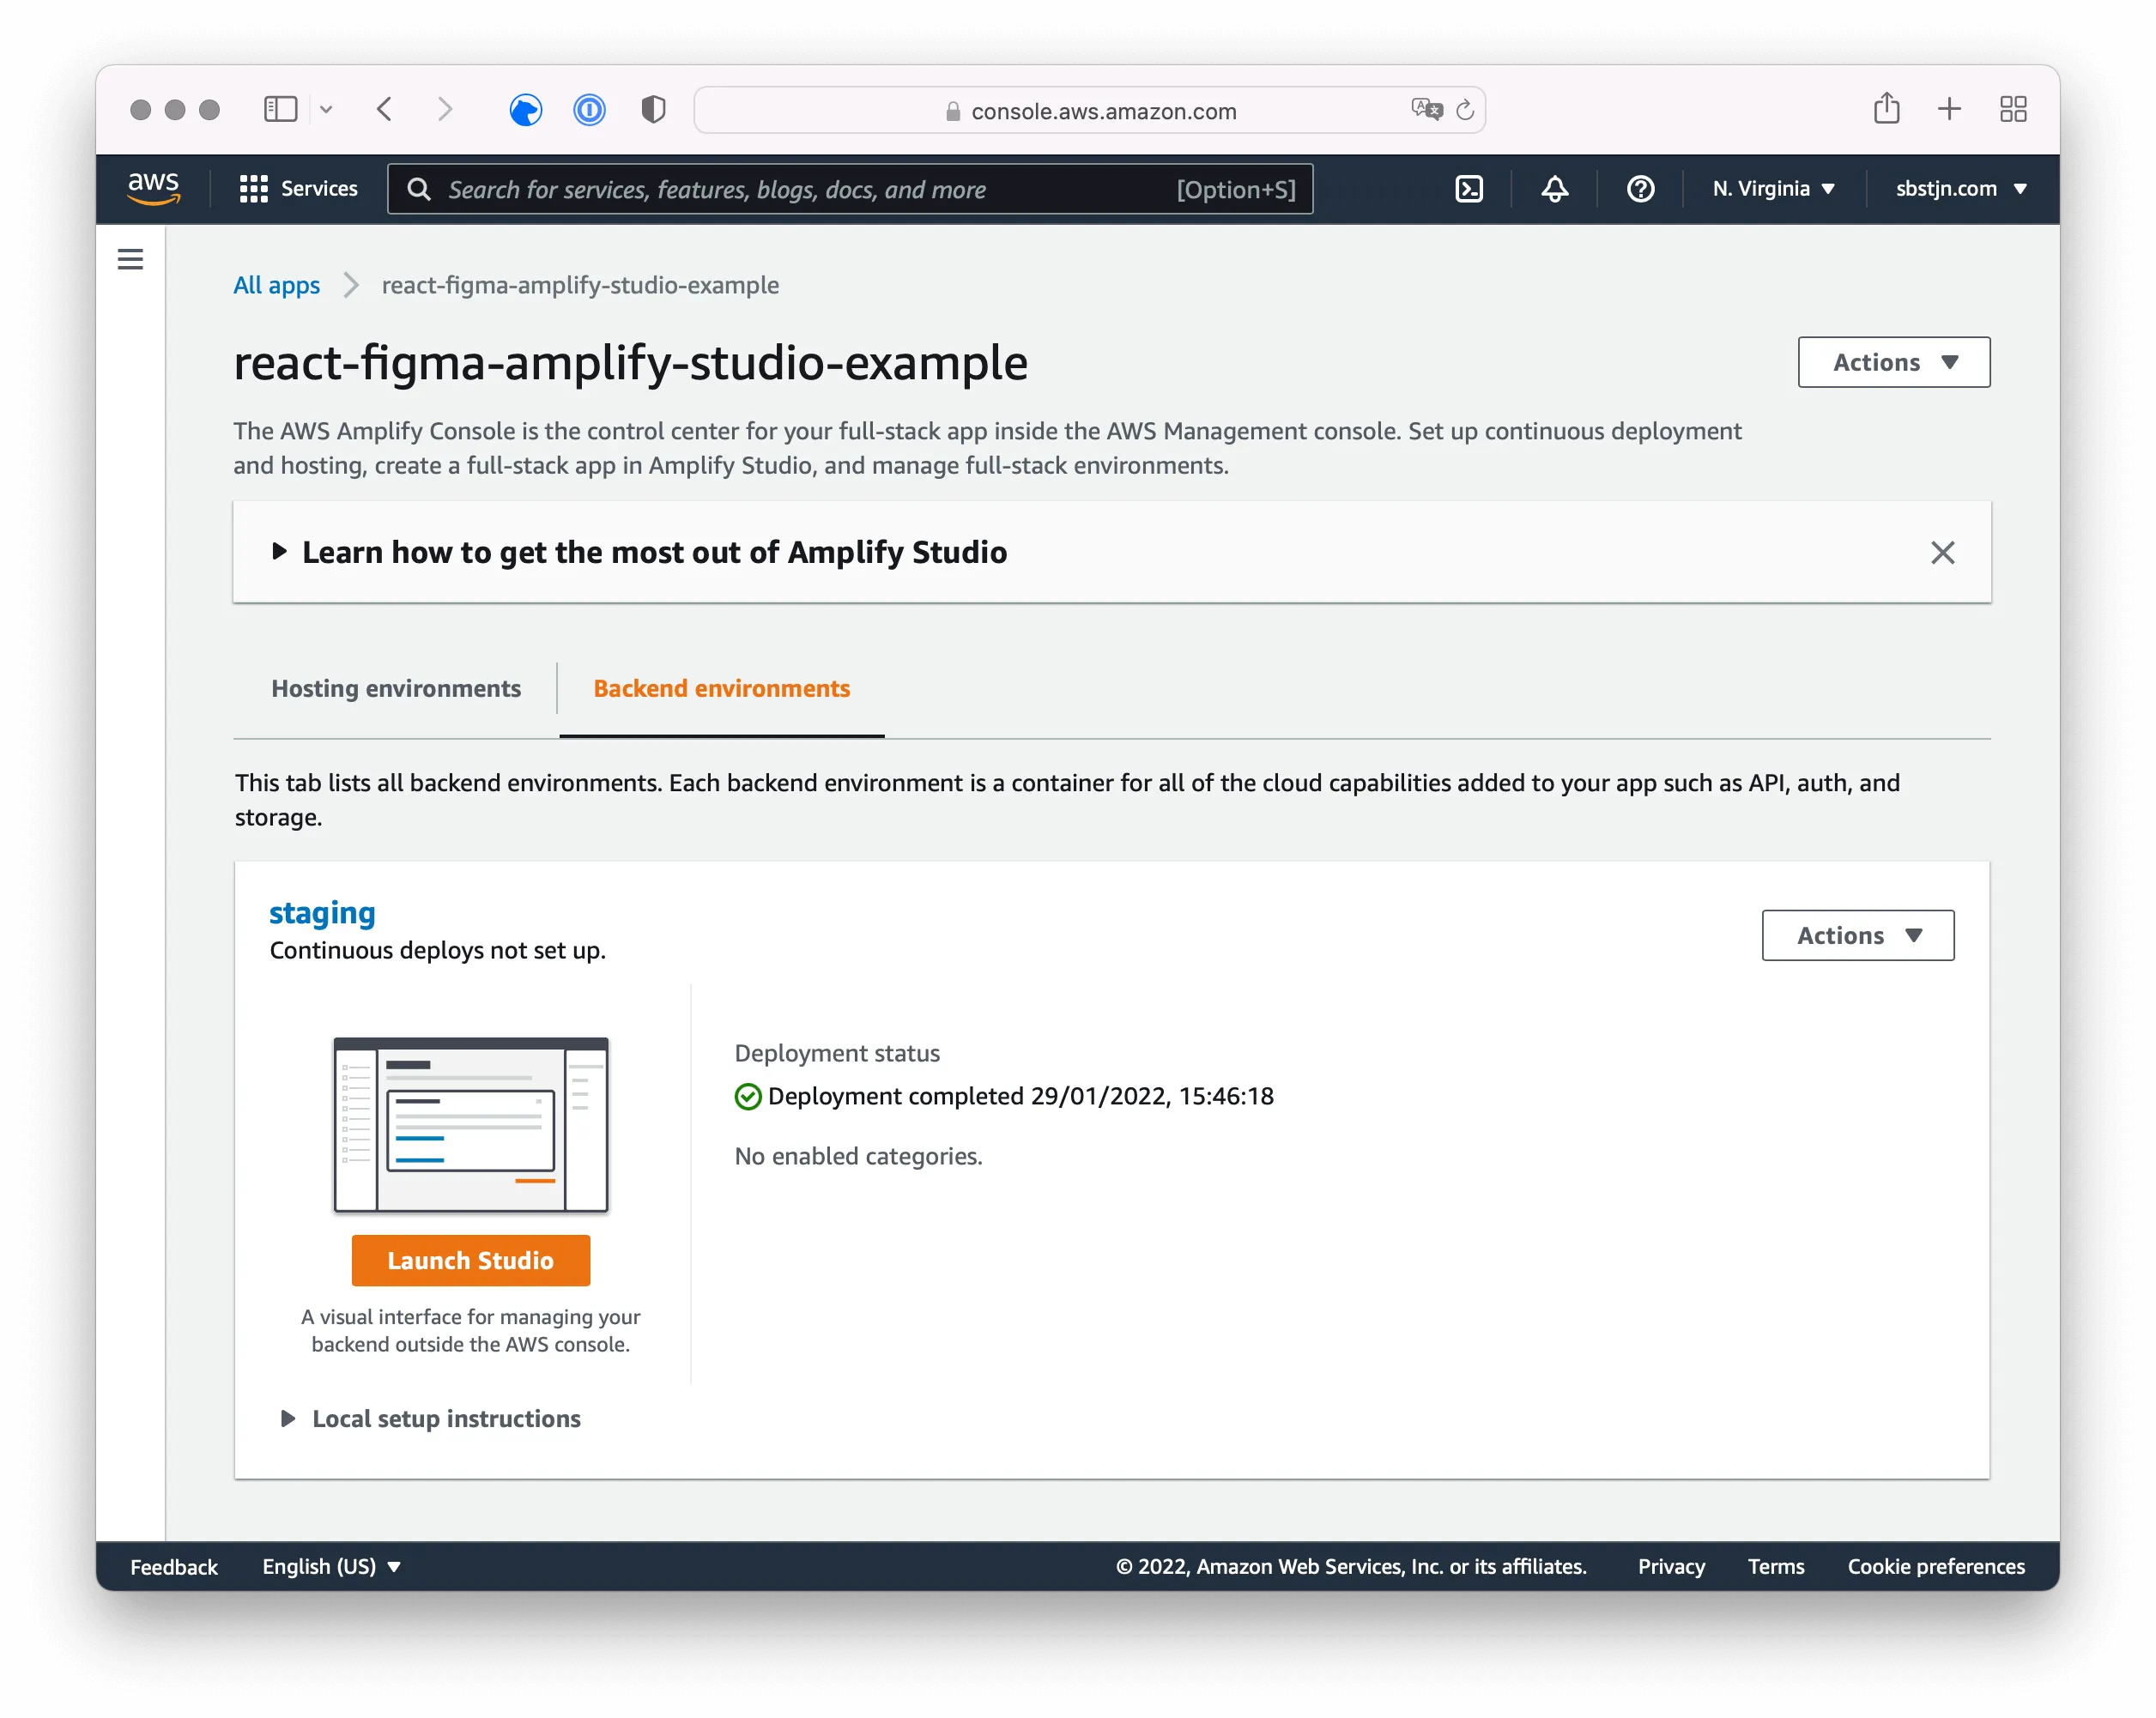
When the setup has finished, AWS Amplify shows you a default Backend environment of your application called staging. You can create additional environments, but let’s use the existing one and click on Launch Studio to open the AWS Amplify Studio.
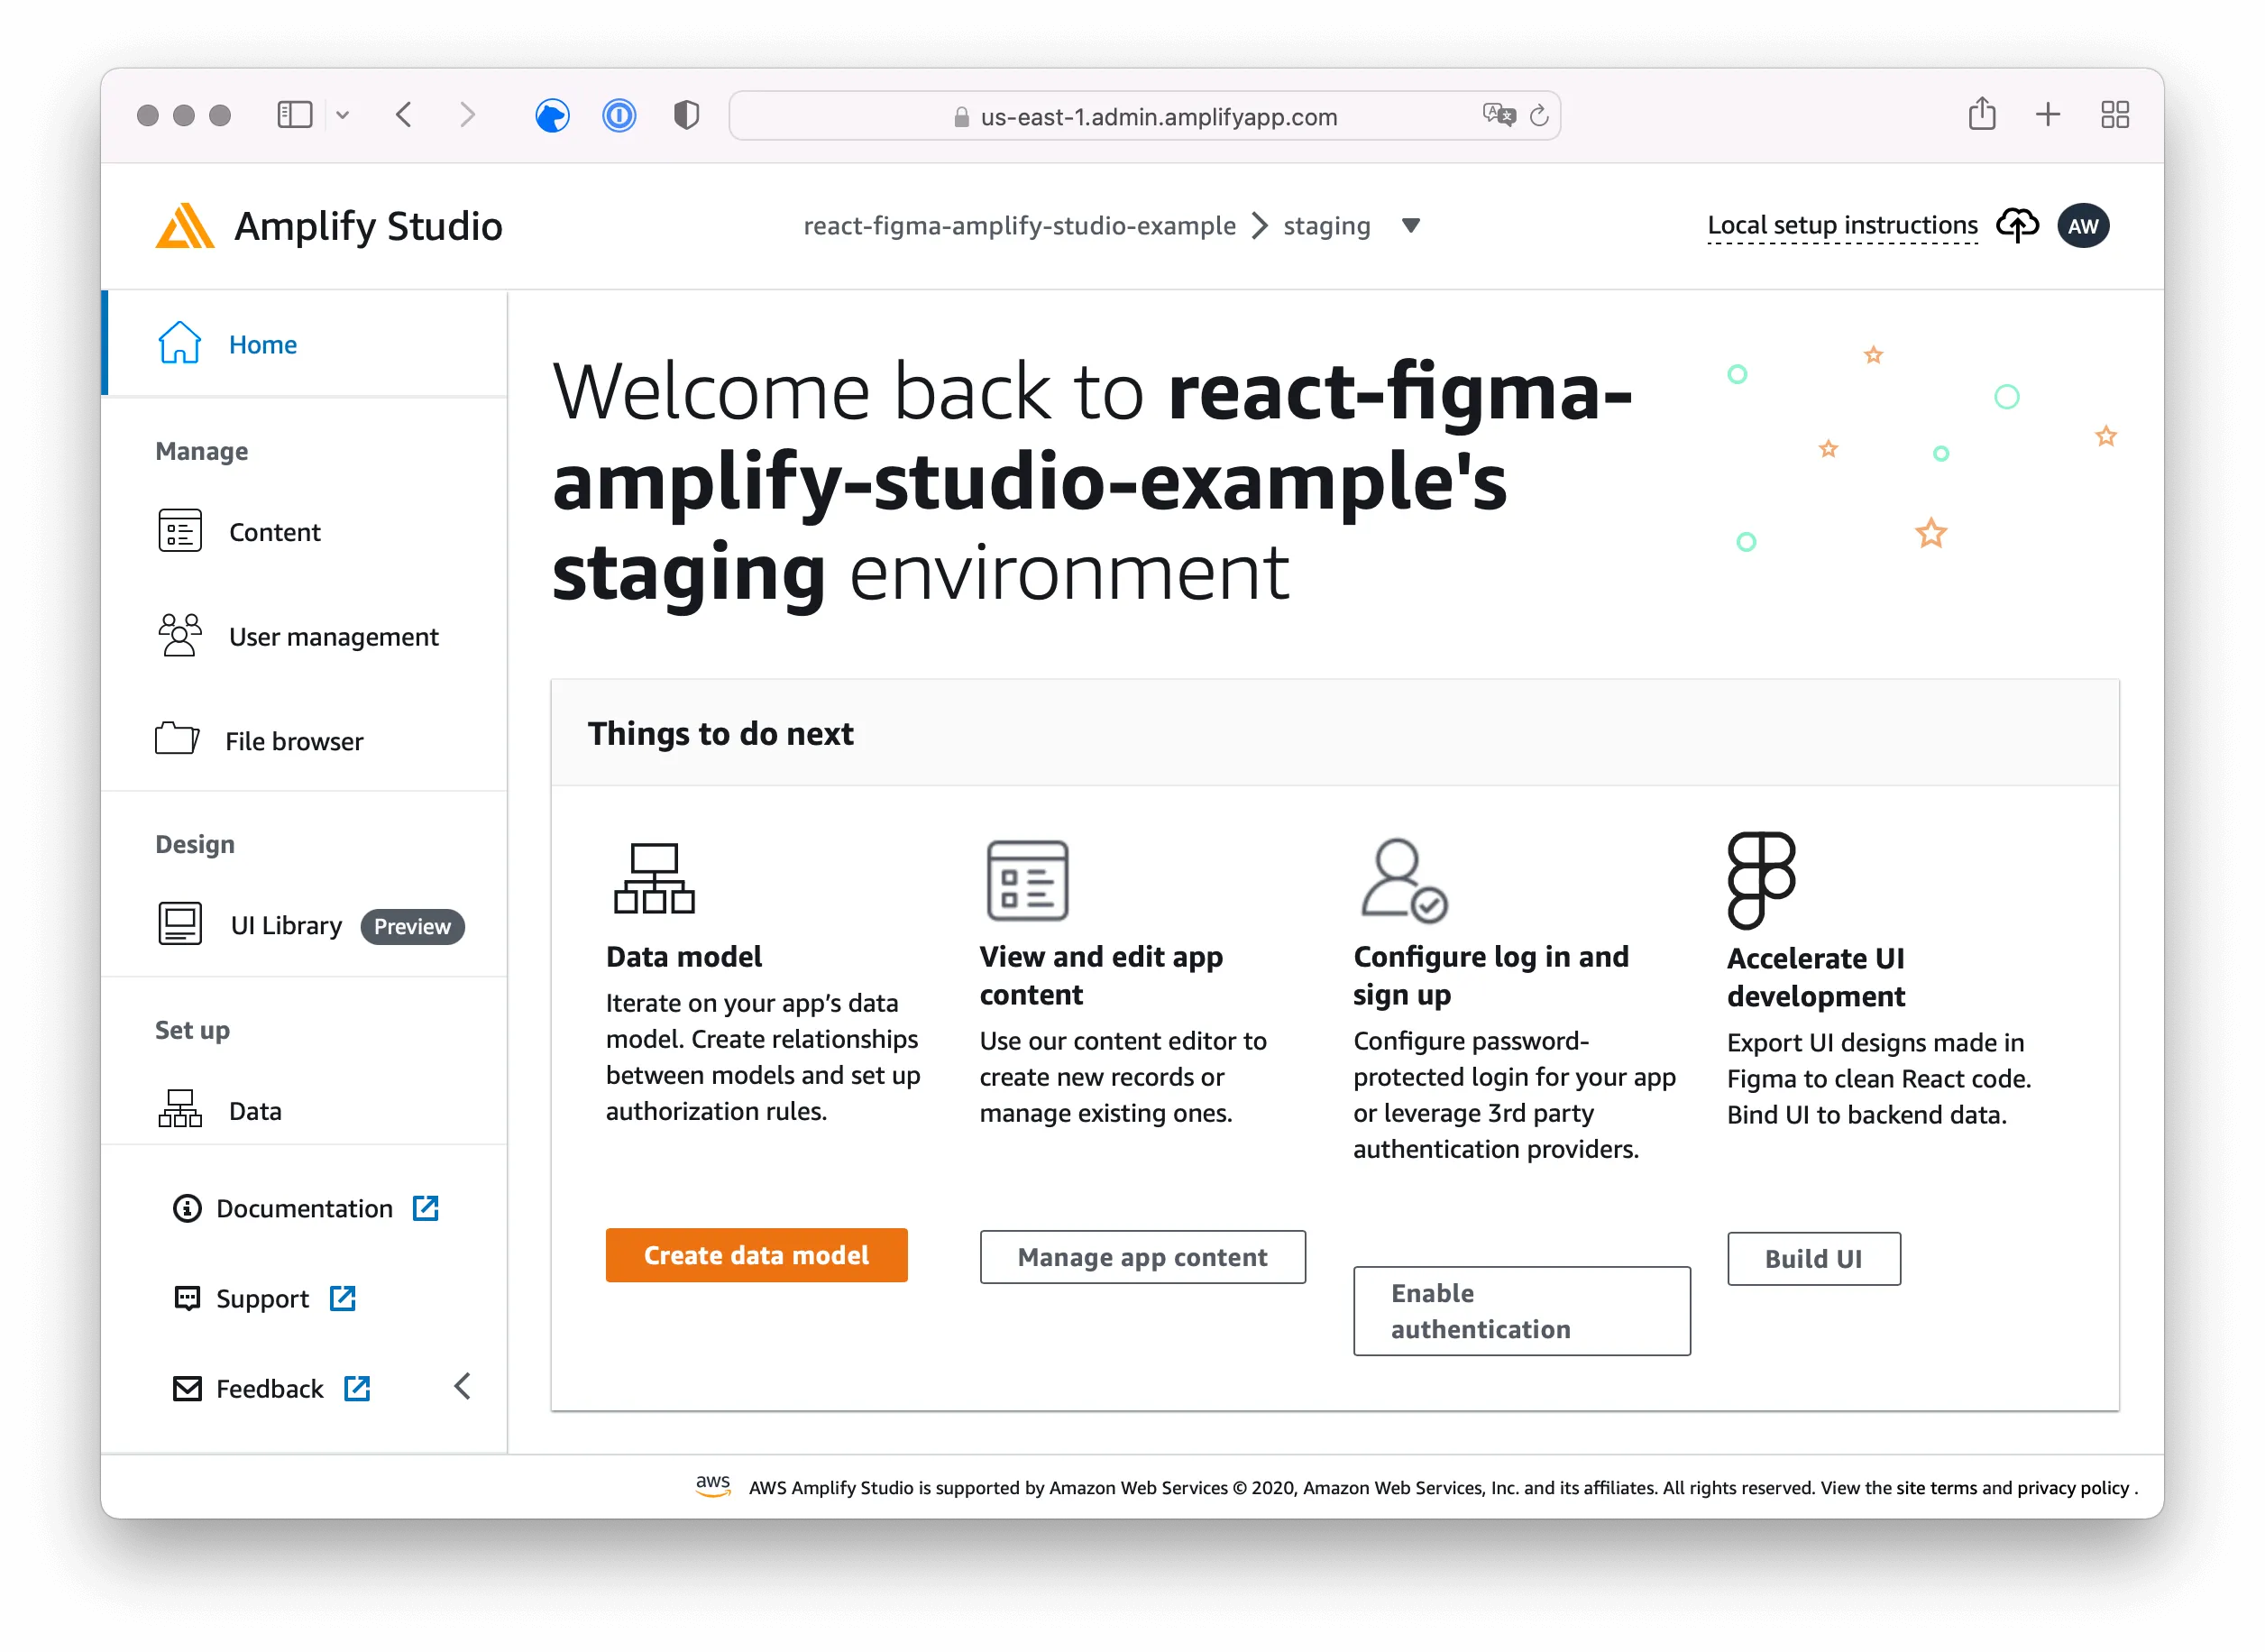
The AWS Amplify Studio web application is the updated portal to manage your AWS Amplify applications. You can configure authentication using Amazon Cognito, storage with Amazon S3, and data API and storage with Amazon DynamoDB and AWS AppSync.
Use the Local Setup Instructions to set up your local react project.
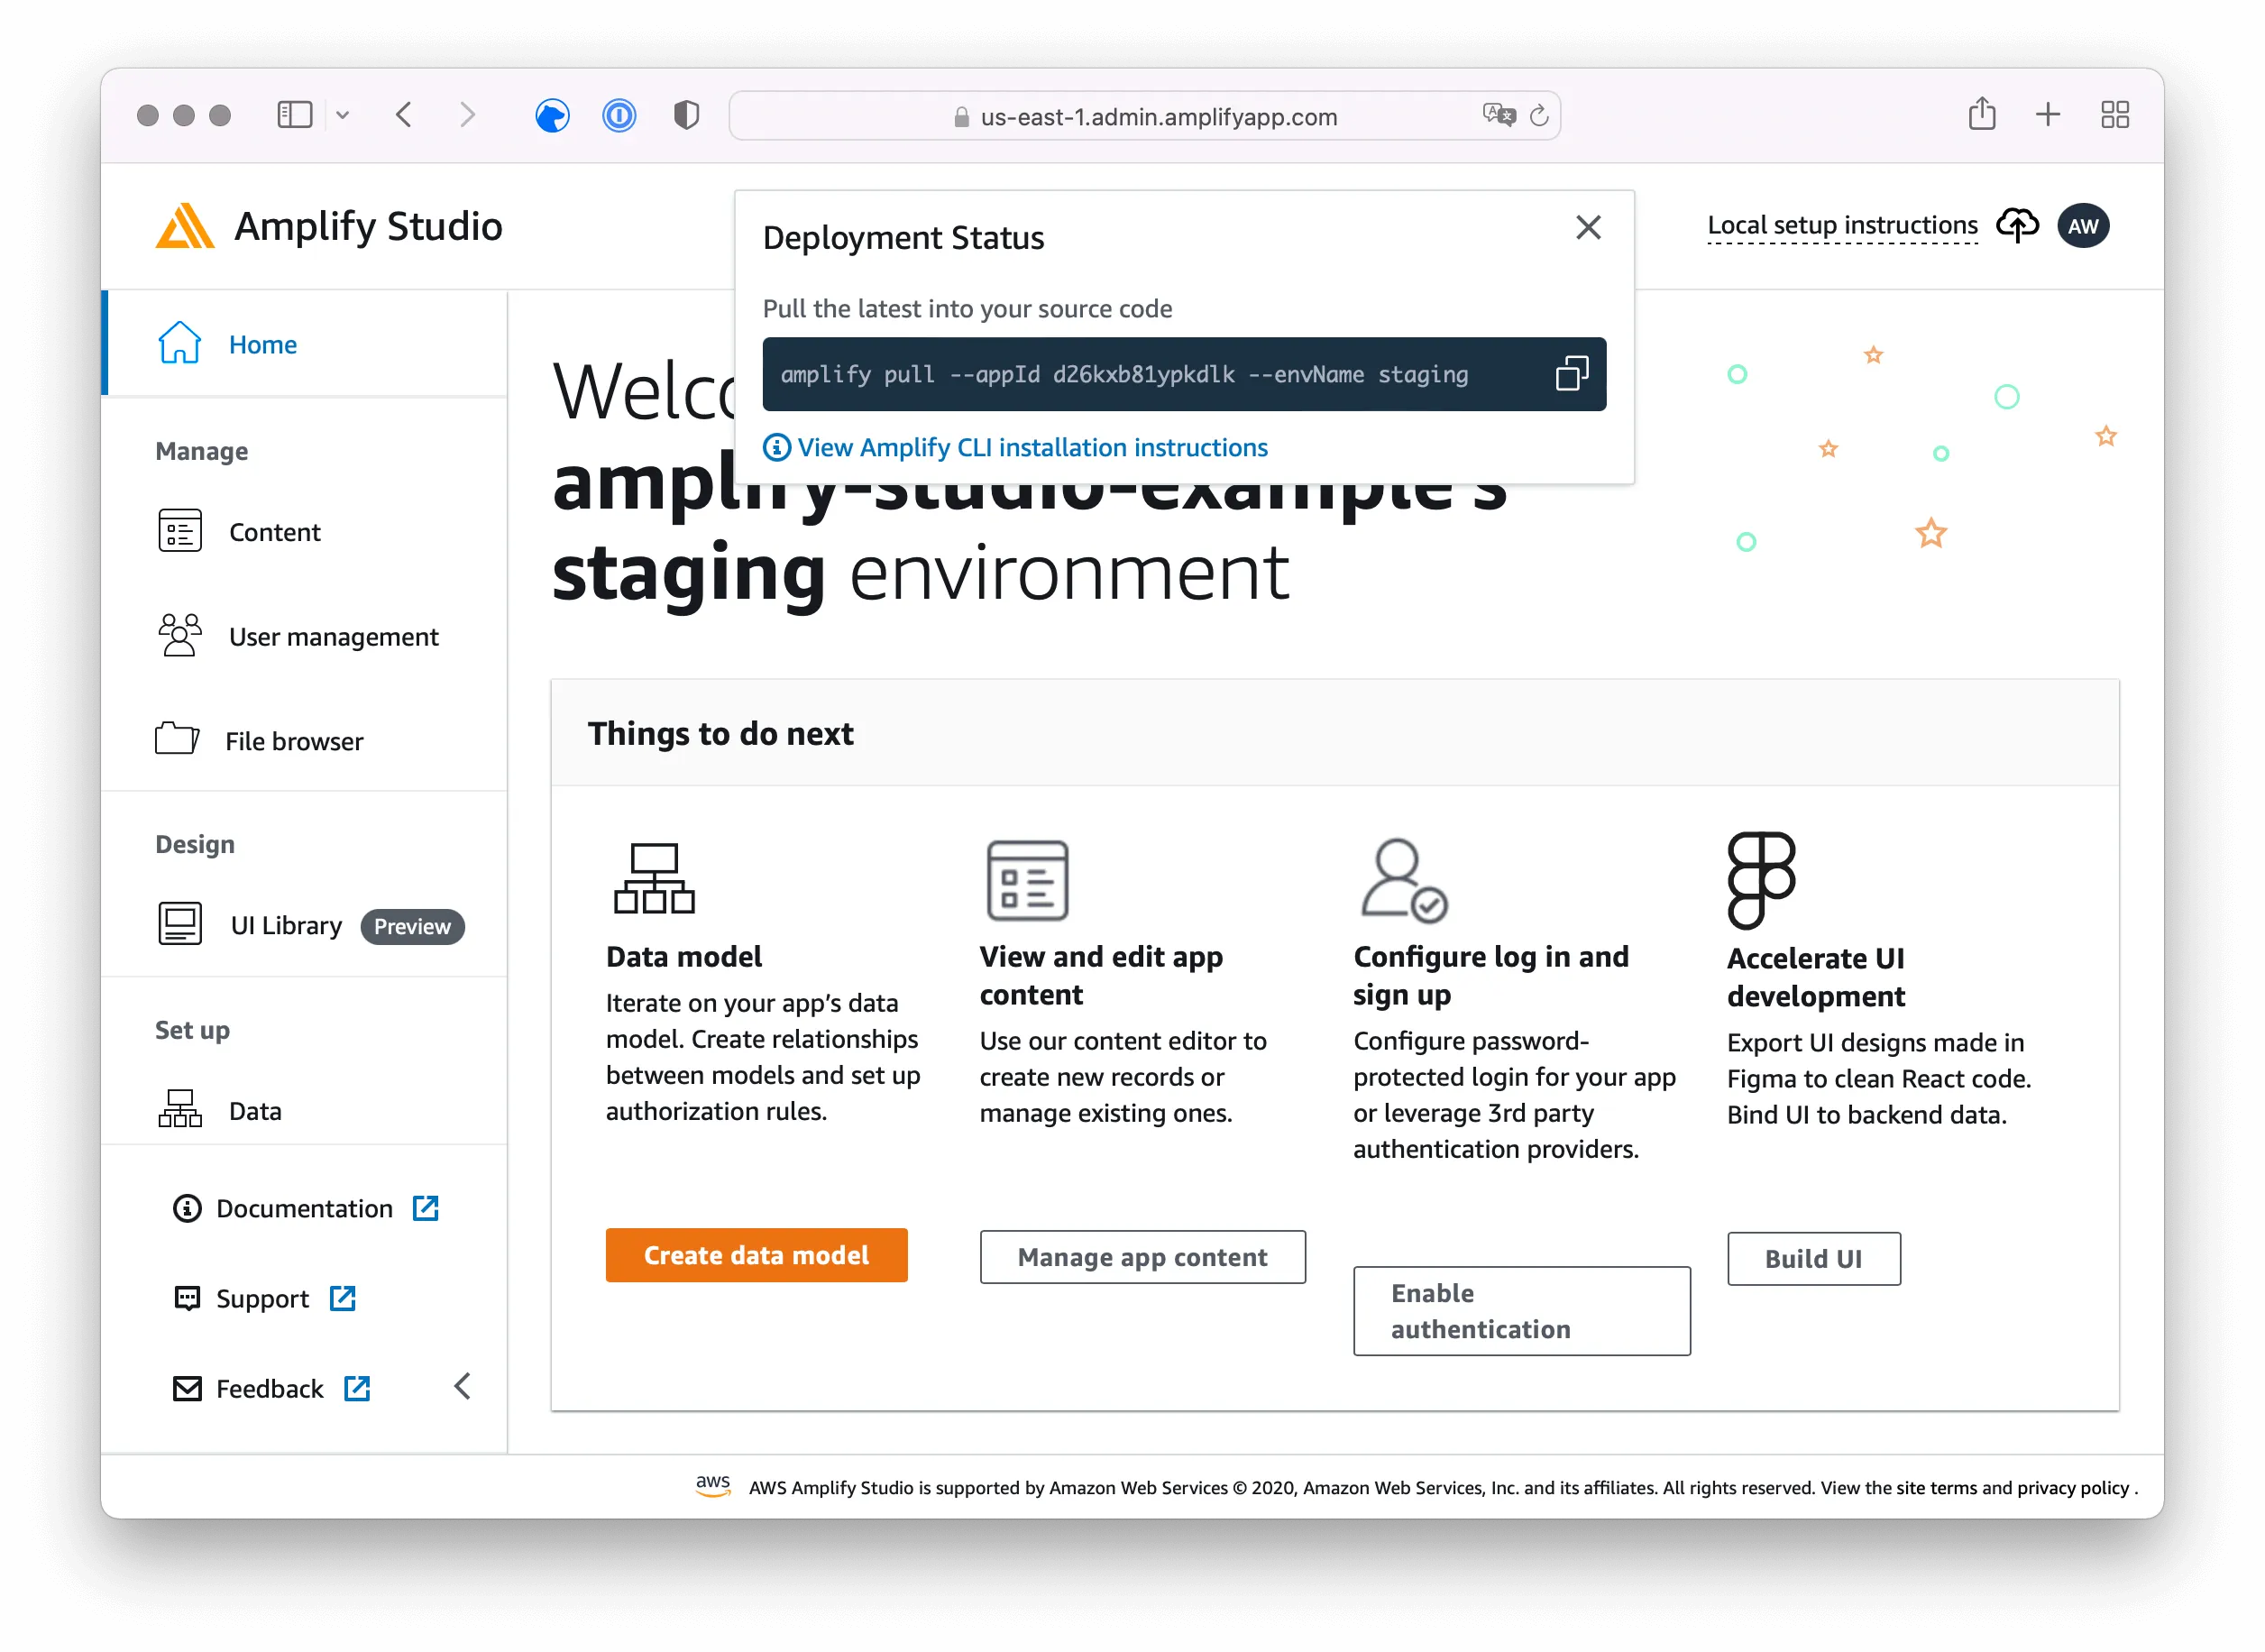
When running the displayed command, you first need to grant access for your AWS Amplify Studio environment to your AWS Amplify CLI.
# Pull Amplify project
$ > amplify pull --appId f41ody12kcnw5p --envName staging

Opening link: https://us-east-1.admin.amplifyapp.com/admin/f41ody12kcnw5p/staging/verify/

⠴ Continue in browser to log in…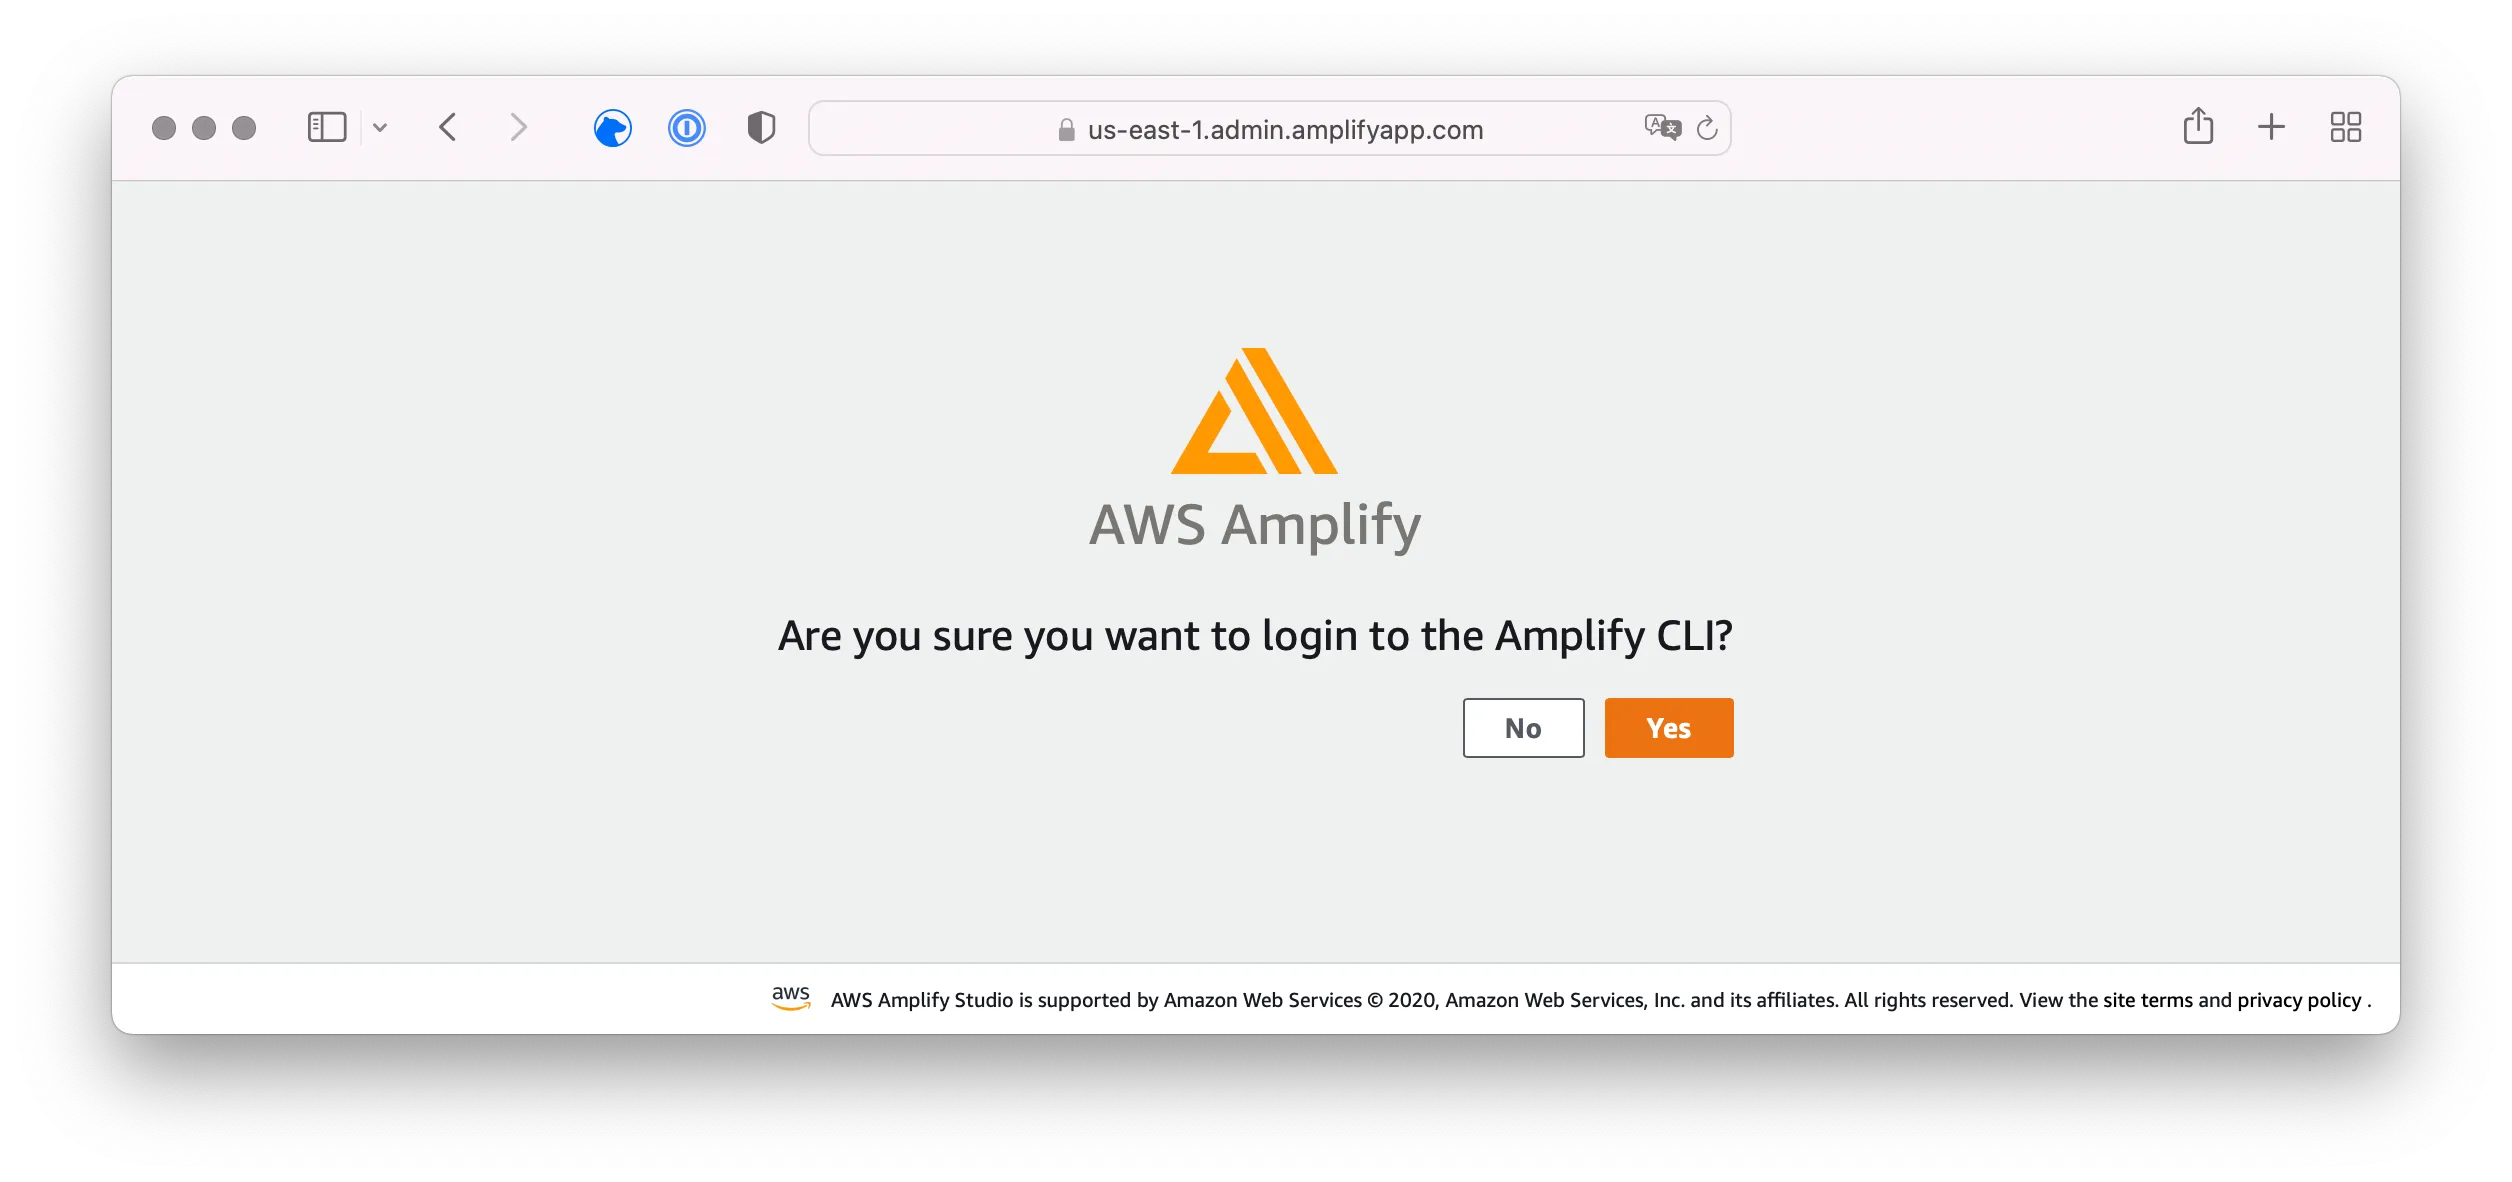
✔ Successfully received Amplify Studio tokens.

Amplify AppID found: f41ody12kcnw5p.
Amplify App name is: react-figma-amplify-studio-example
The AWS Amplify CLI requires basic information regarding the type of integration you plan to use. You can perfectly use the default values for now. Even though the created react project is using TypeScript, it’s safe to select javascript here.
? Choose your default editor: (Use arrow keys)
❯ Visual Studio Code

? Choose the type of app that you are building (Use arrow keys)
❯ javascript

? What javascript framework are you using (Use arrow keys)
❯ react

? Source Directory Path:  (src)
? Distribution Directory Path: (build)
? Build Command:  (npm run-script build)
? Start Command: (npm run-script start)

? Do you plan on modifying this backend? (Y/n)
✔ Successfully pulled backend environment staging from the cloud.

Successfully pulled backend environment staging from the cloud.
Run "amplify pull" to sync future upstream changes.
With the basic integration in place, you need to create a Figma project next; or work on an already existing one.
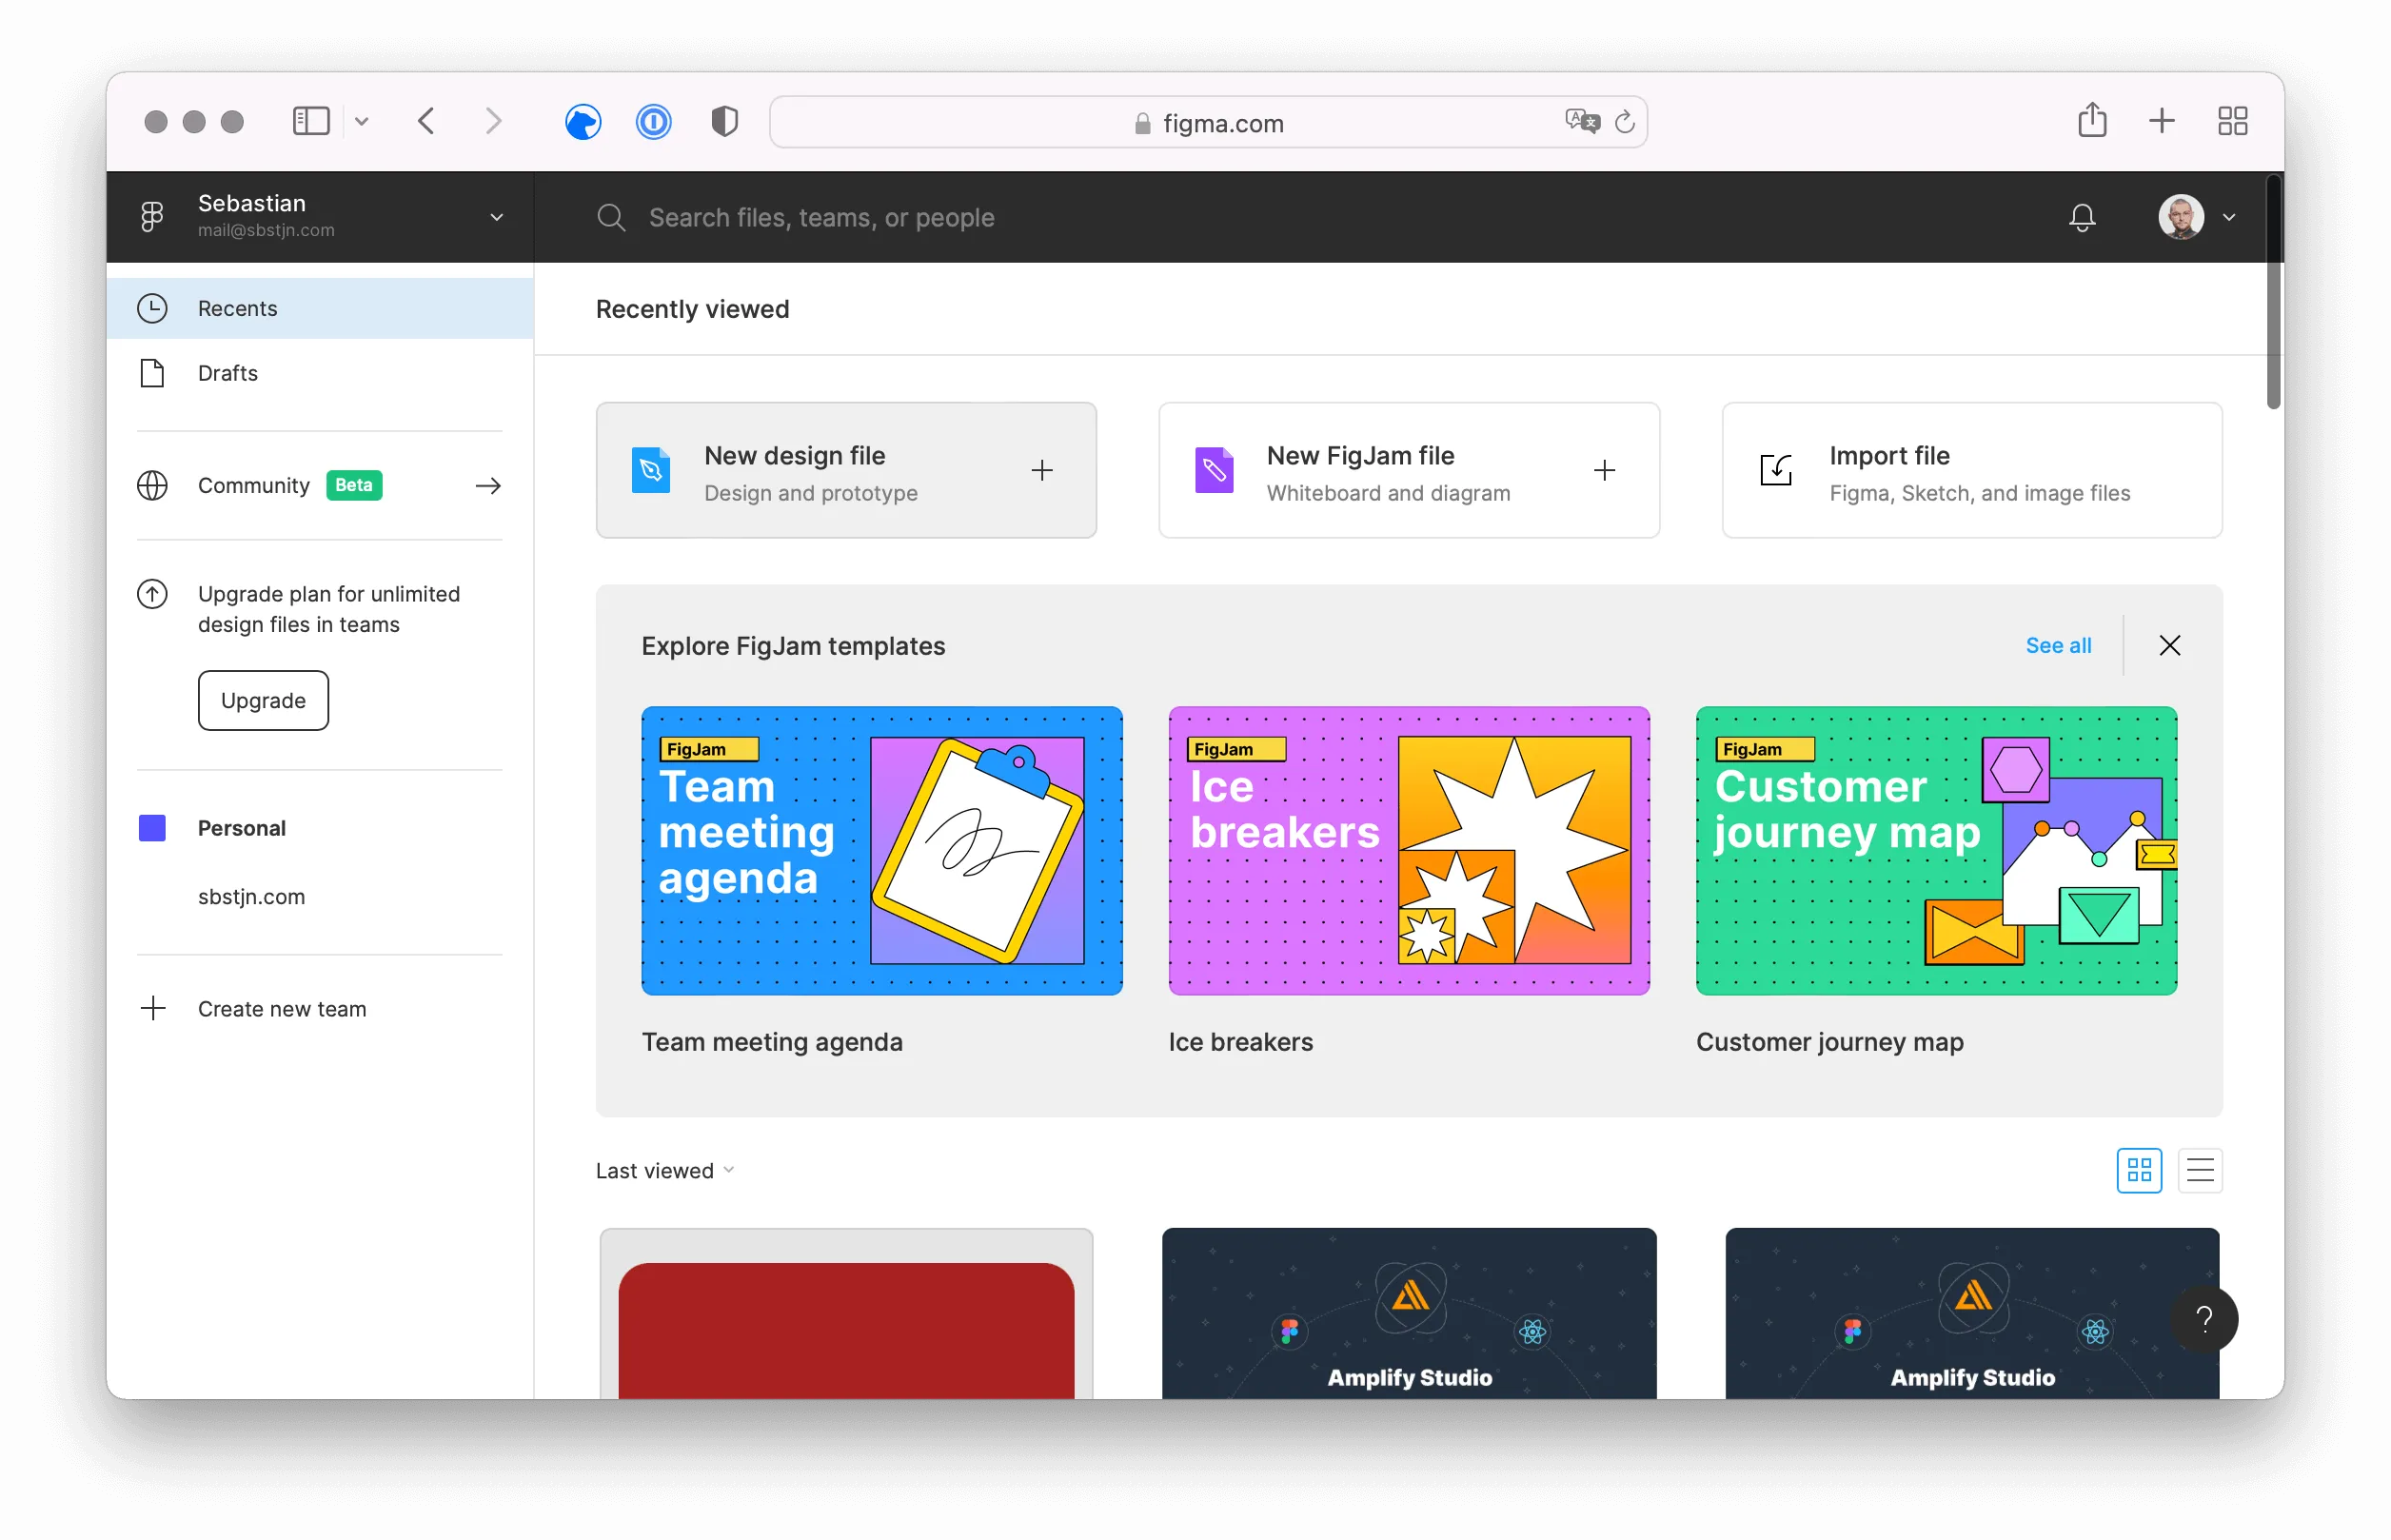
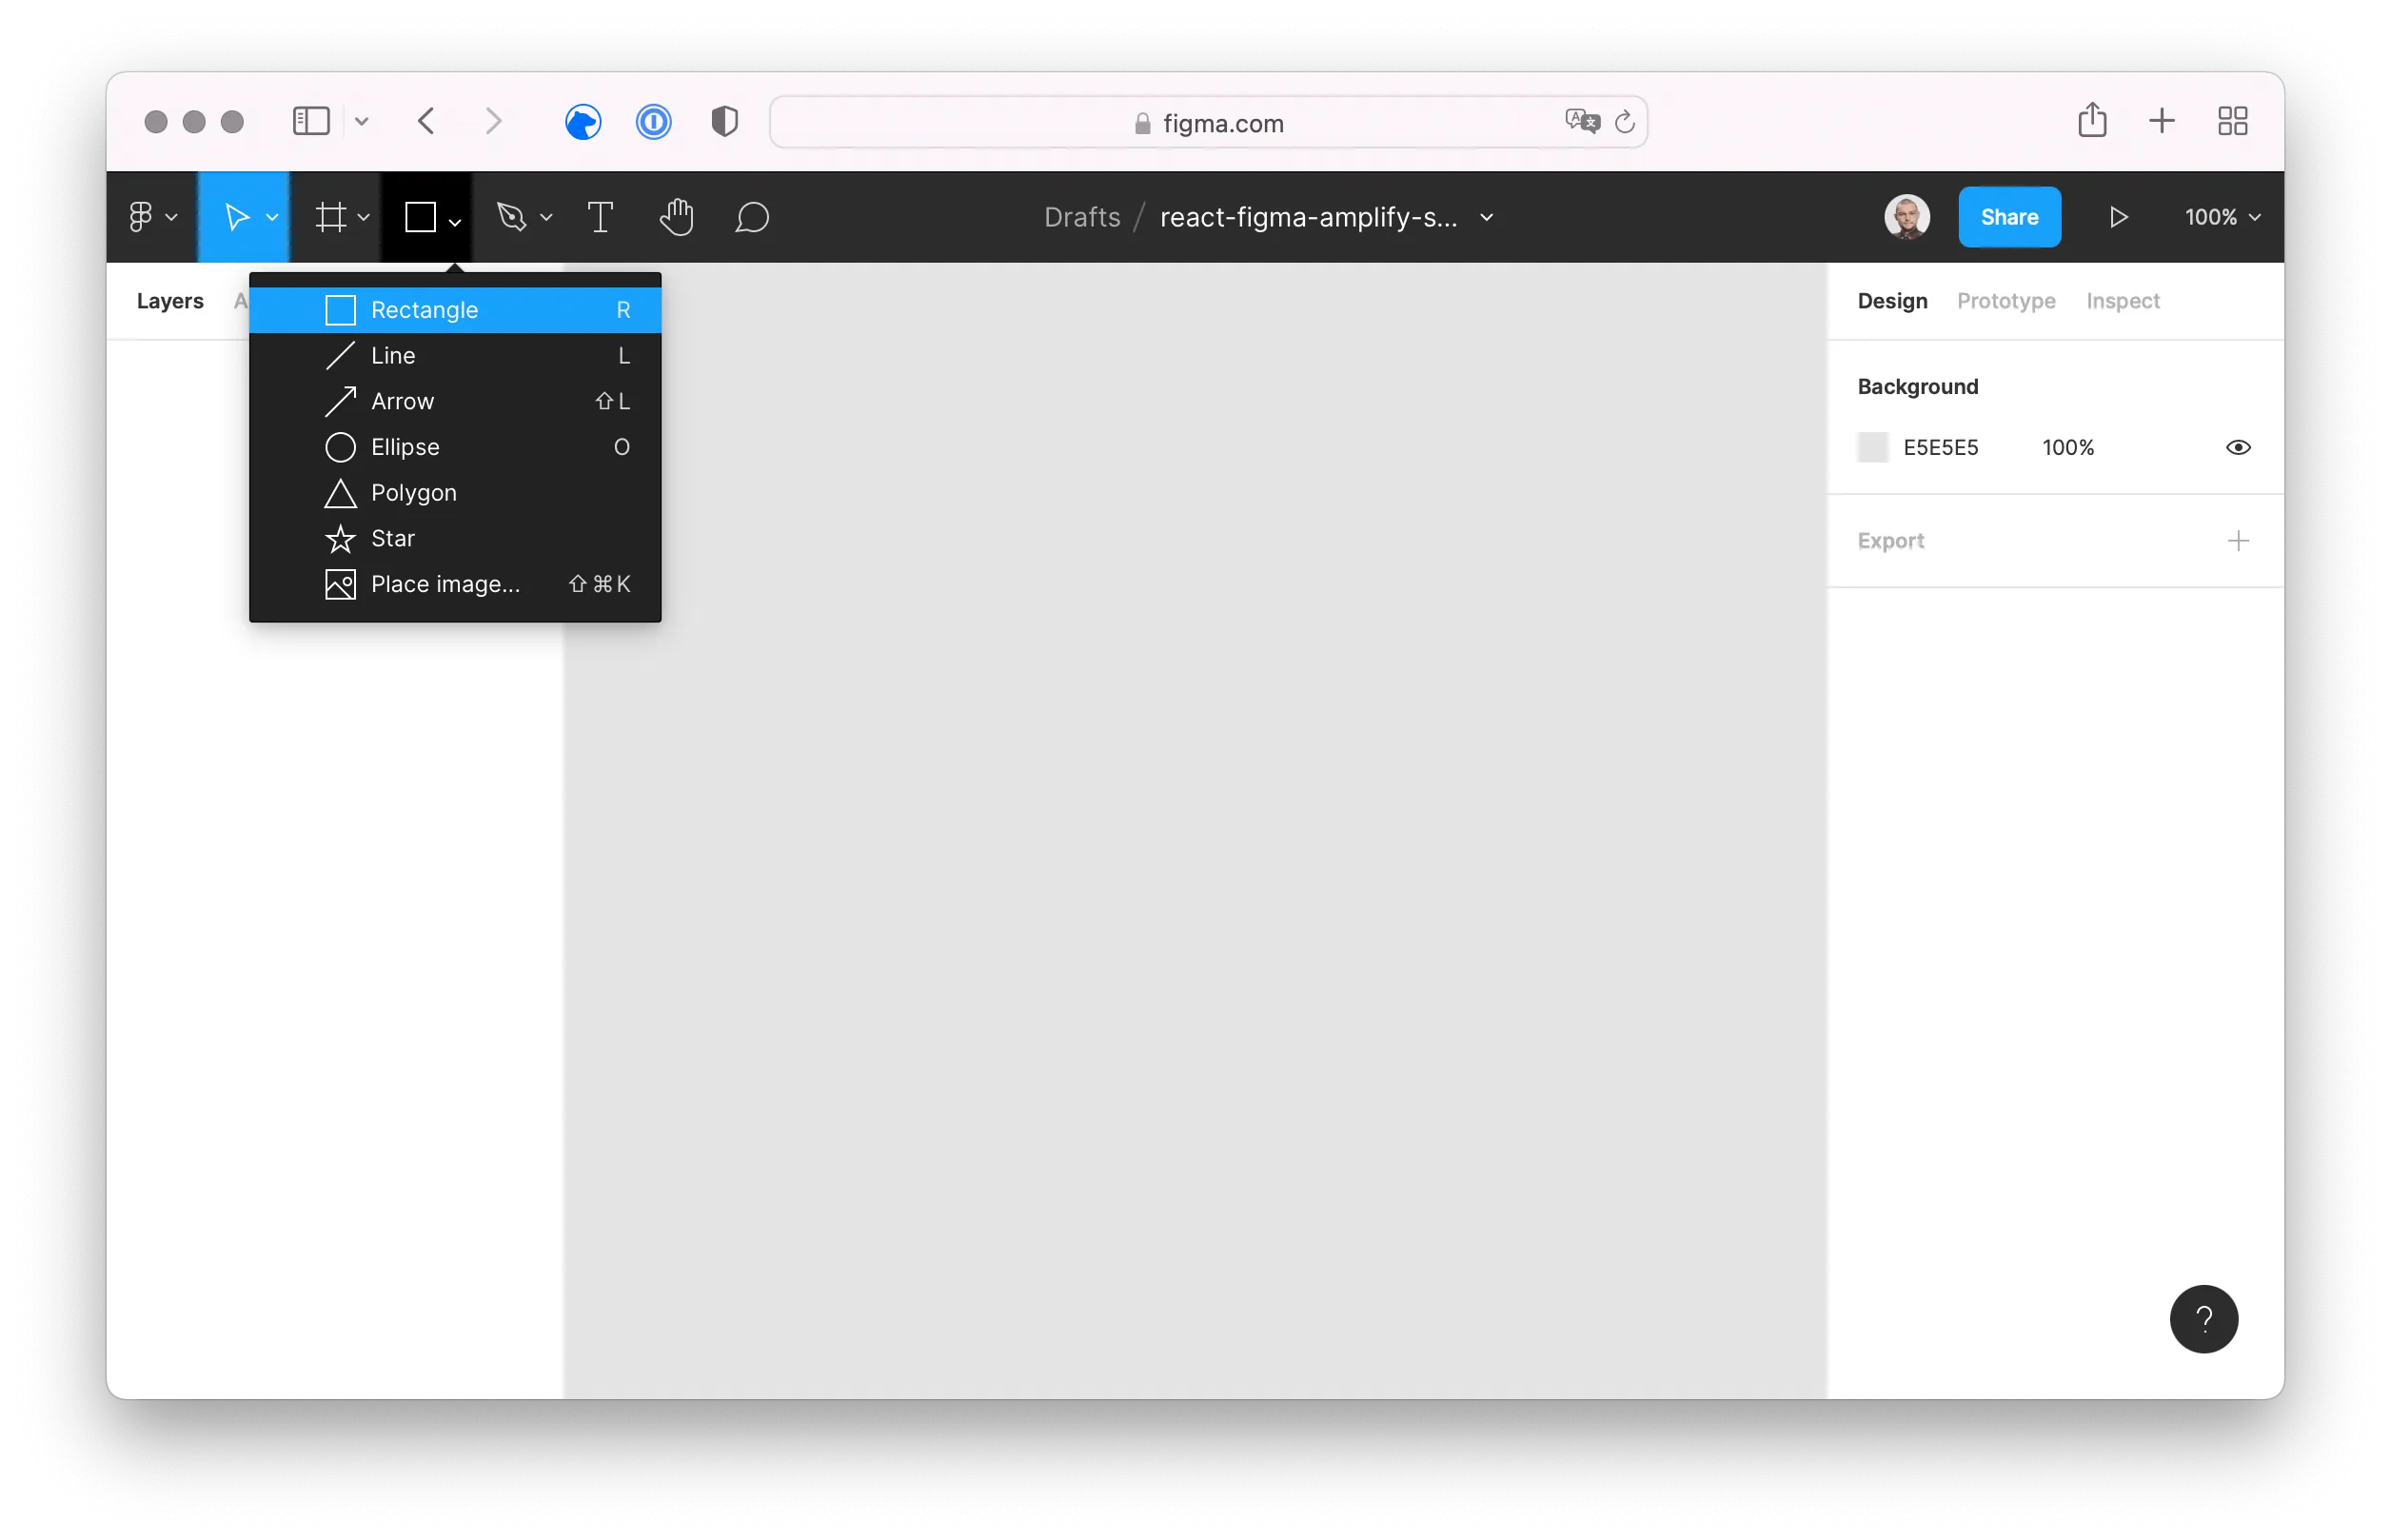
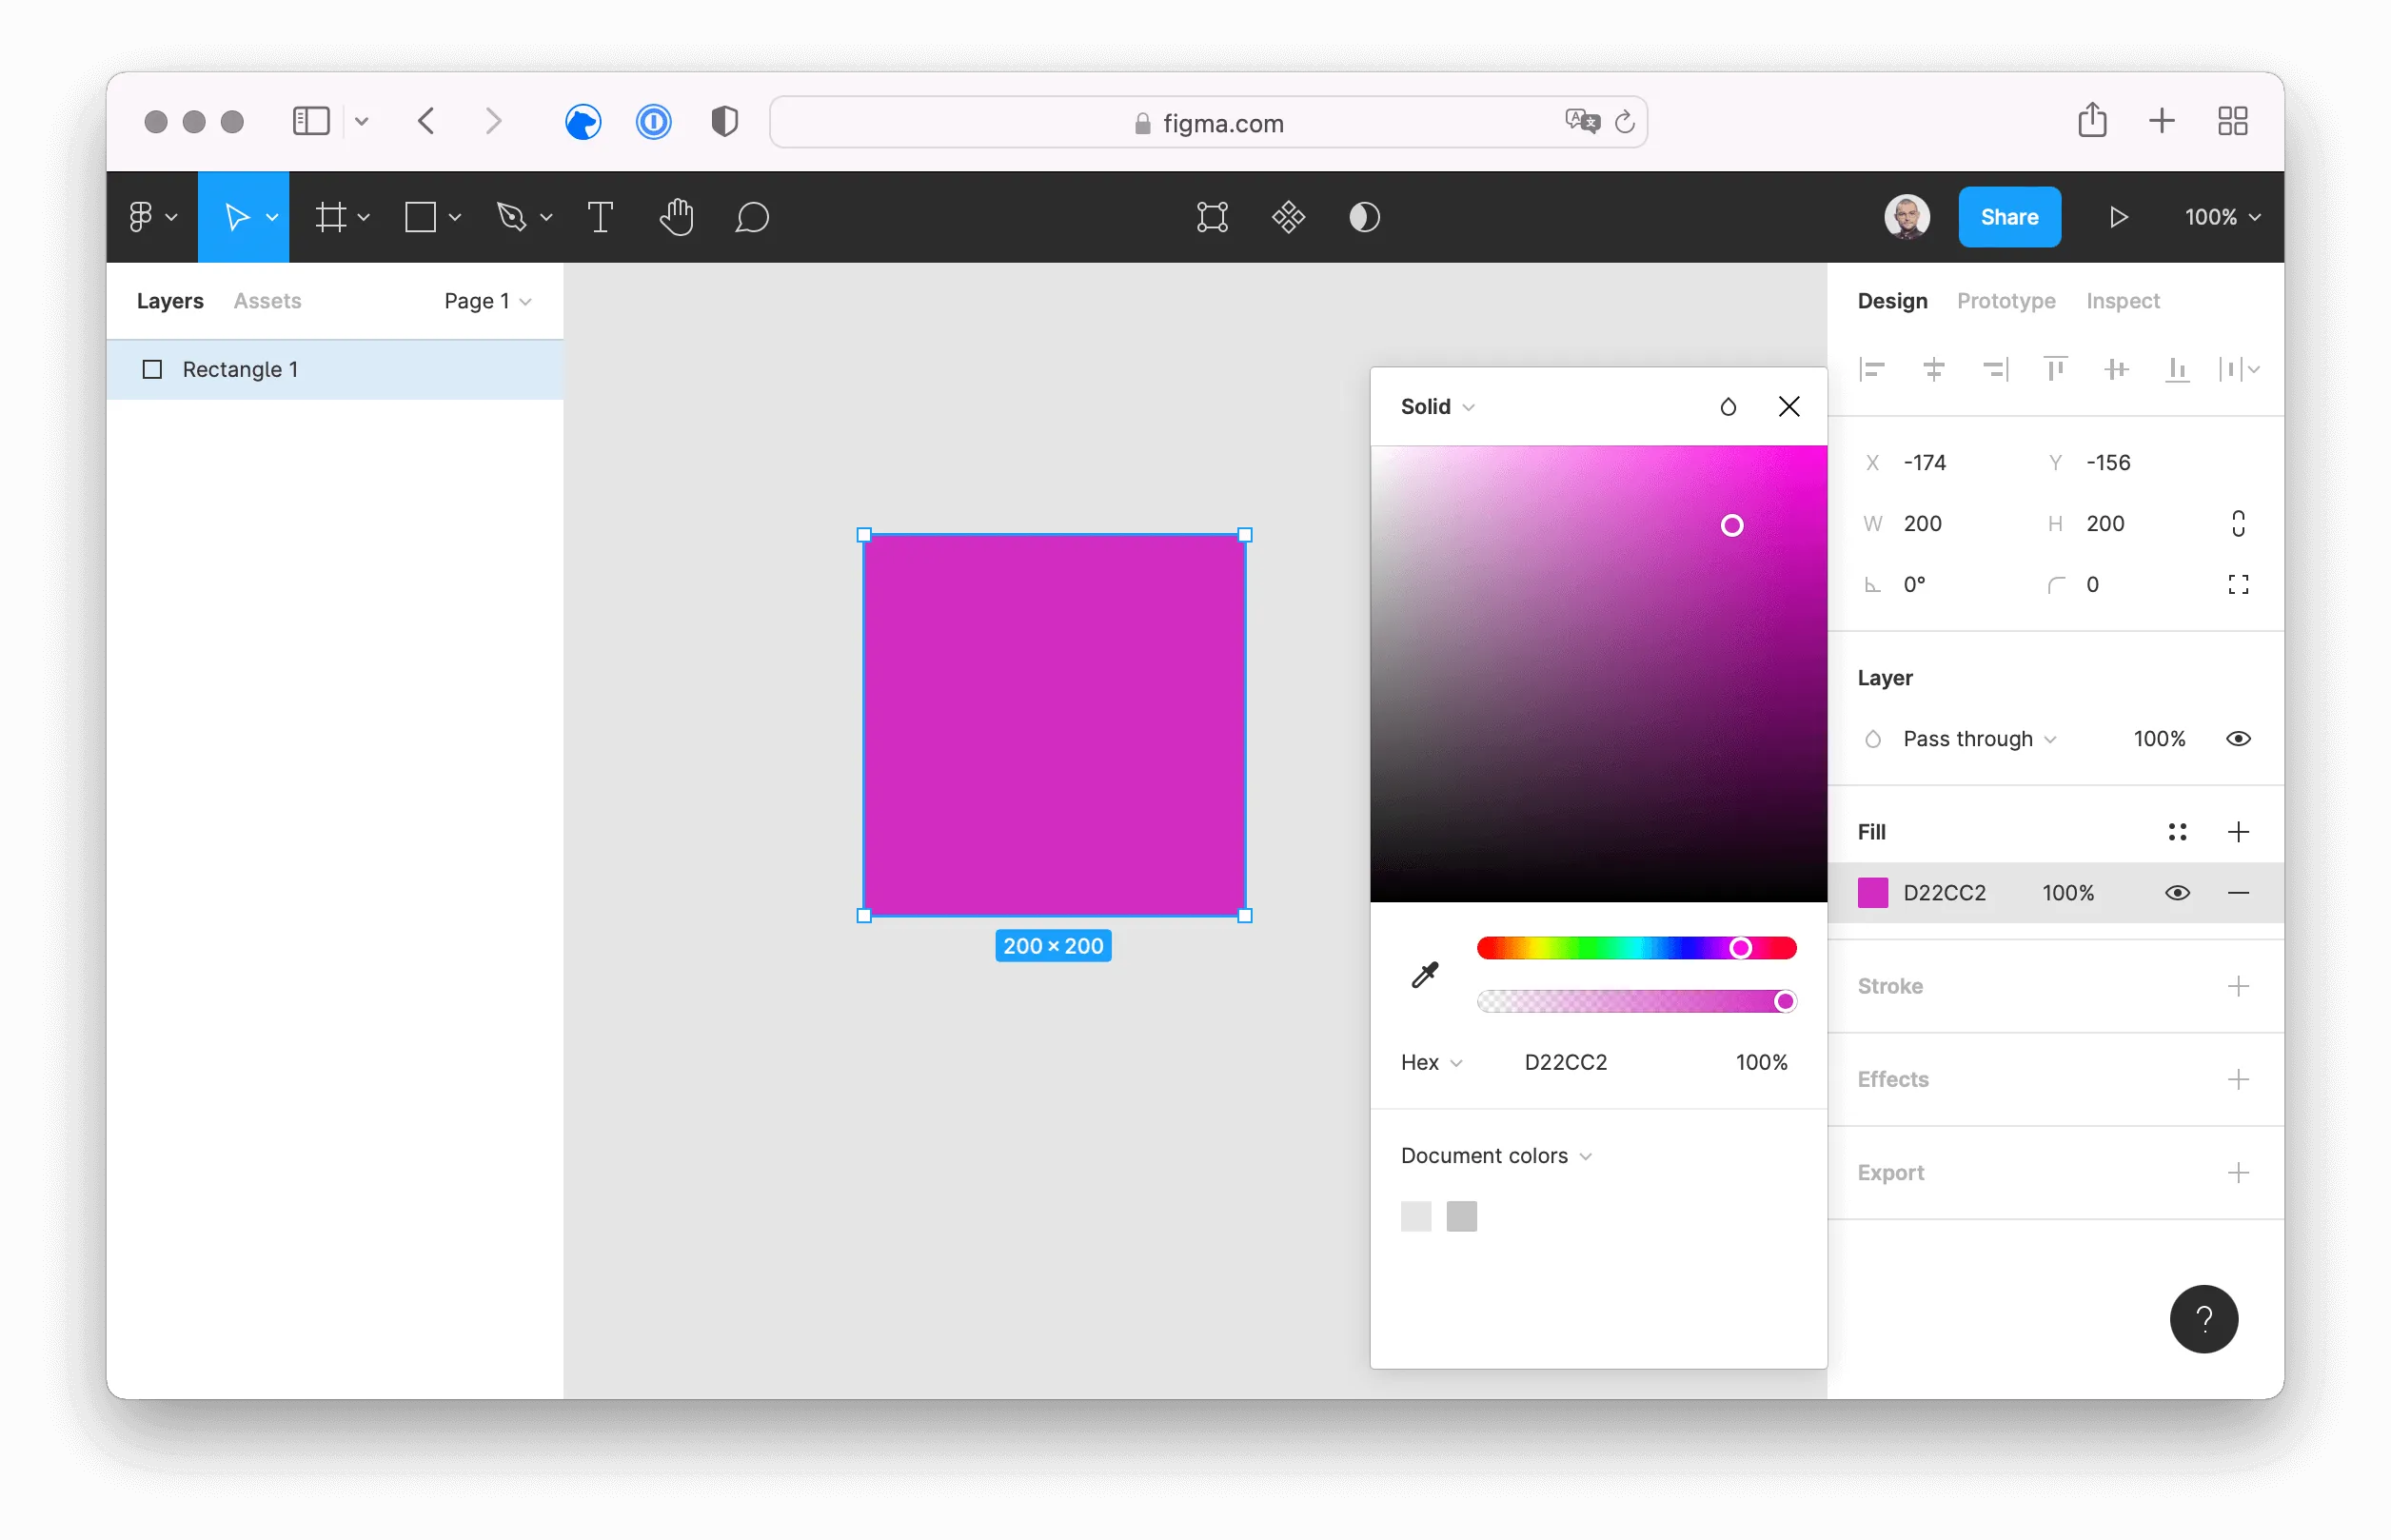
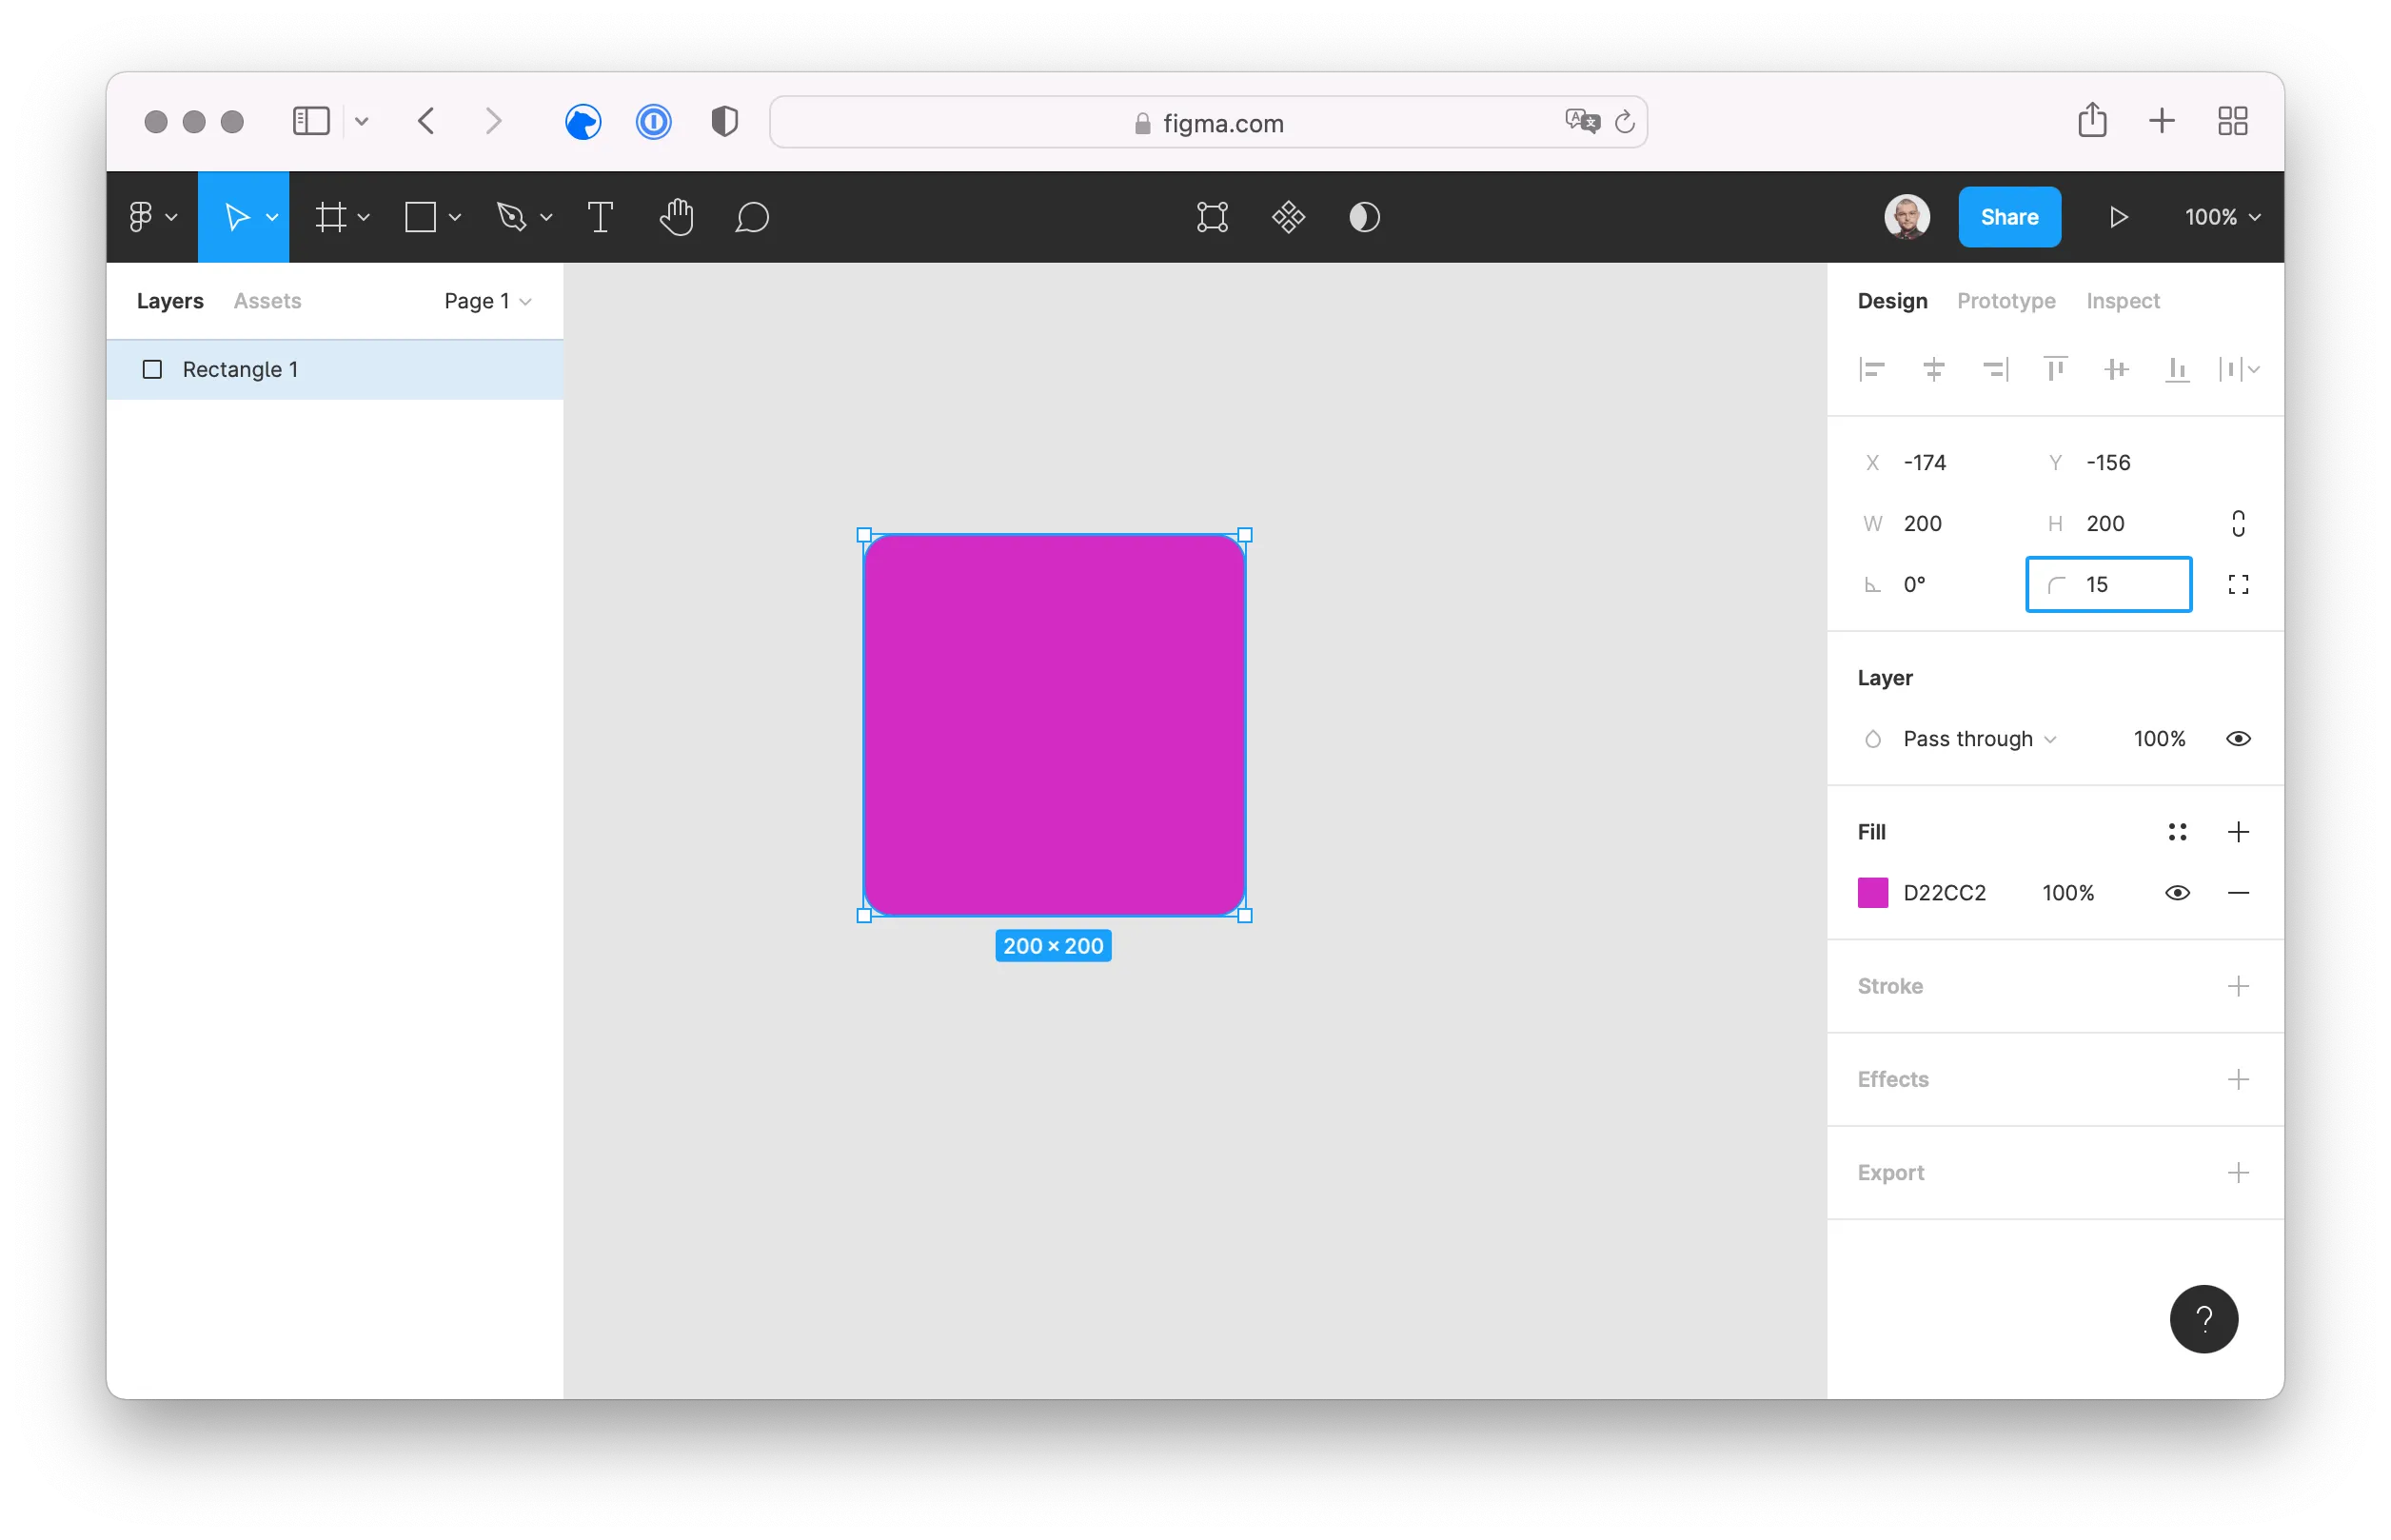
Create Figma Project
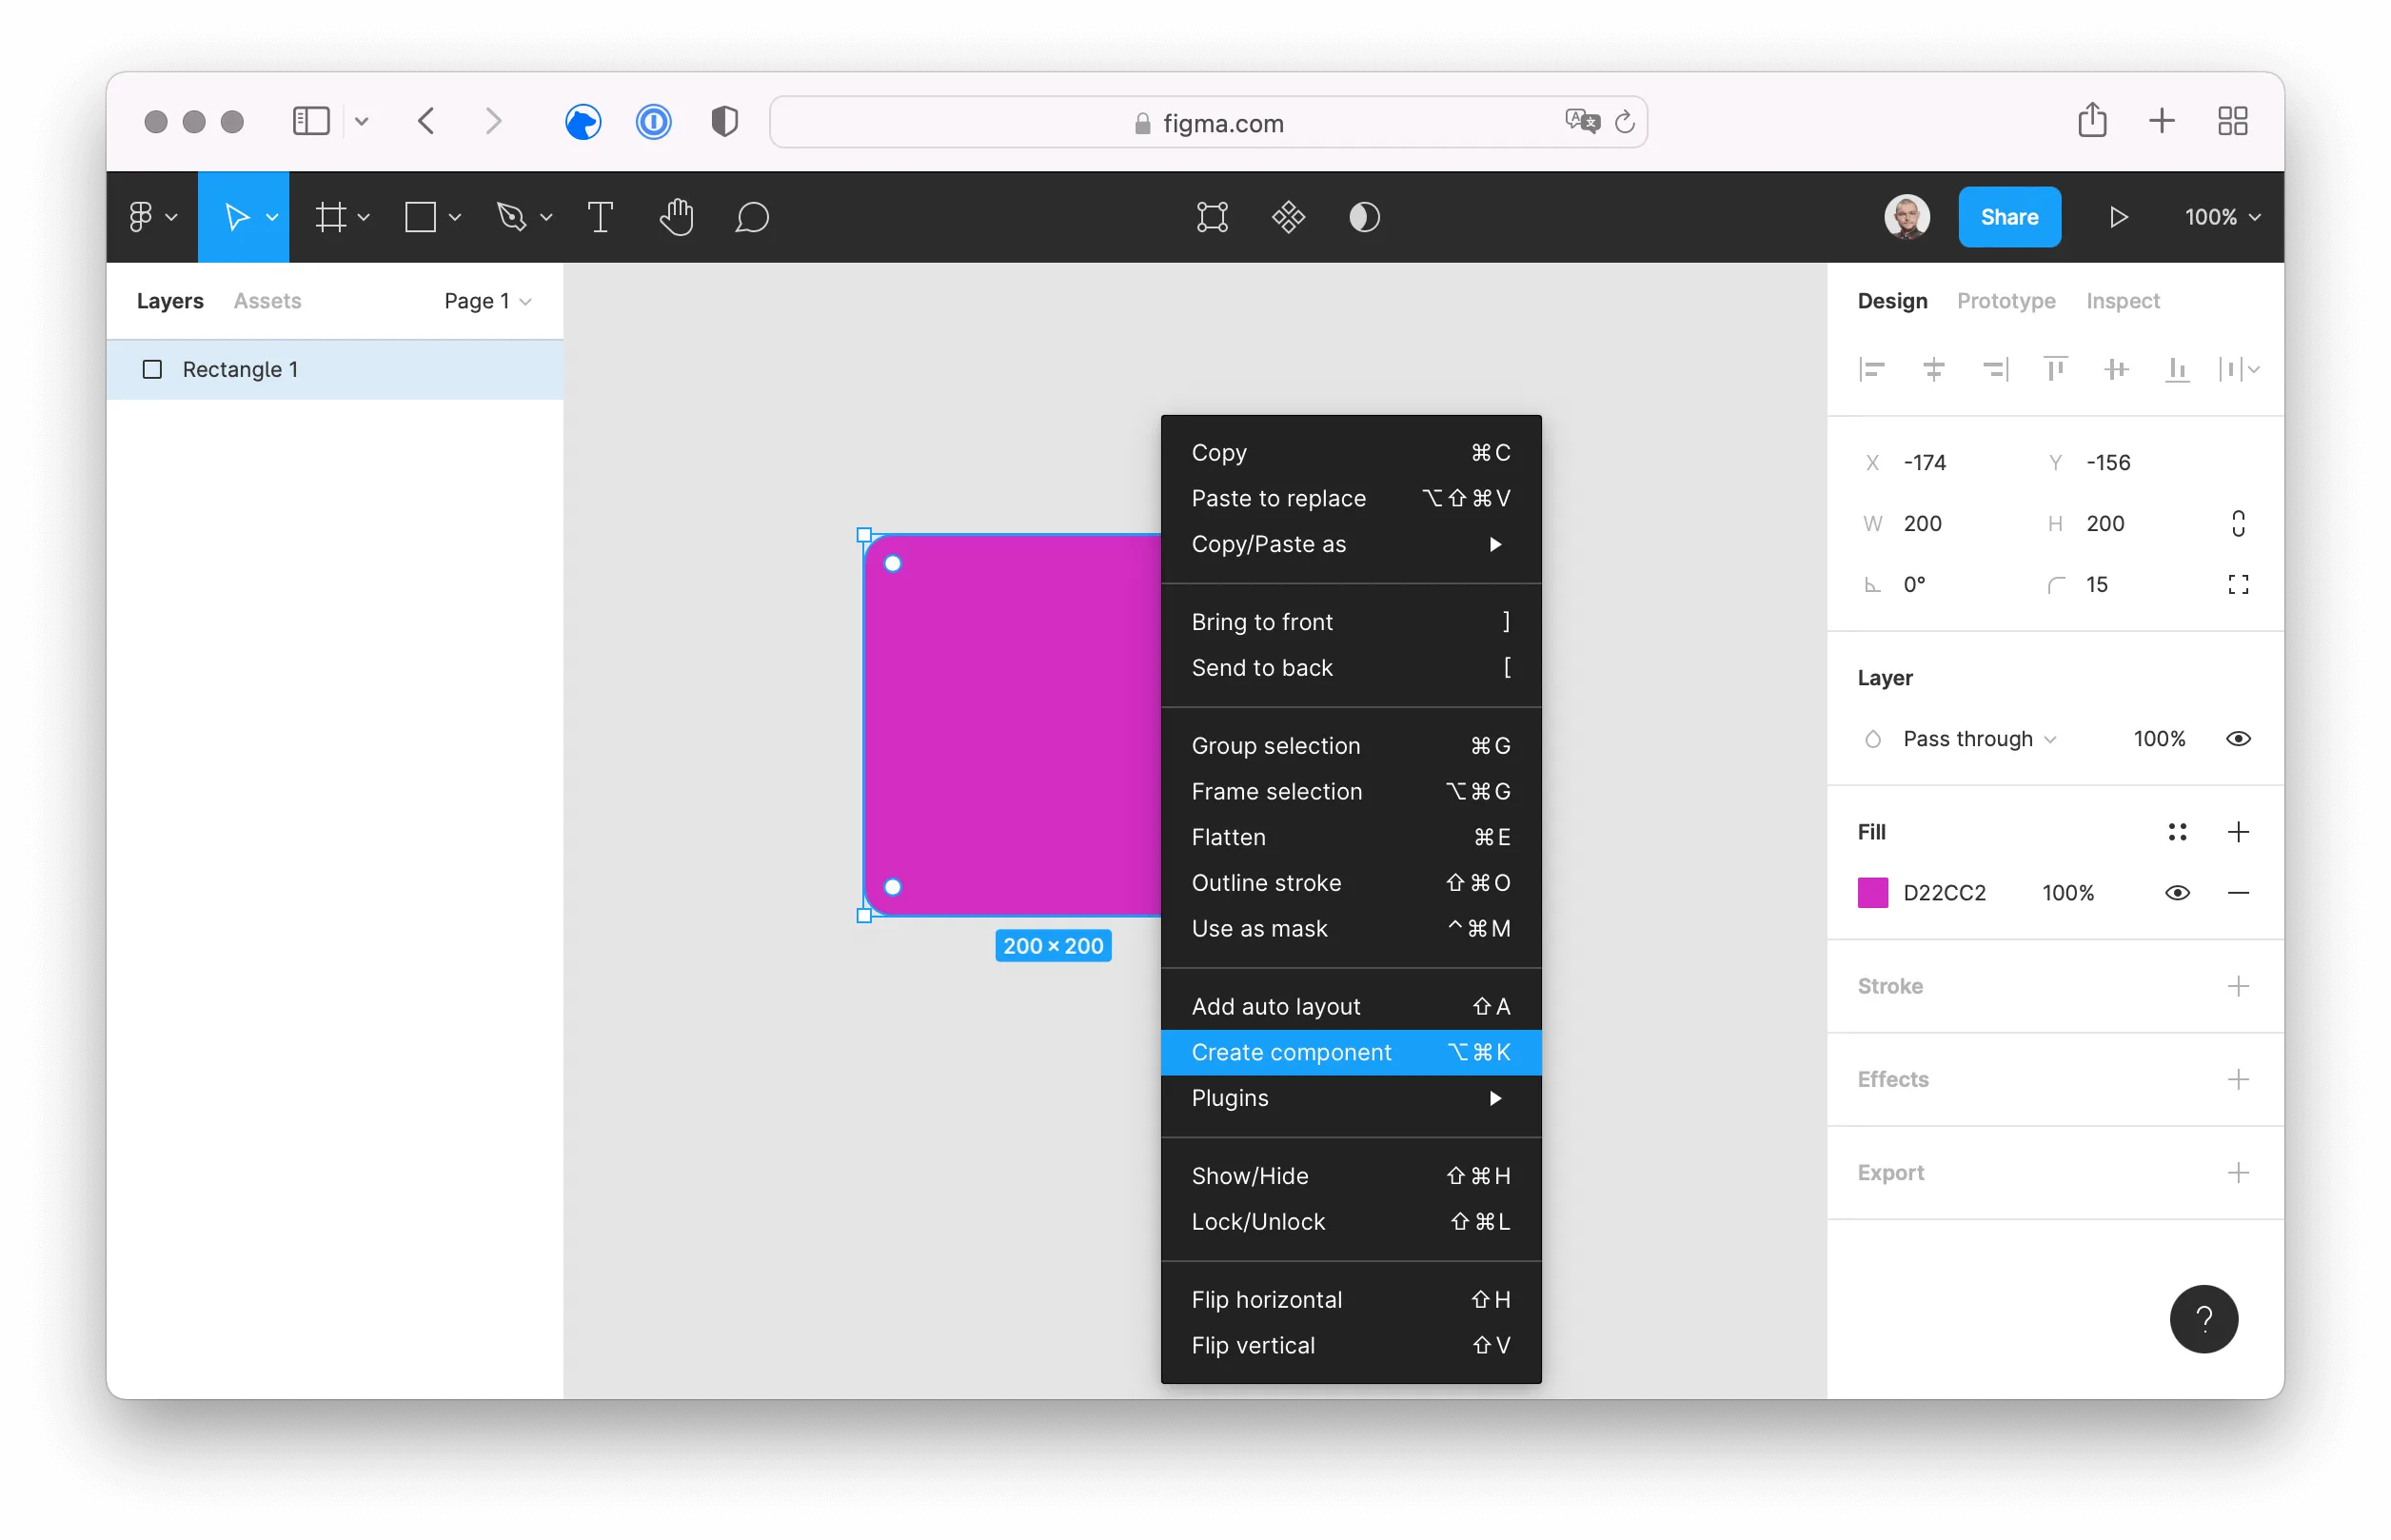
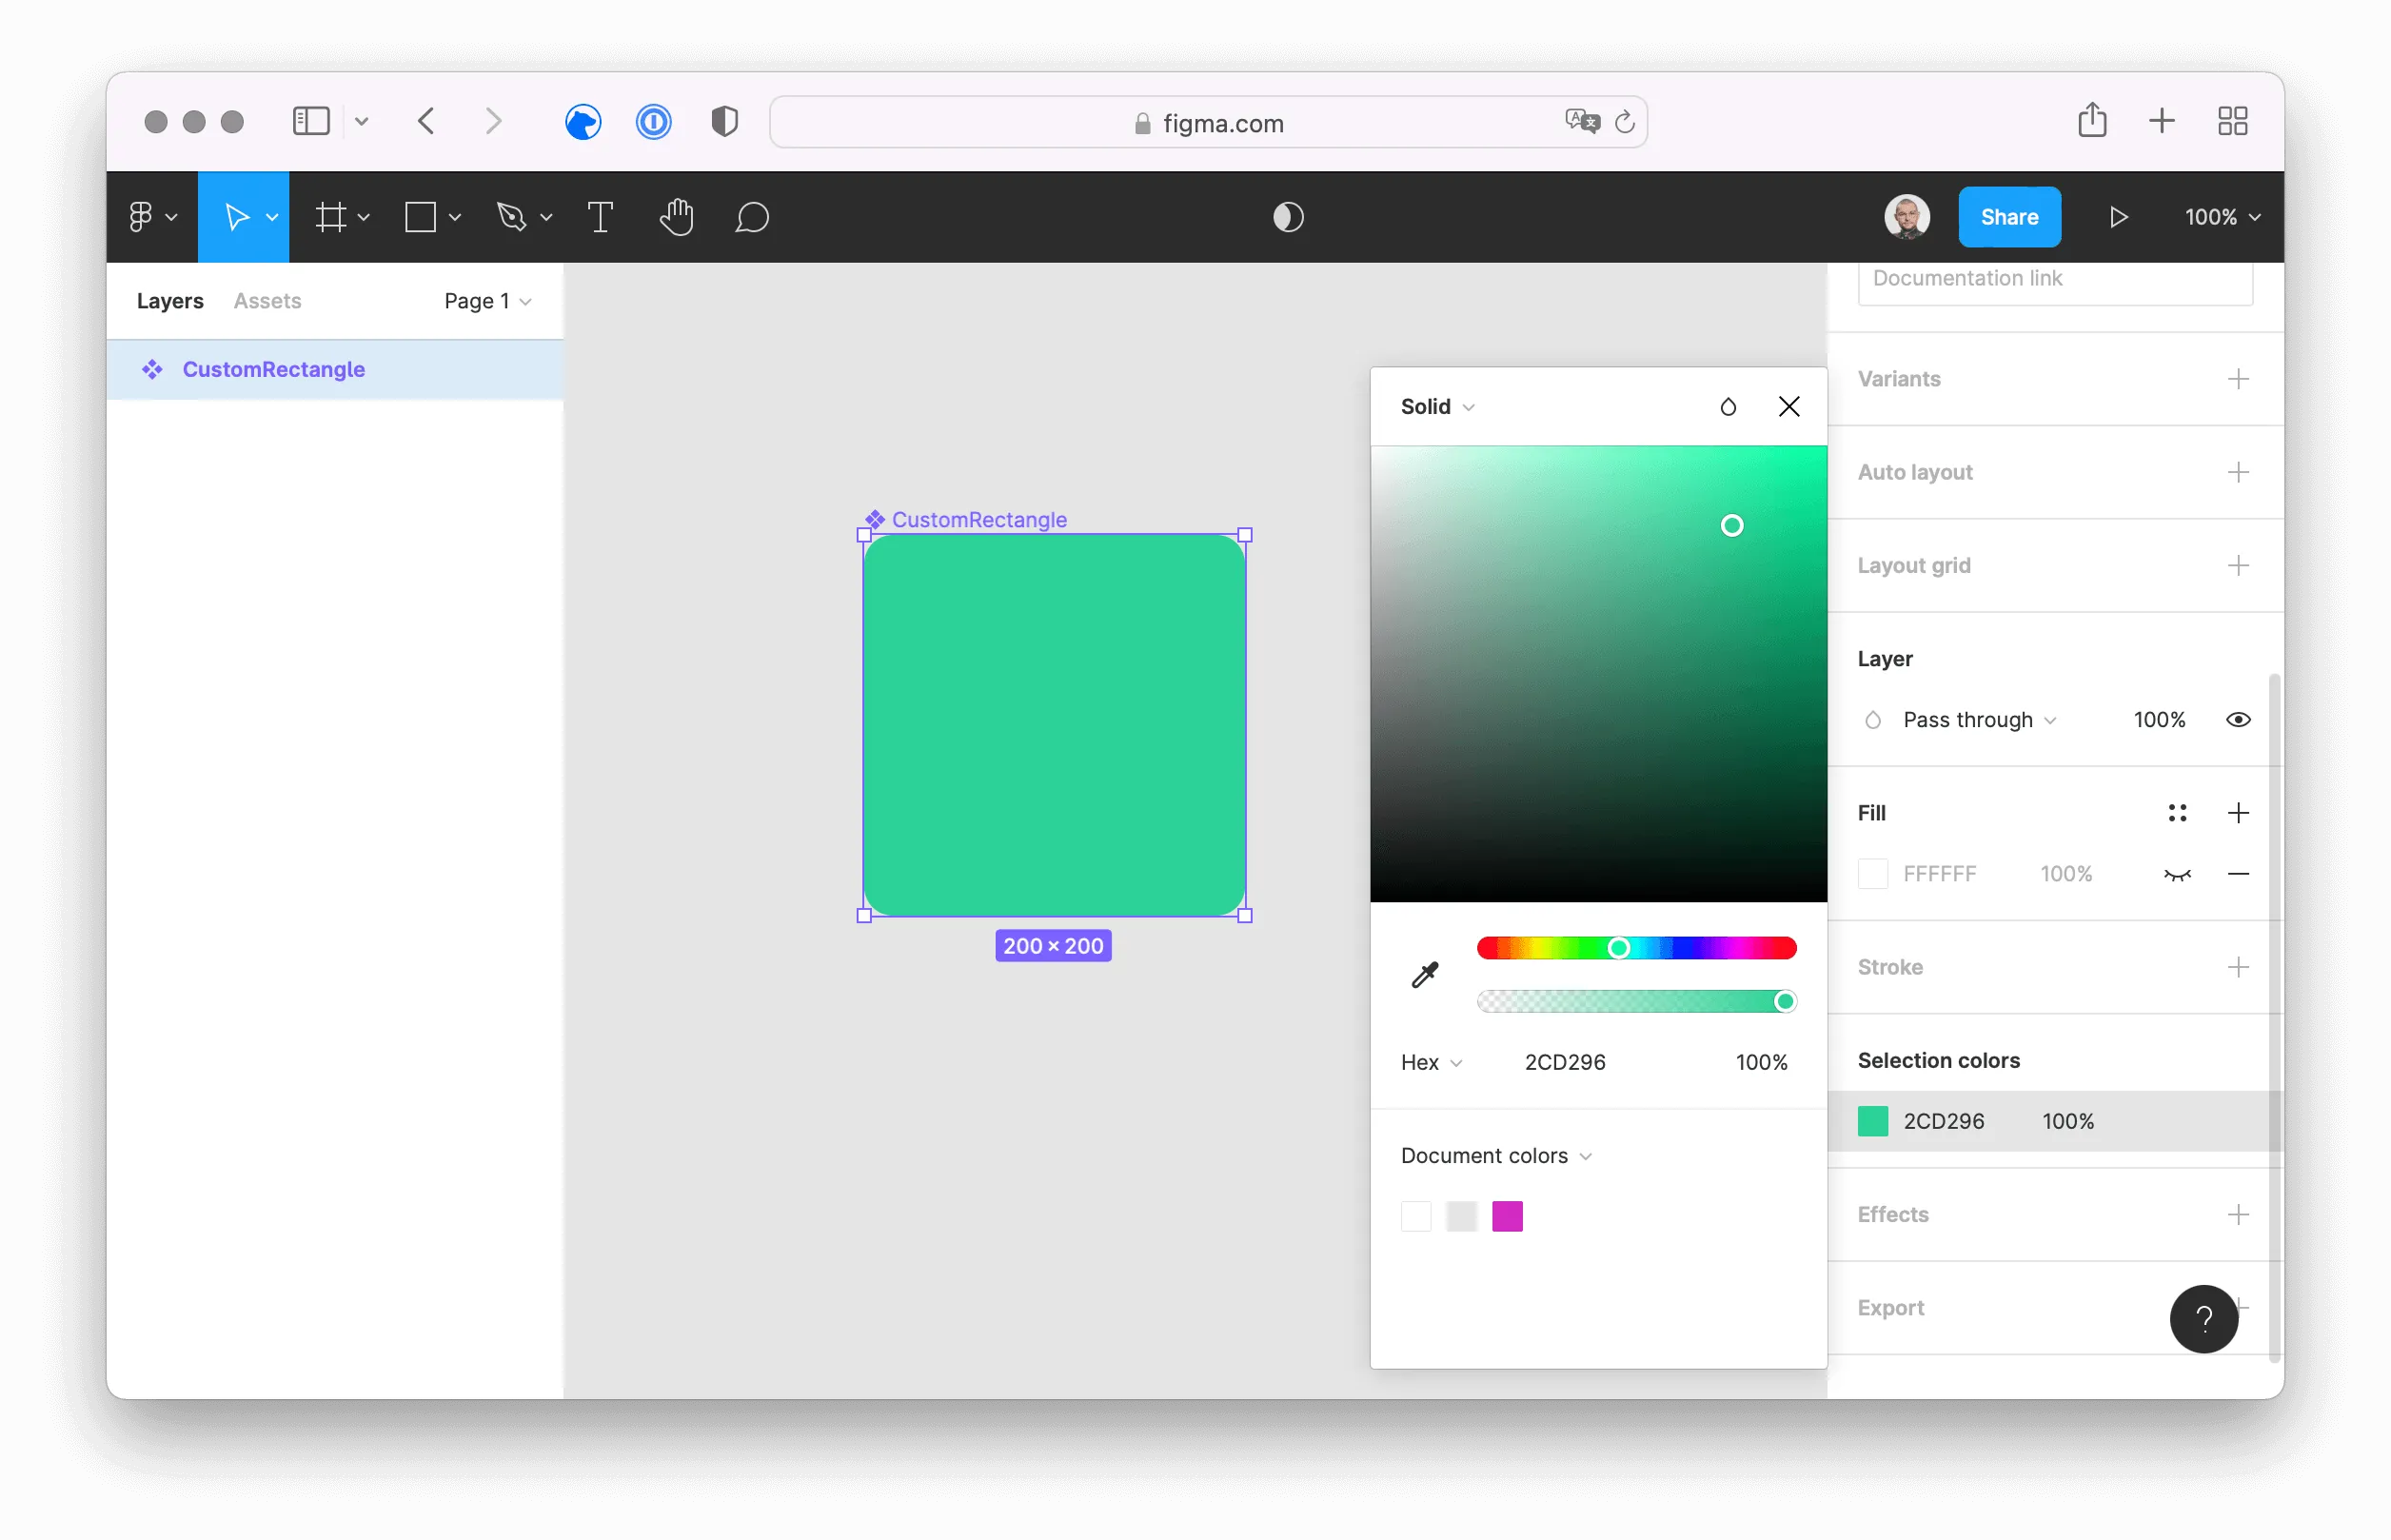
Just create a New design file and place something simple, like a rectangle with colored background and rounded corners, on your page. For testing the basic integration of Figma and AWS Amplify, this works fine.
To use the Figma object in AWS Amplify Studio you have to Create a Component first. If you have multiple components, make sure to choose a proper name.
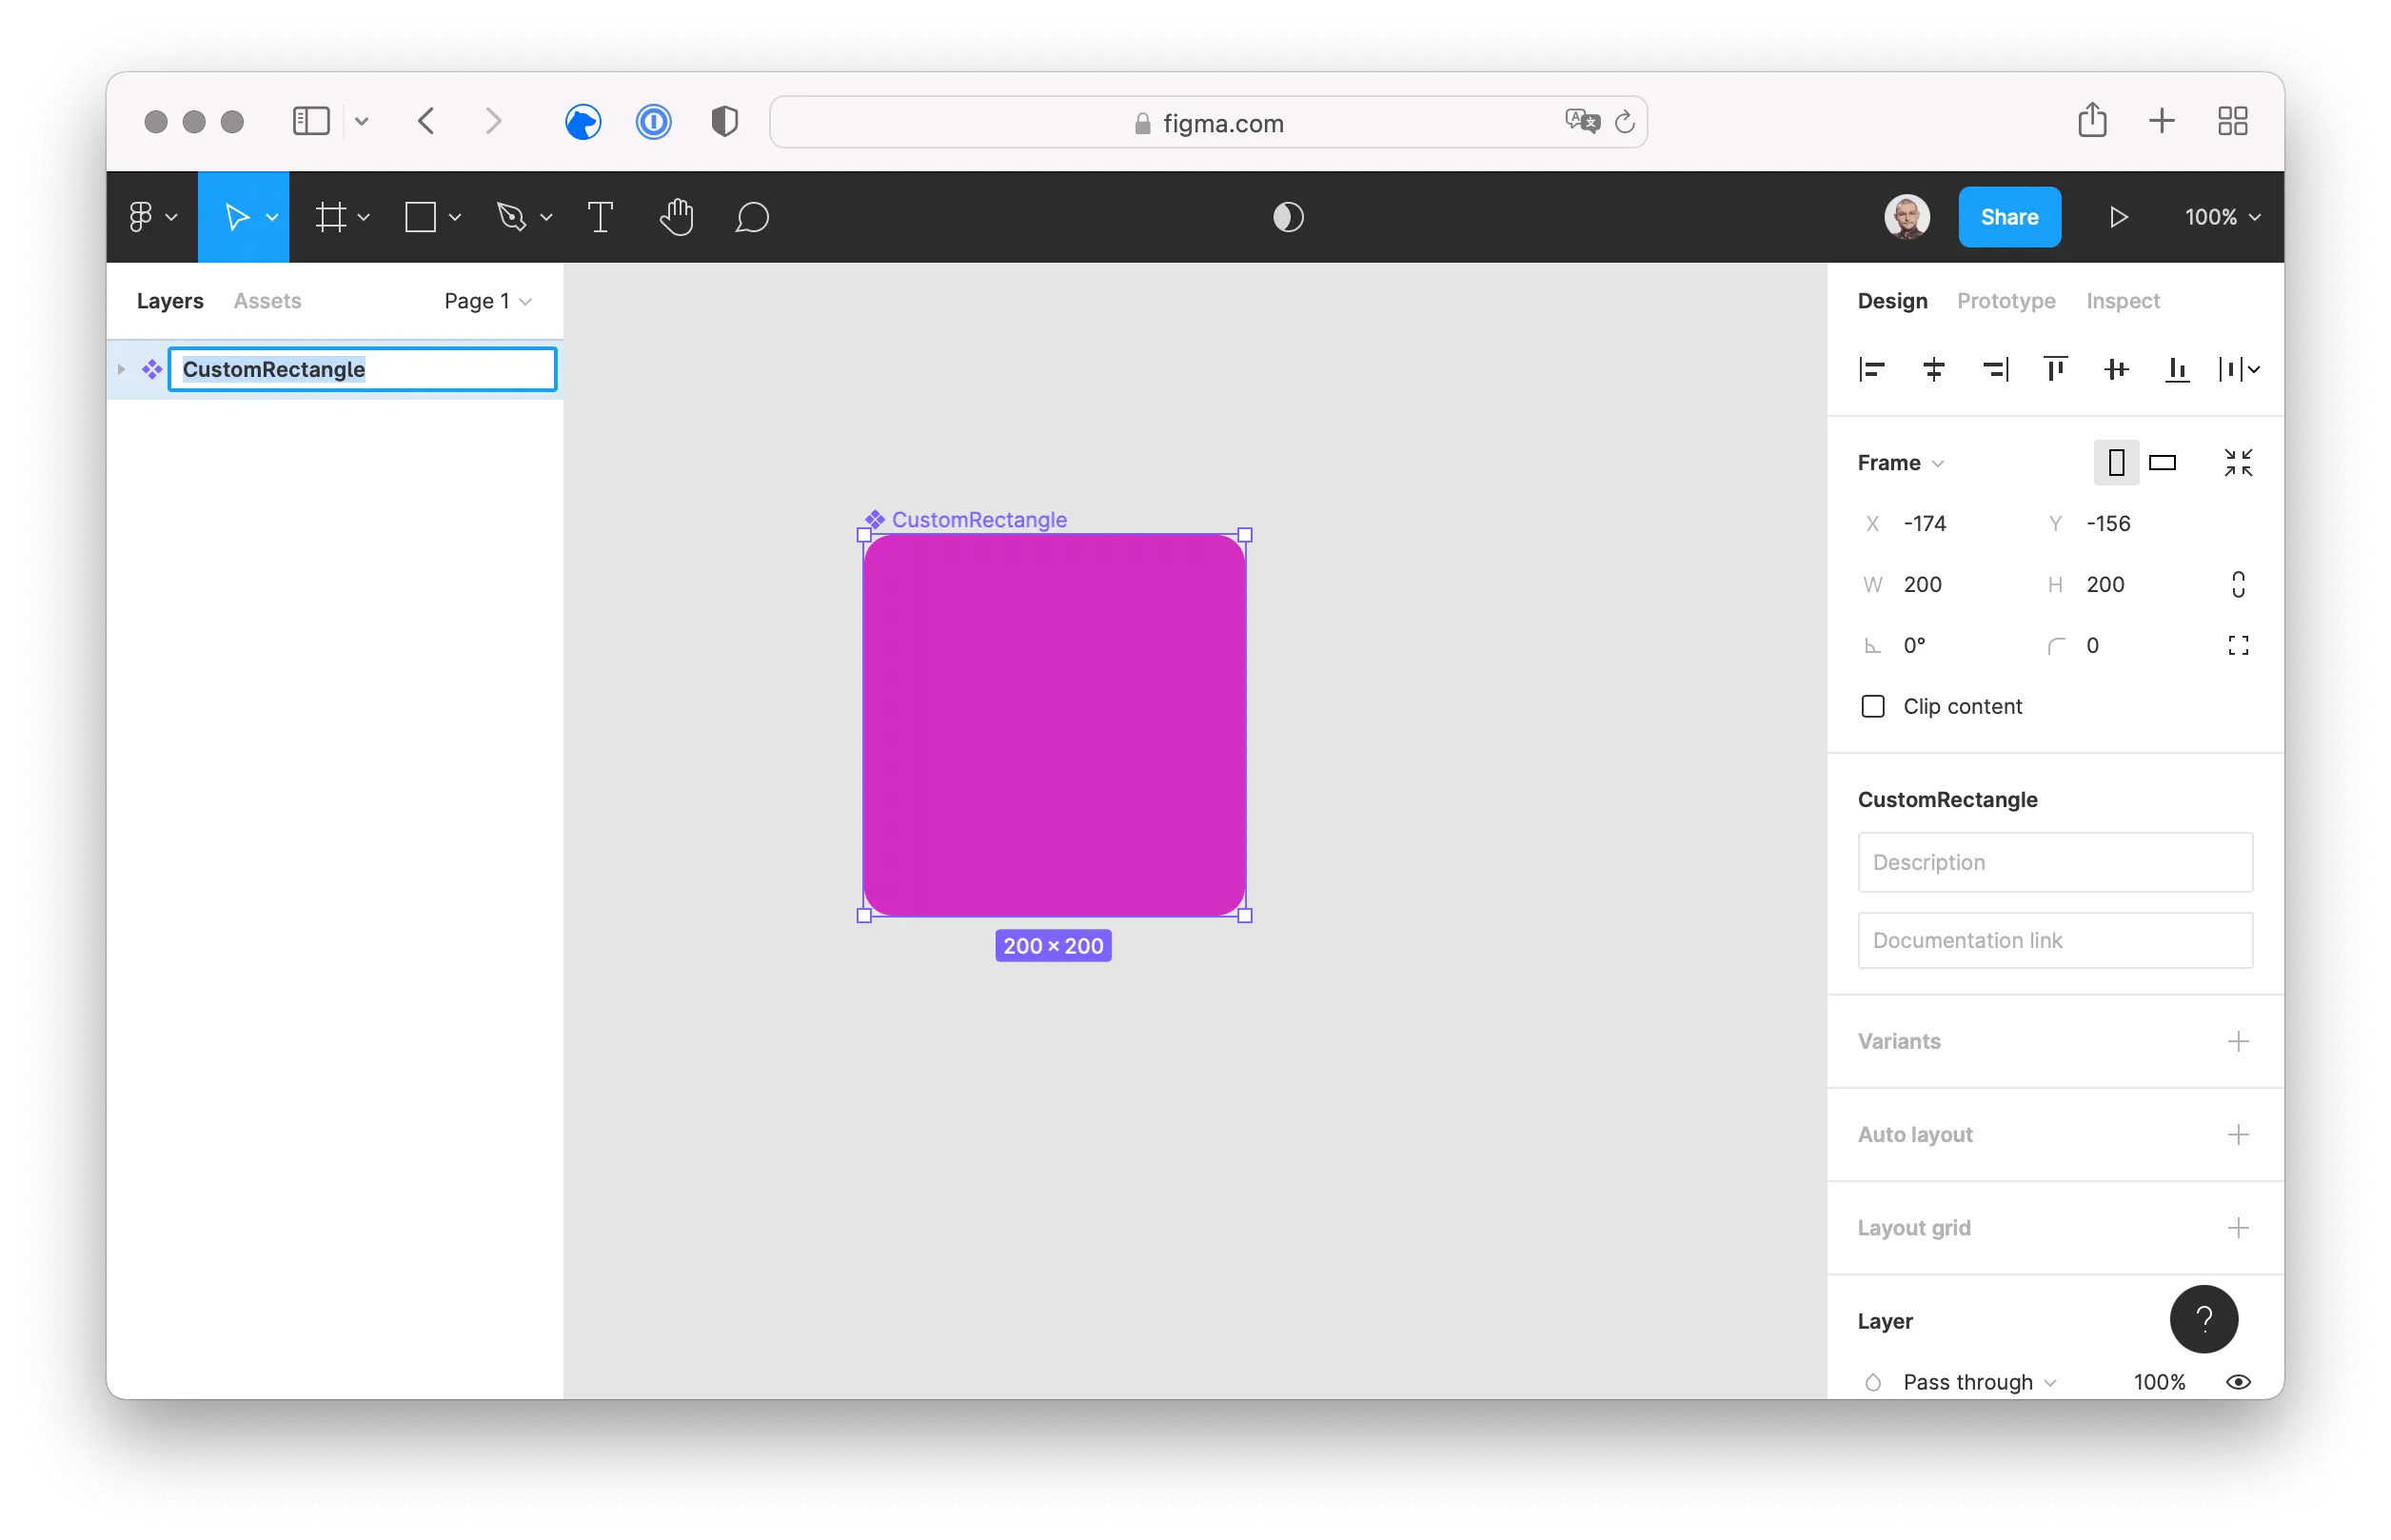
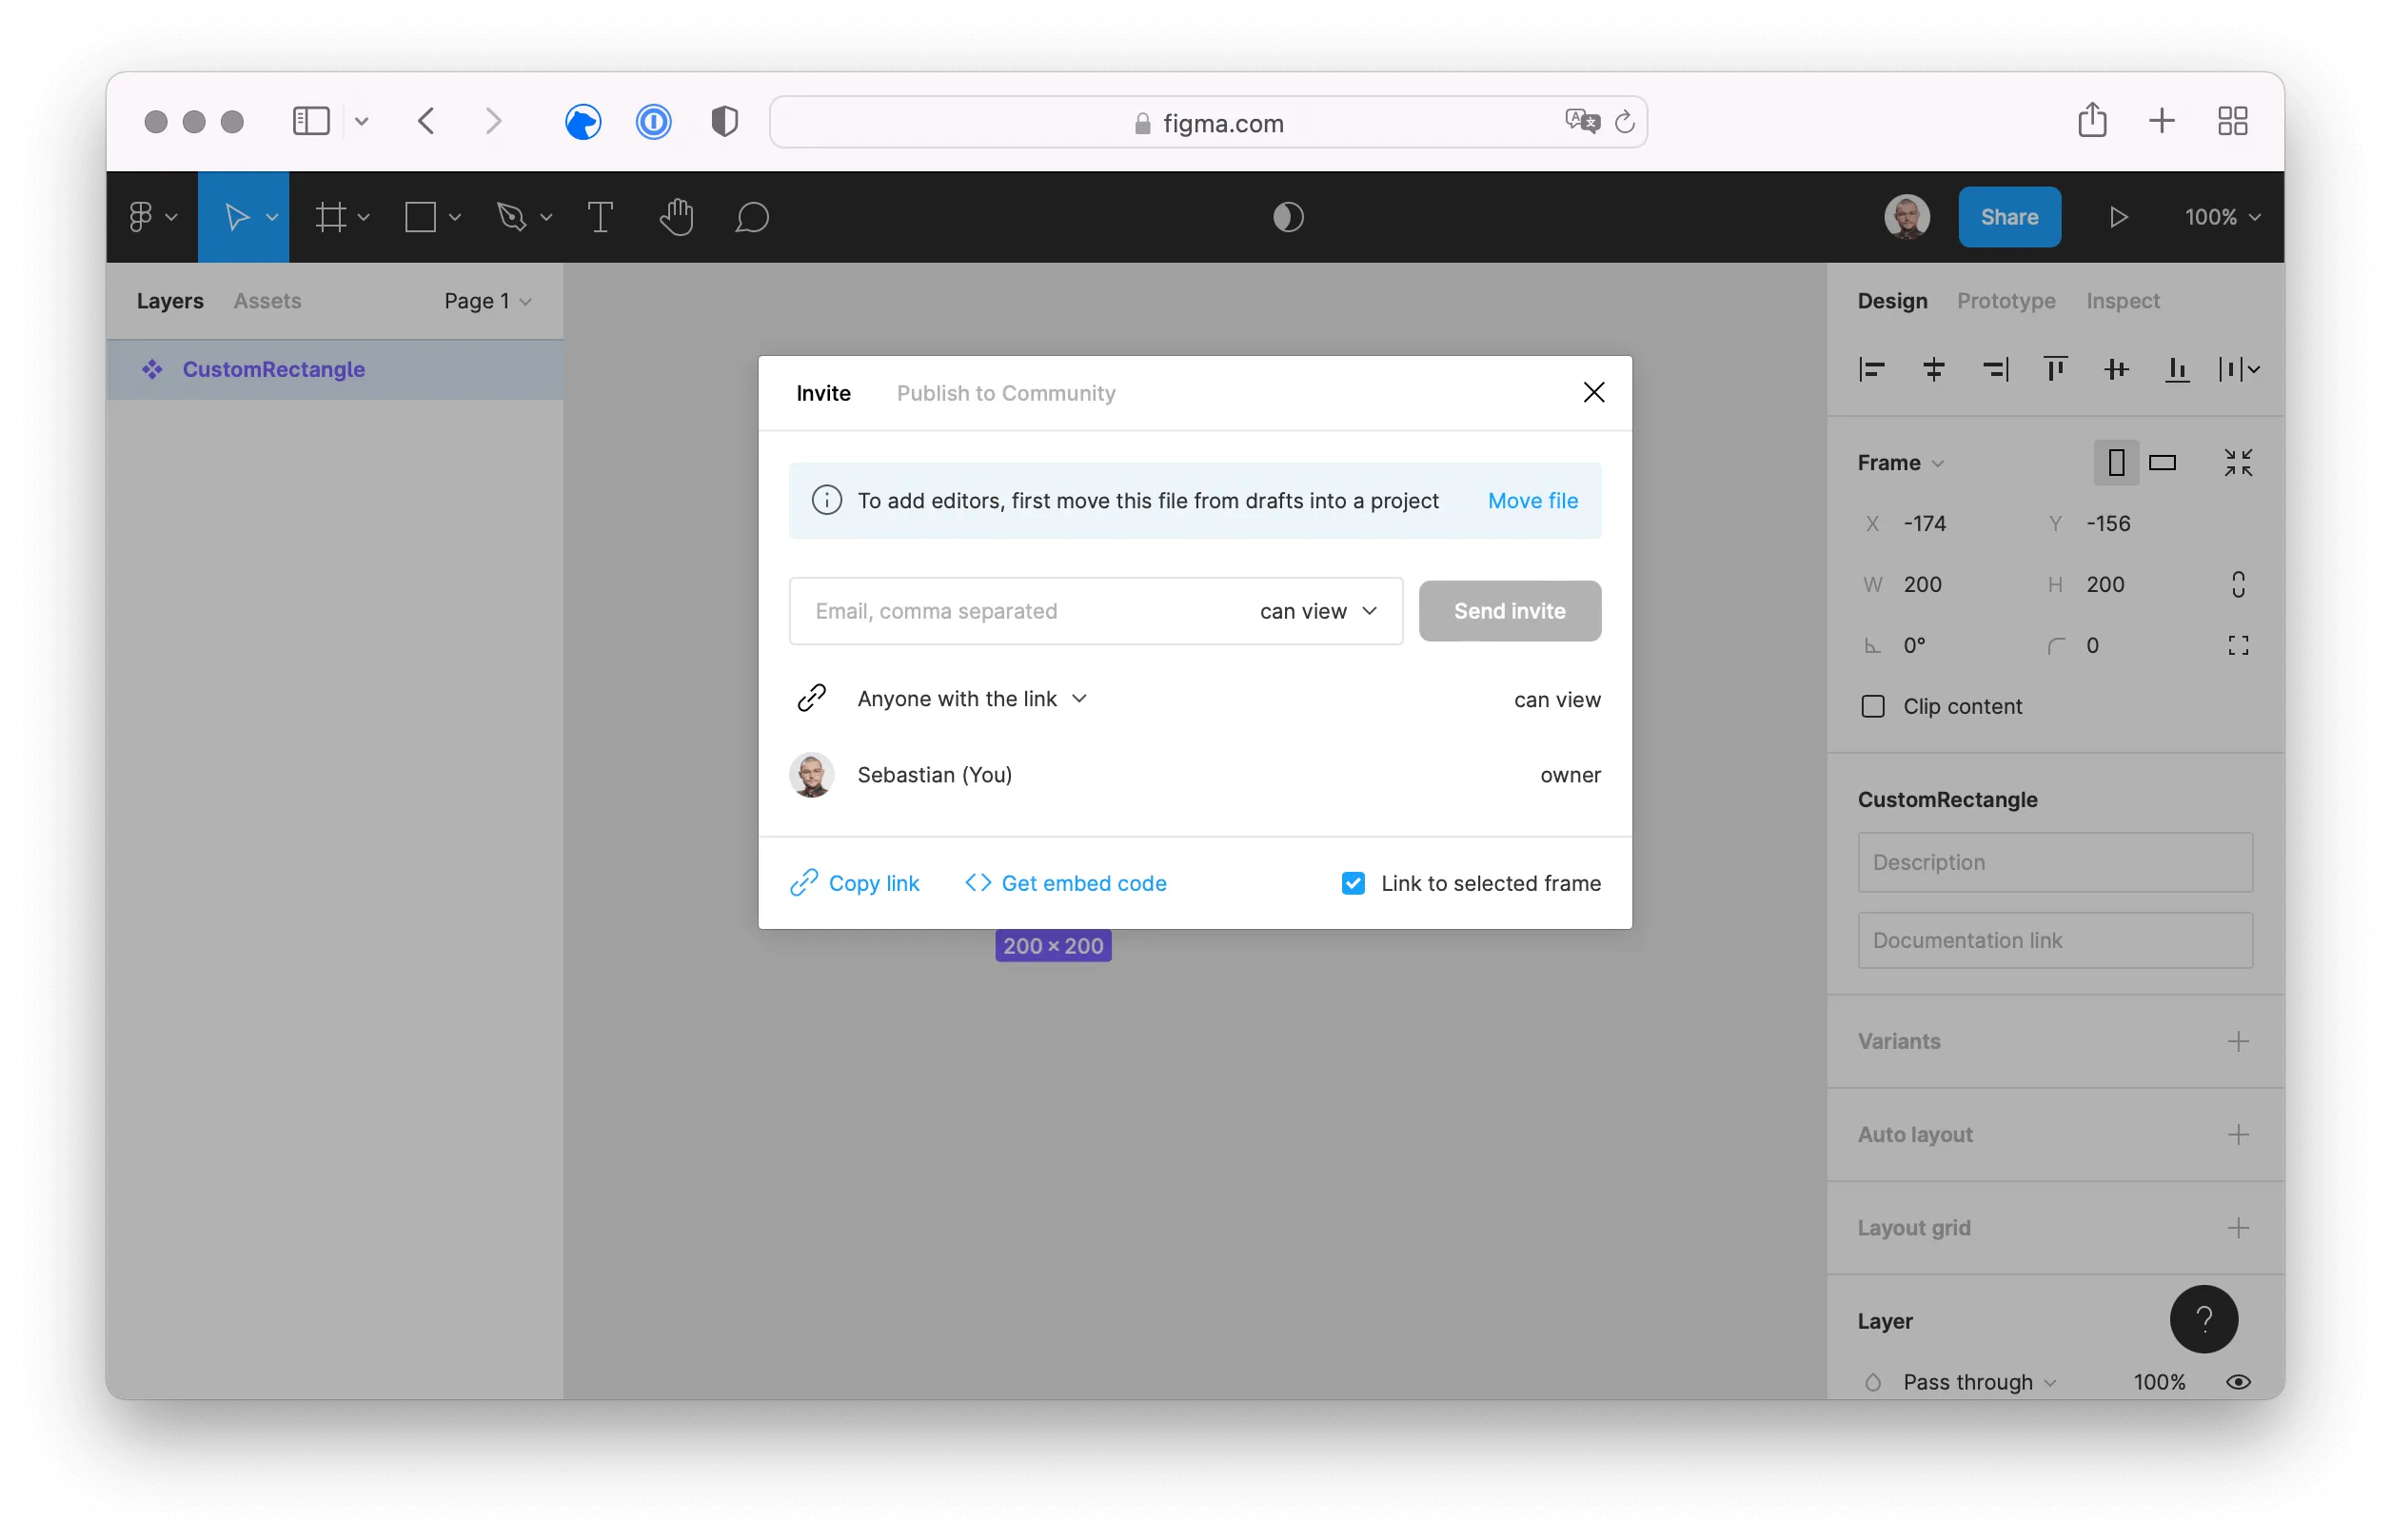
When you created the component, click on Share and Copy link for your design in Figma.
Import Components to Amplify Studio
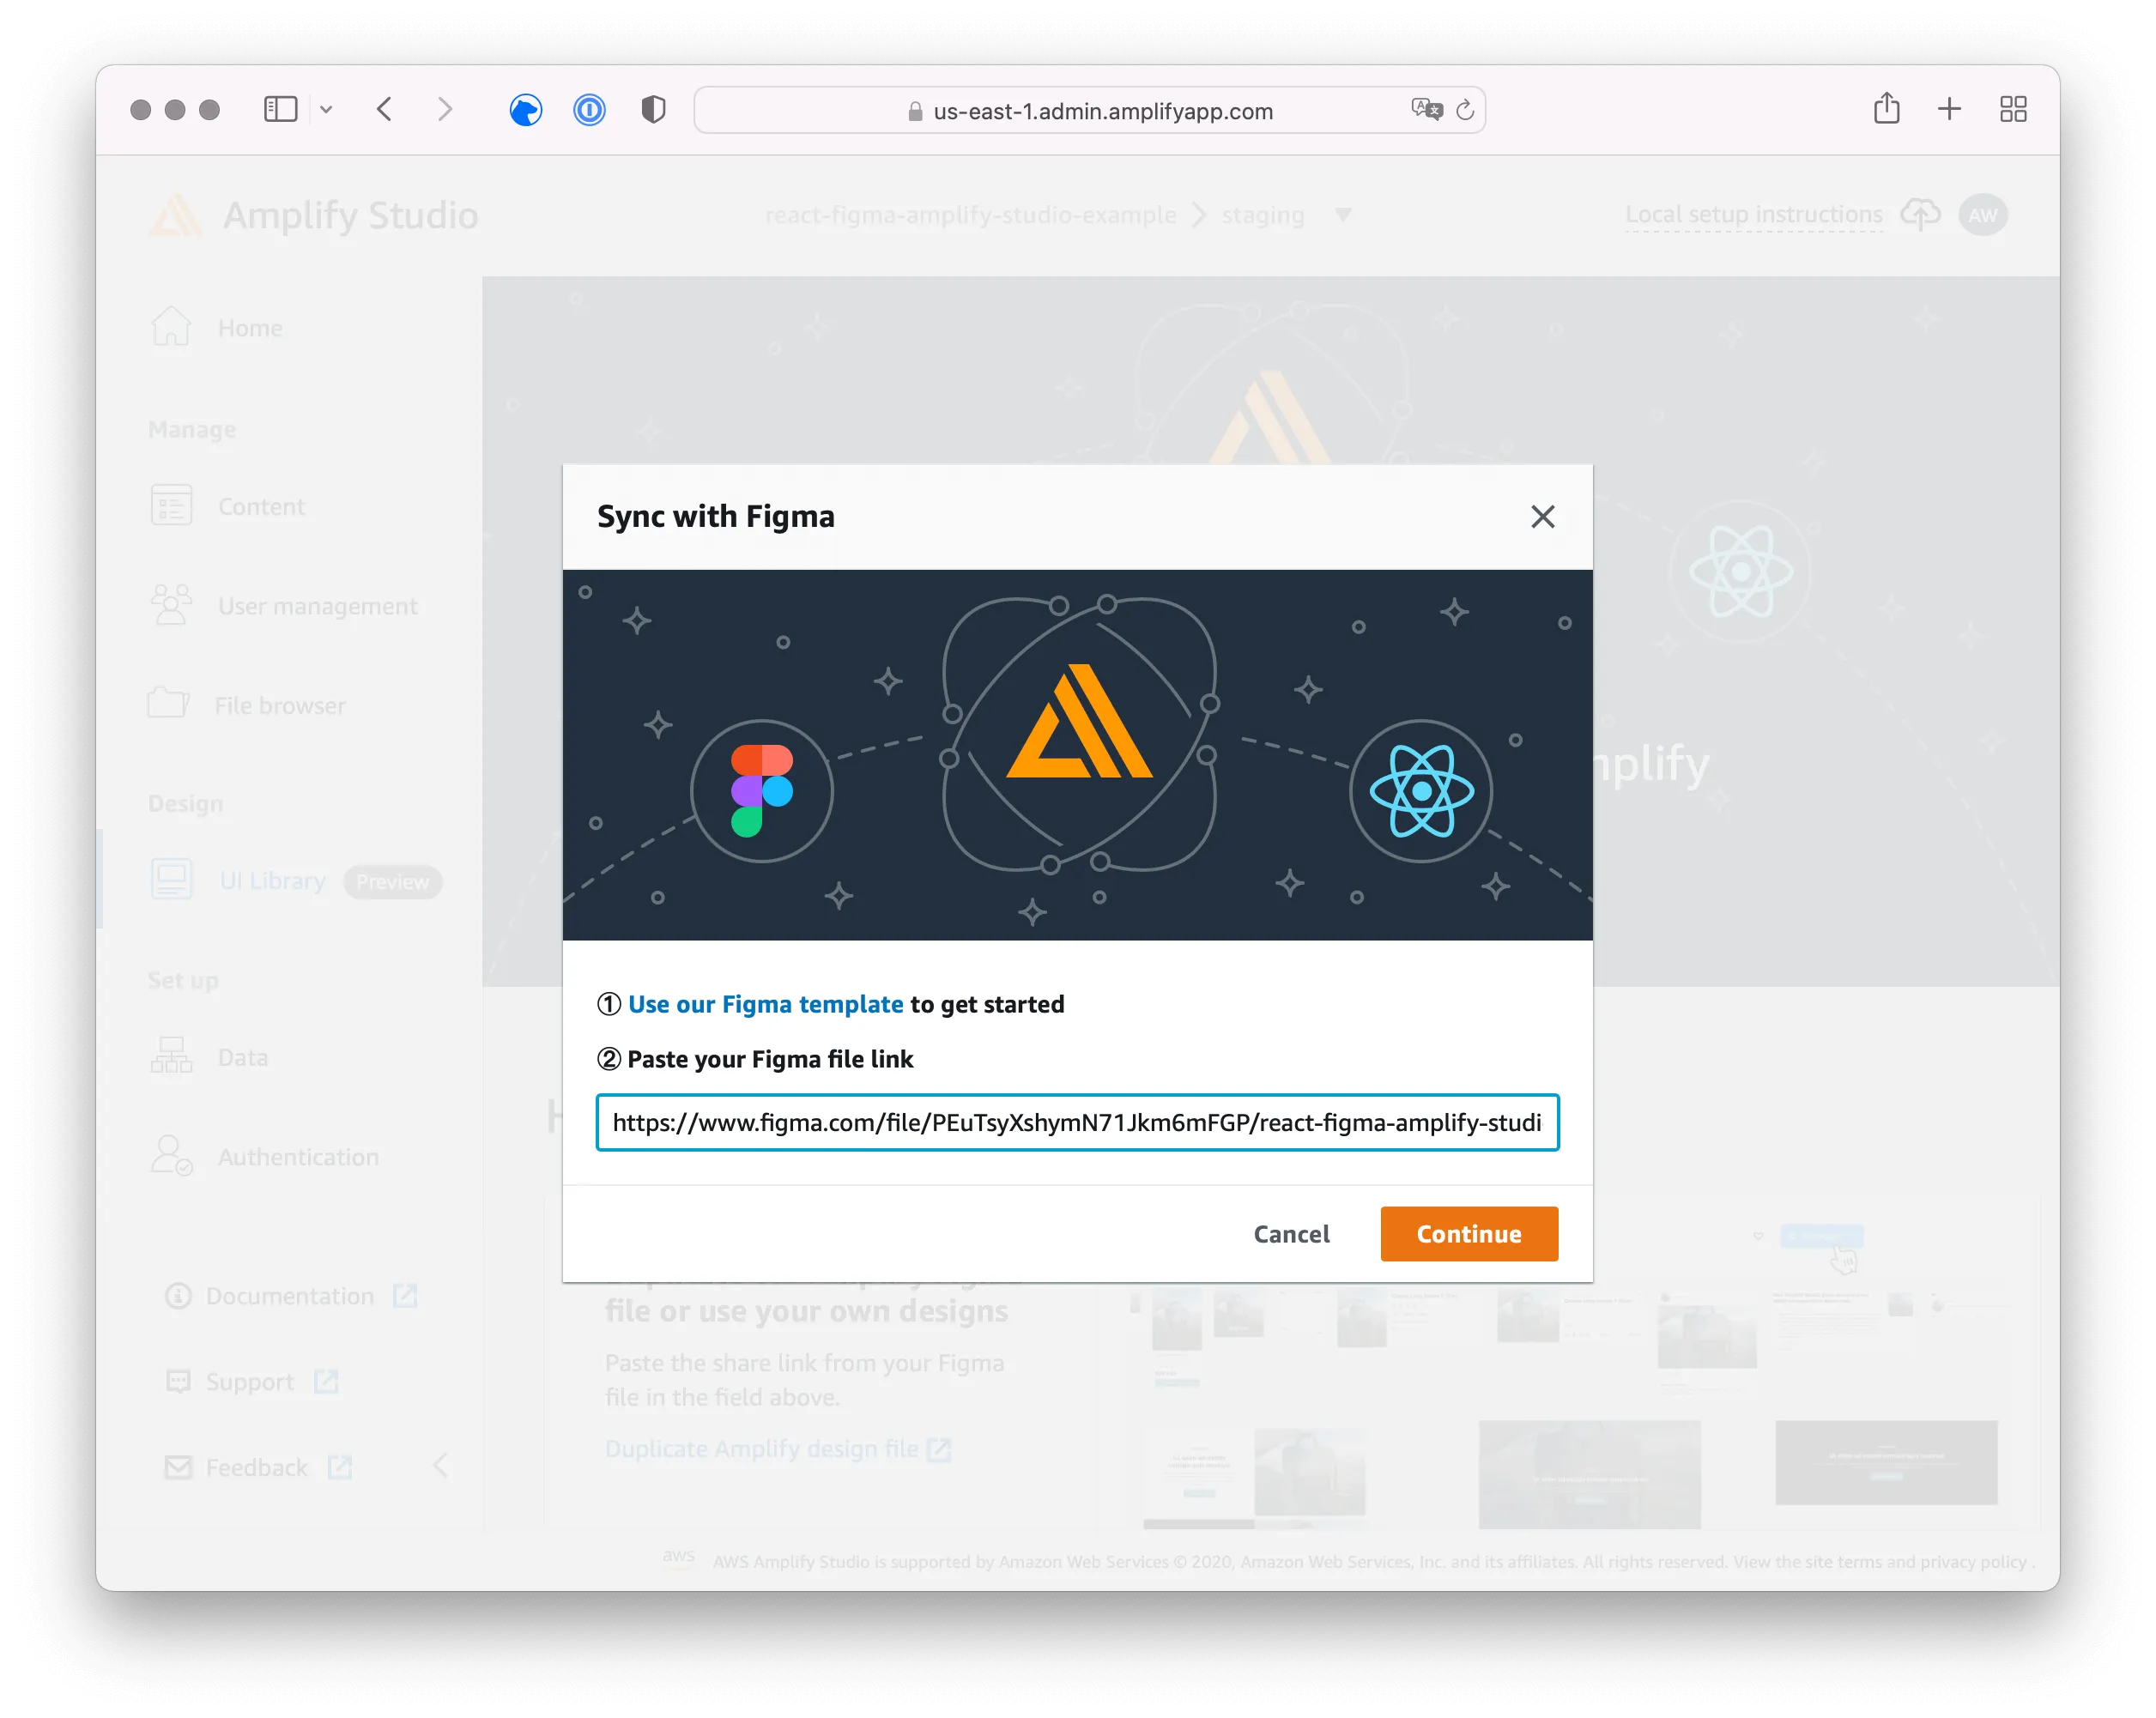
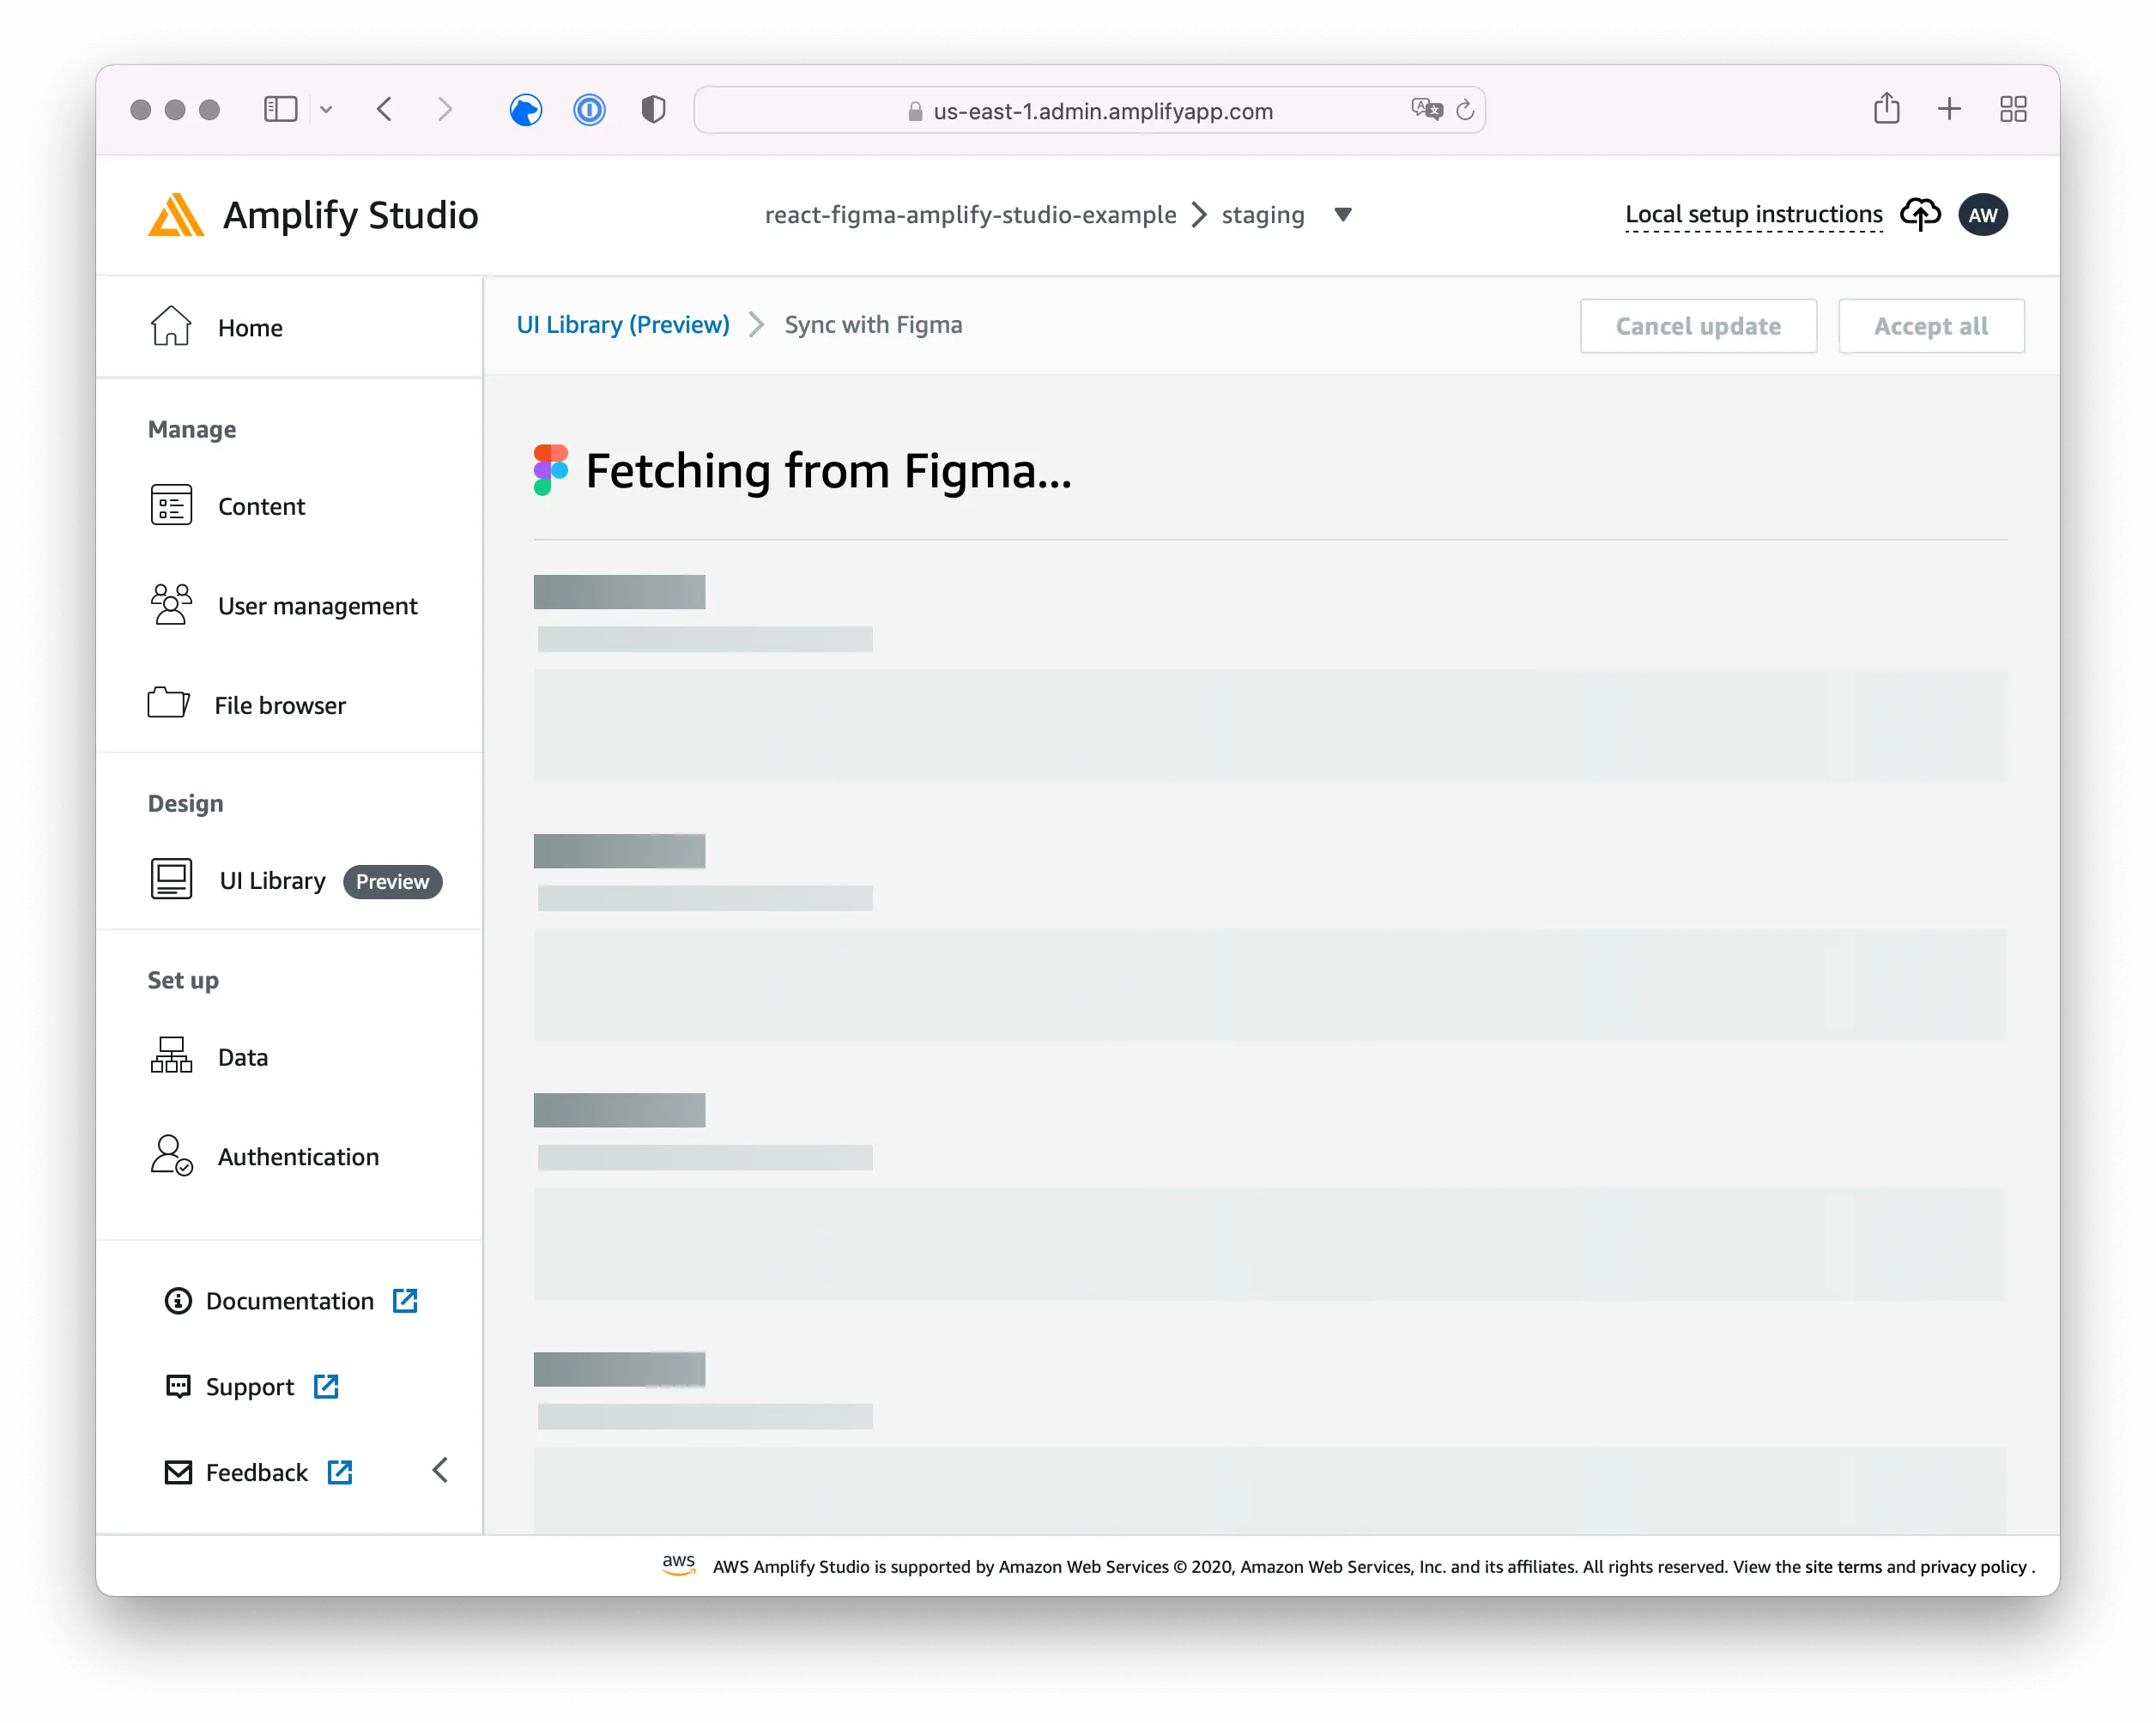
After you obtained the sharable link to your project in Figma, head back to the AWS Amplify Studio. Pick UI Library on the left menu and click on Get started.

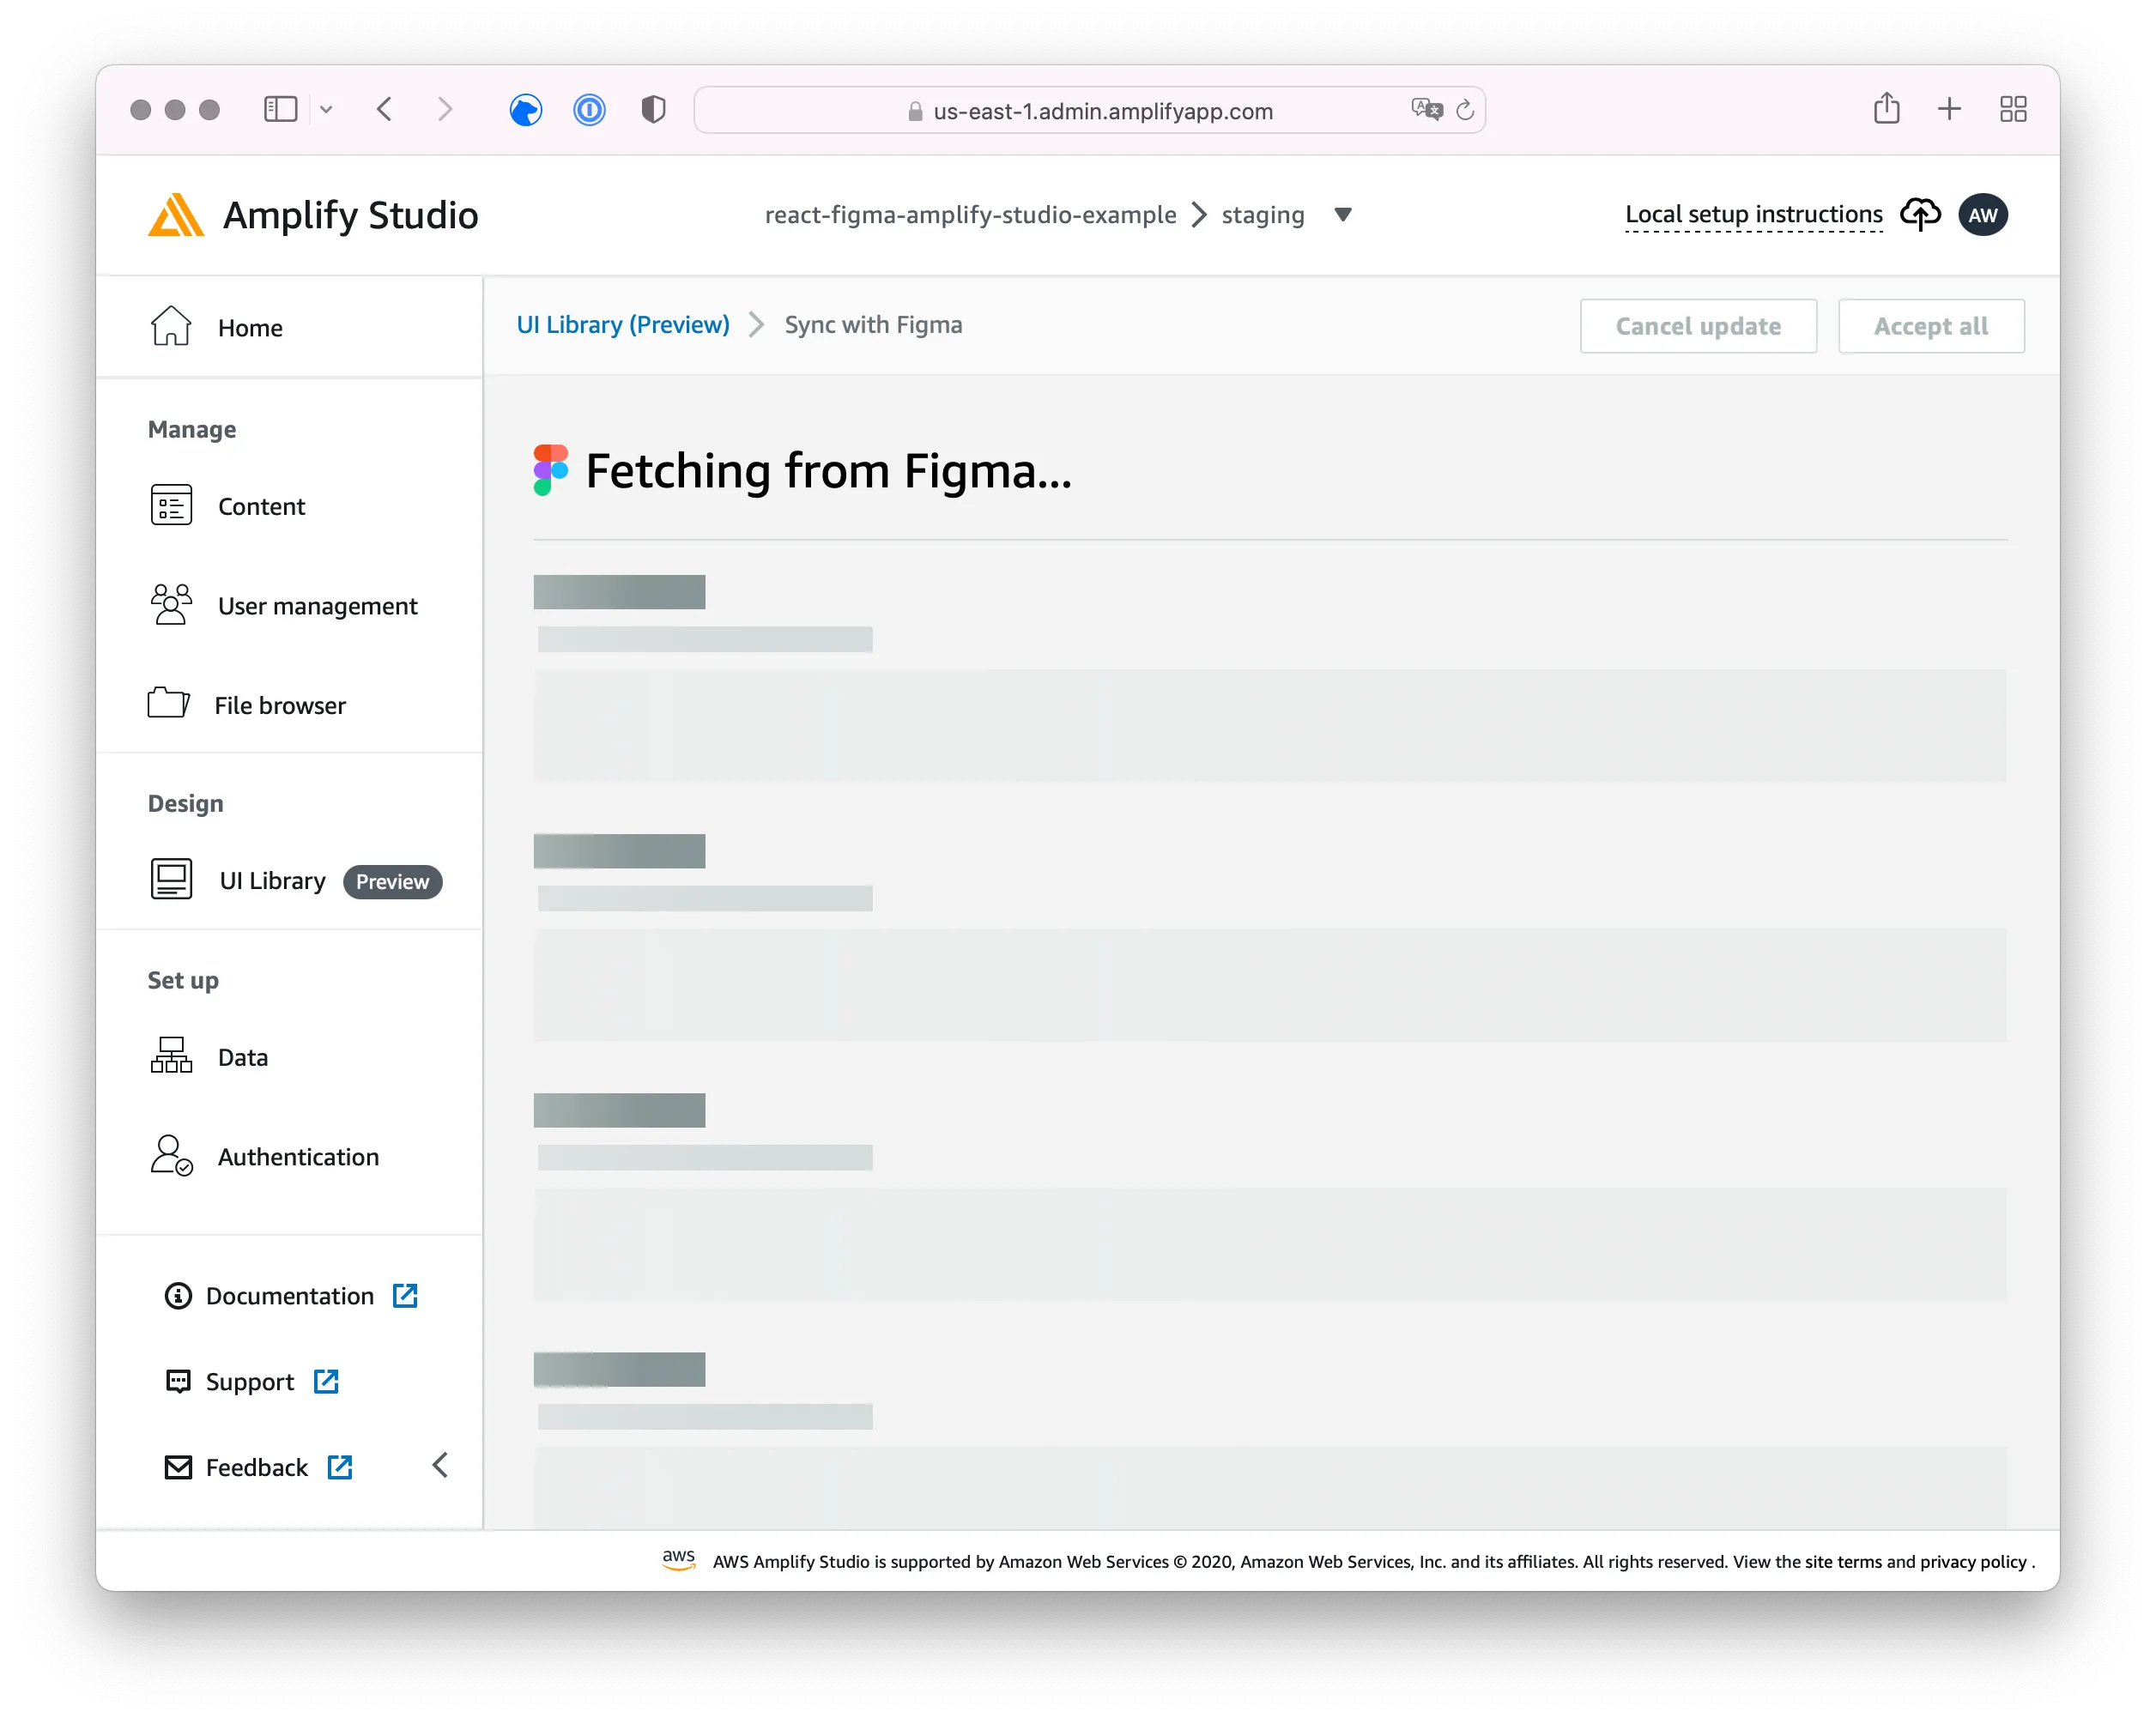
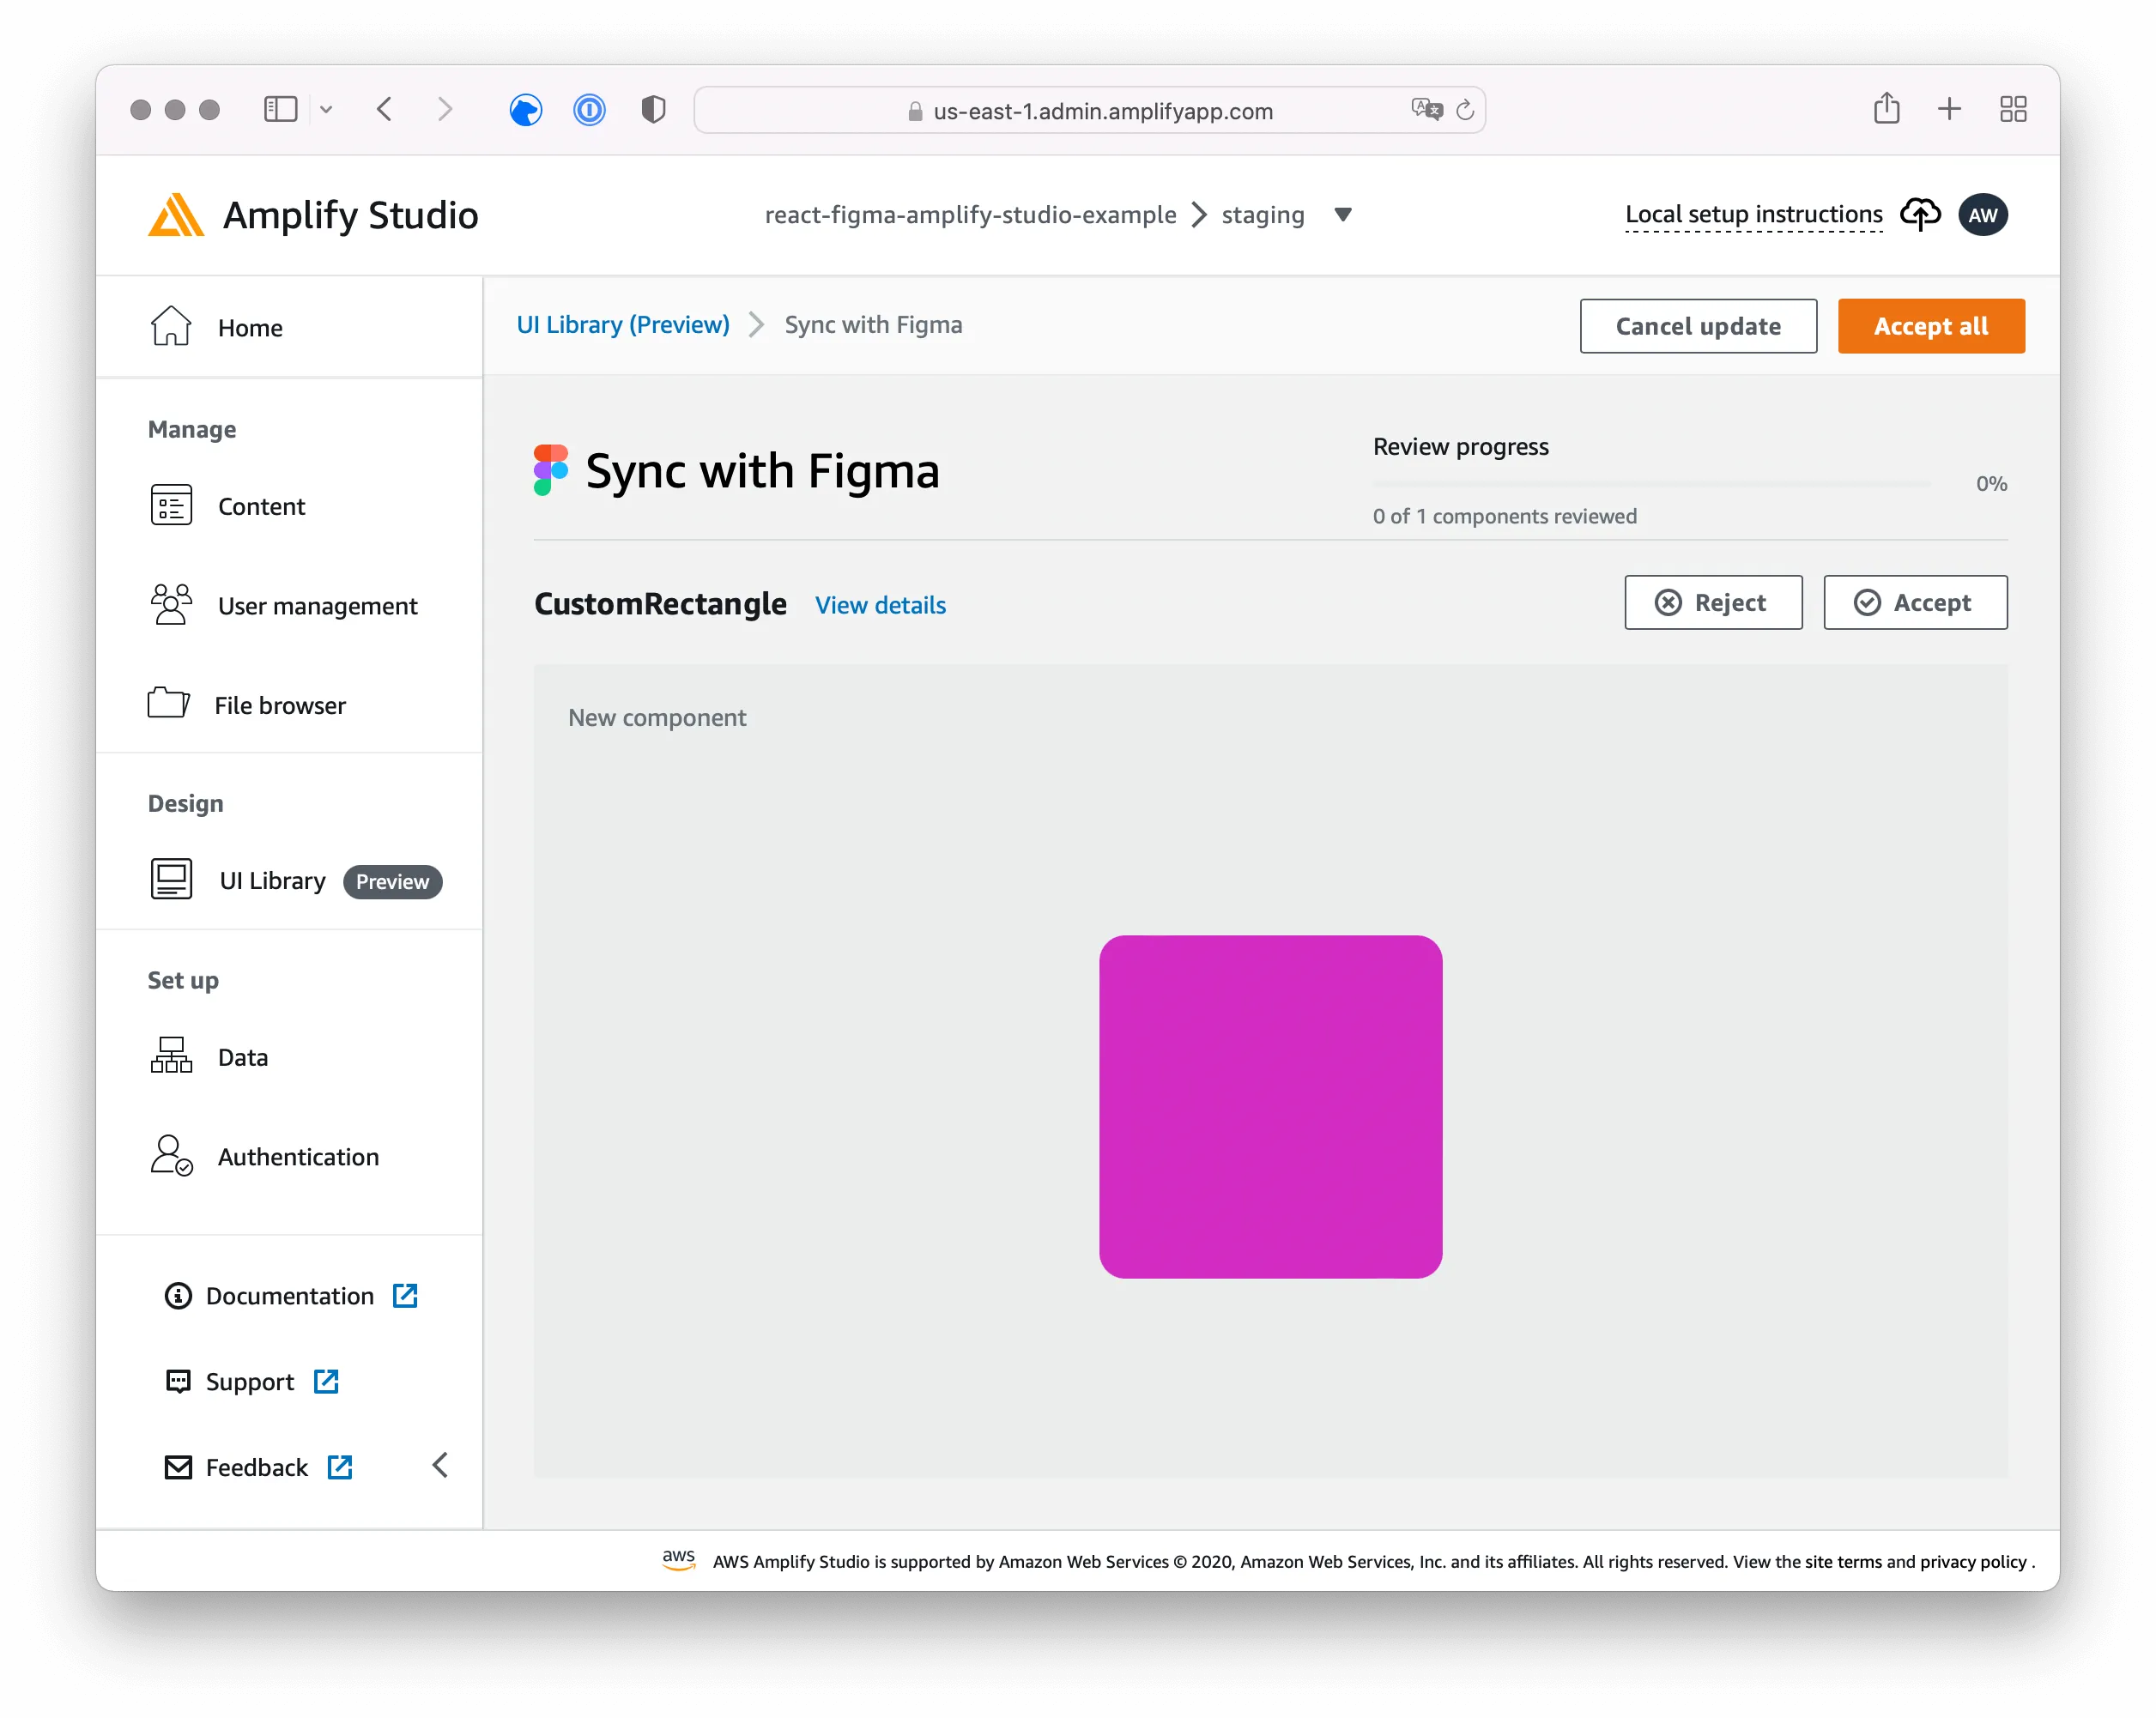
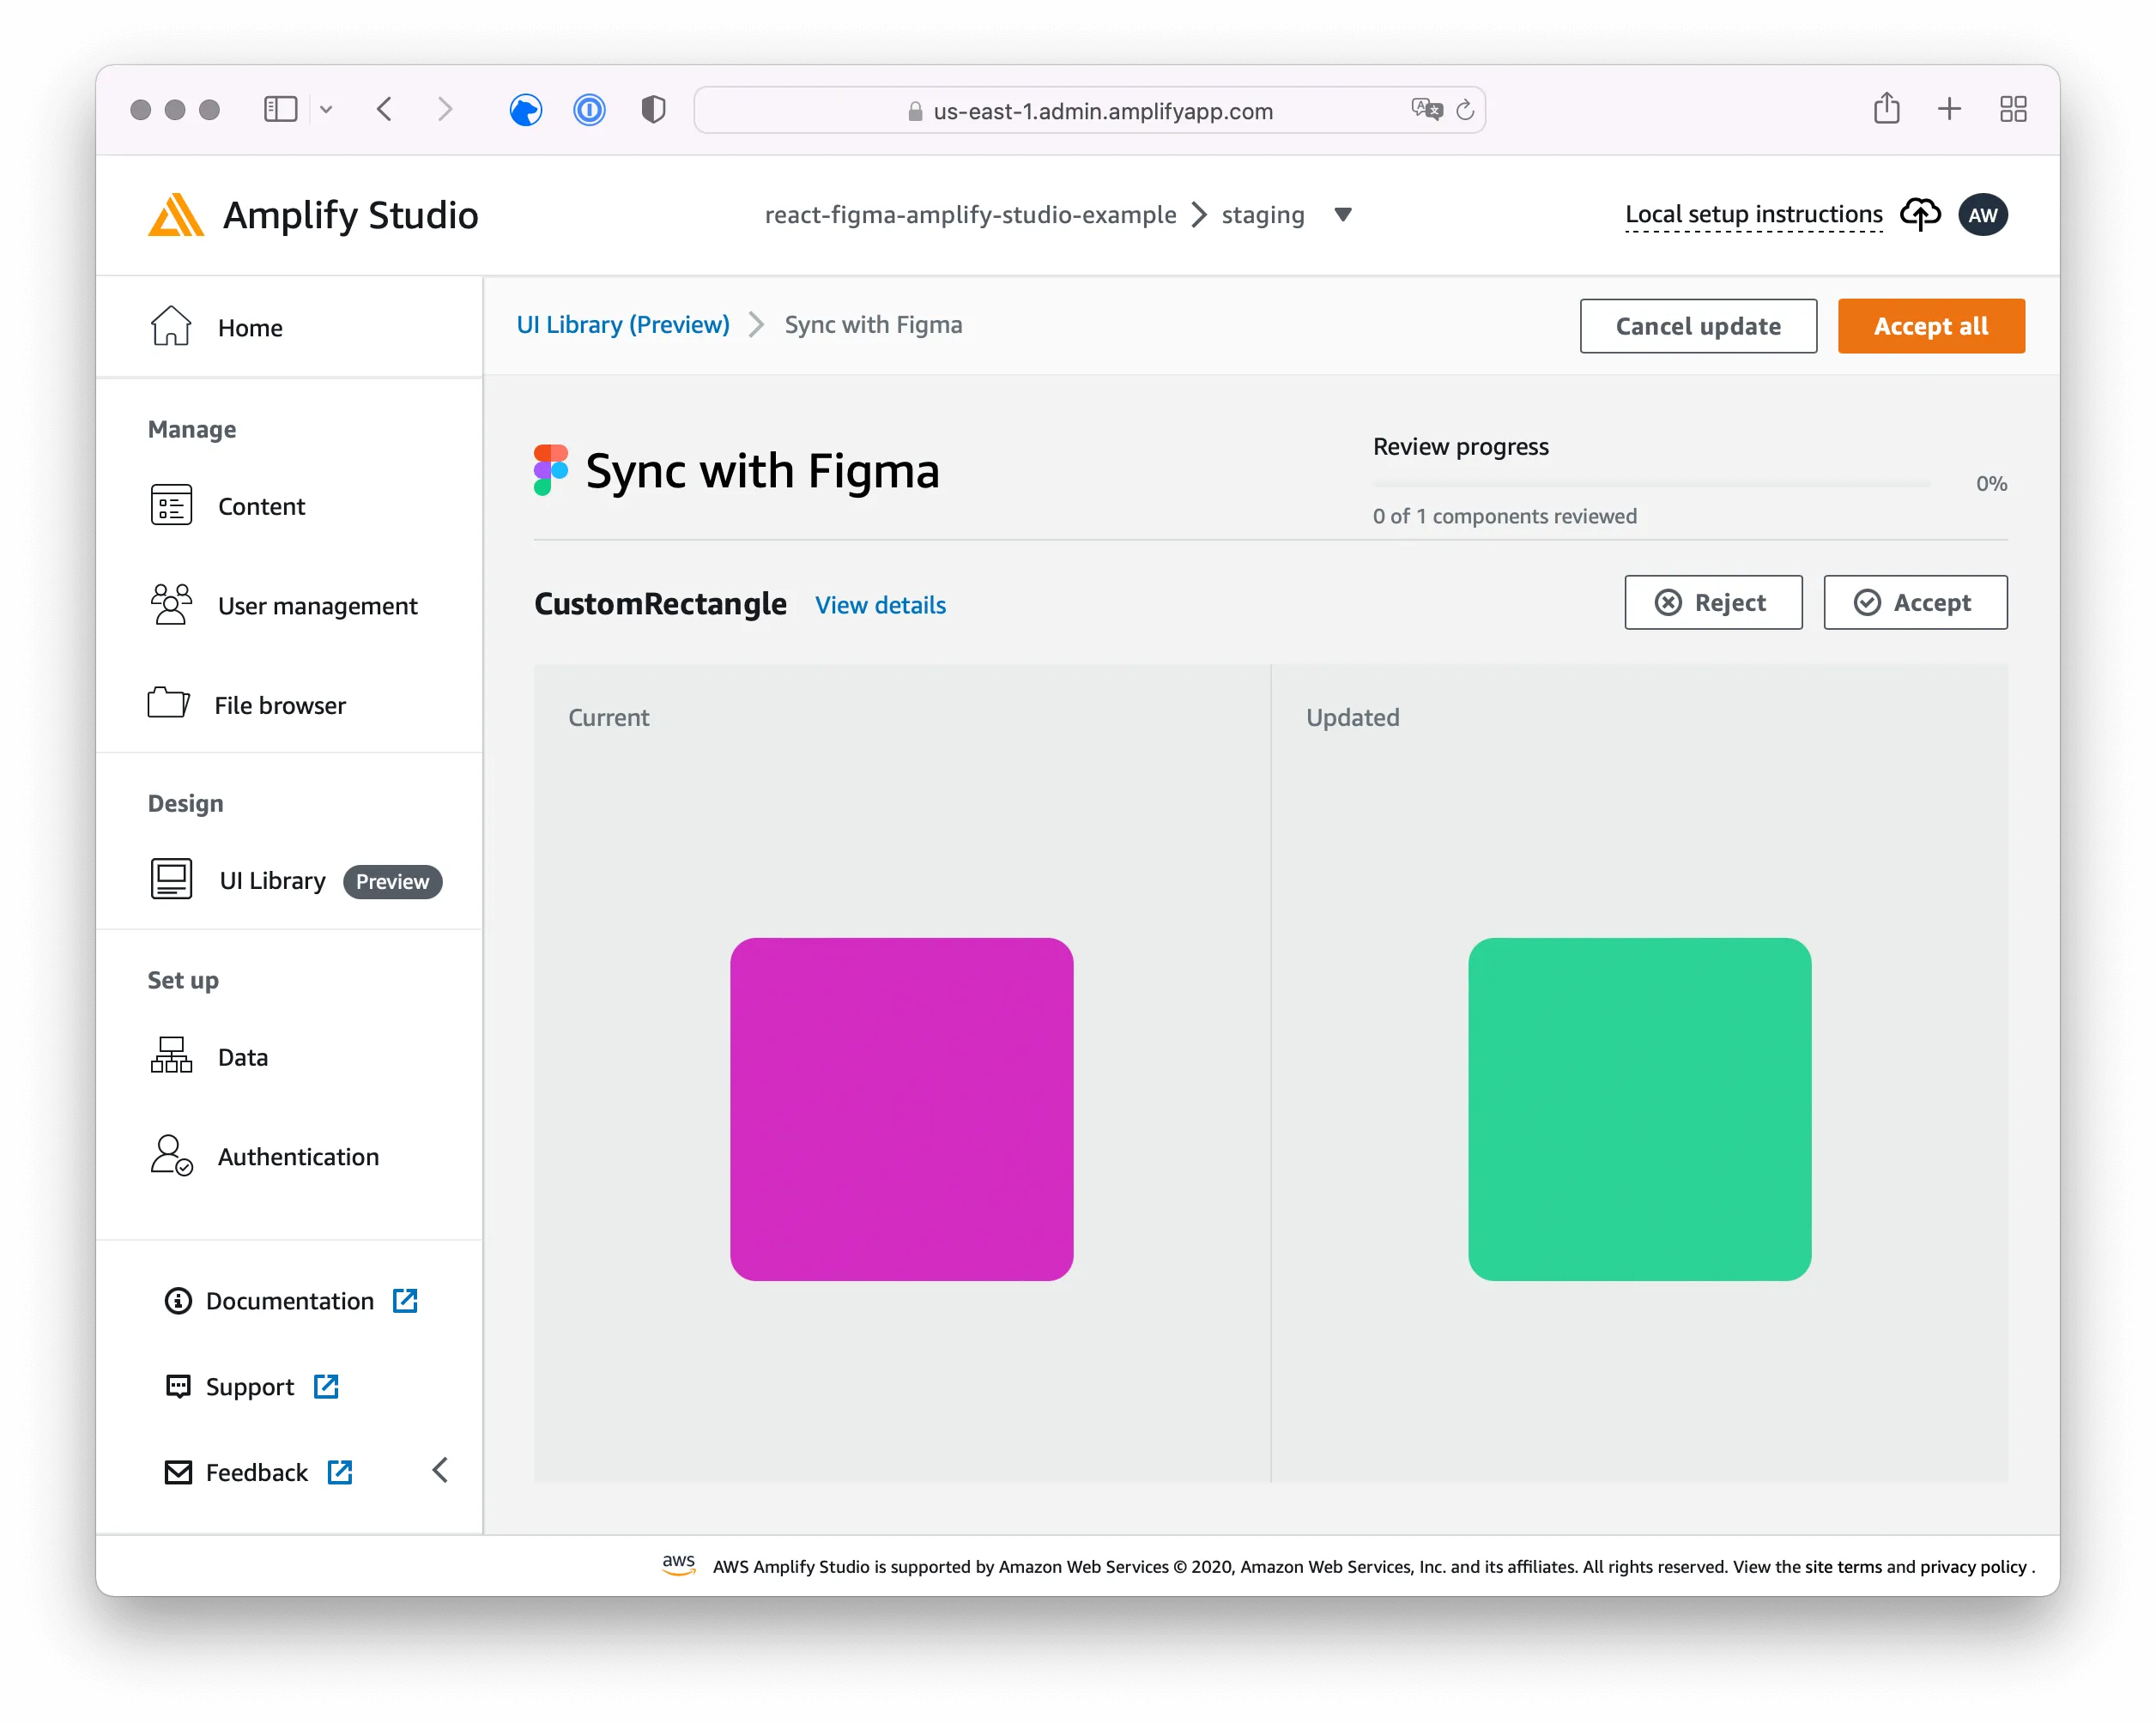
If everything worked fine, AWS Amplify Studio now shows you all available components and asks you to Accept or Reject them. You can either check on every component individually or Accept all using the orange button.
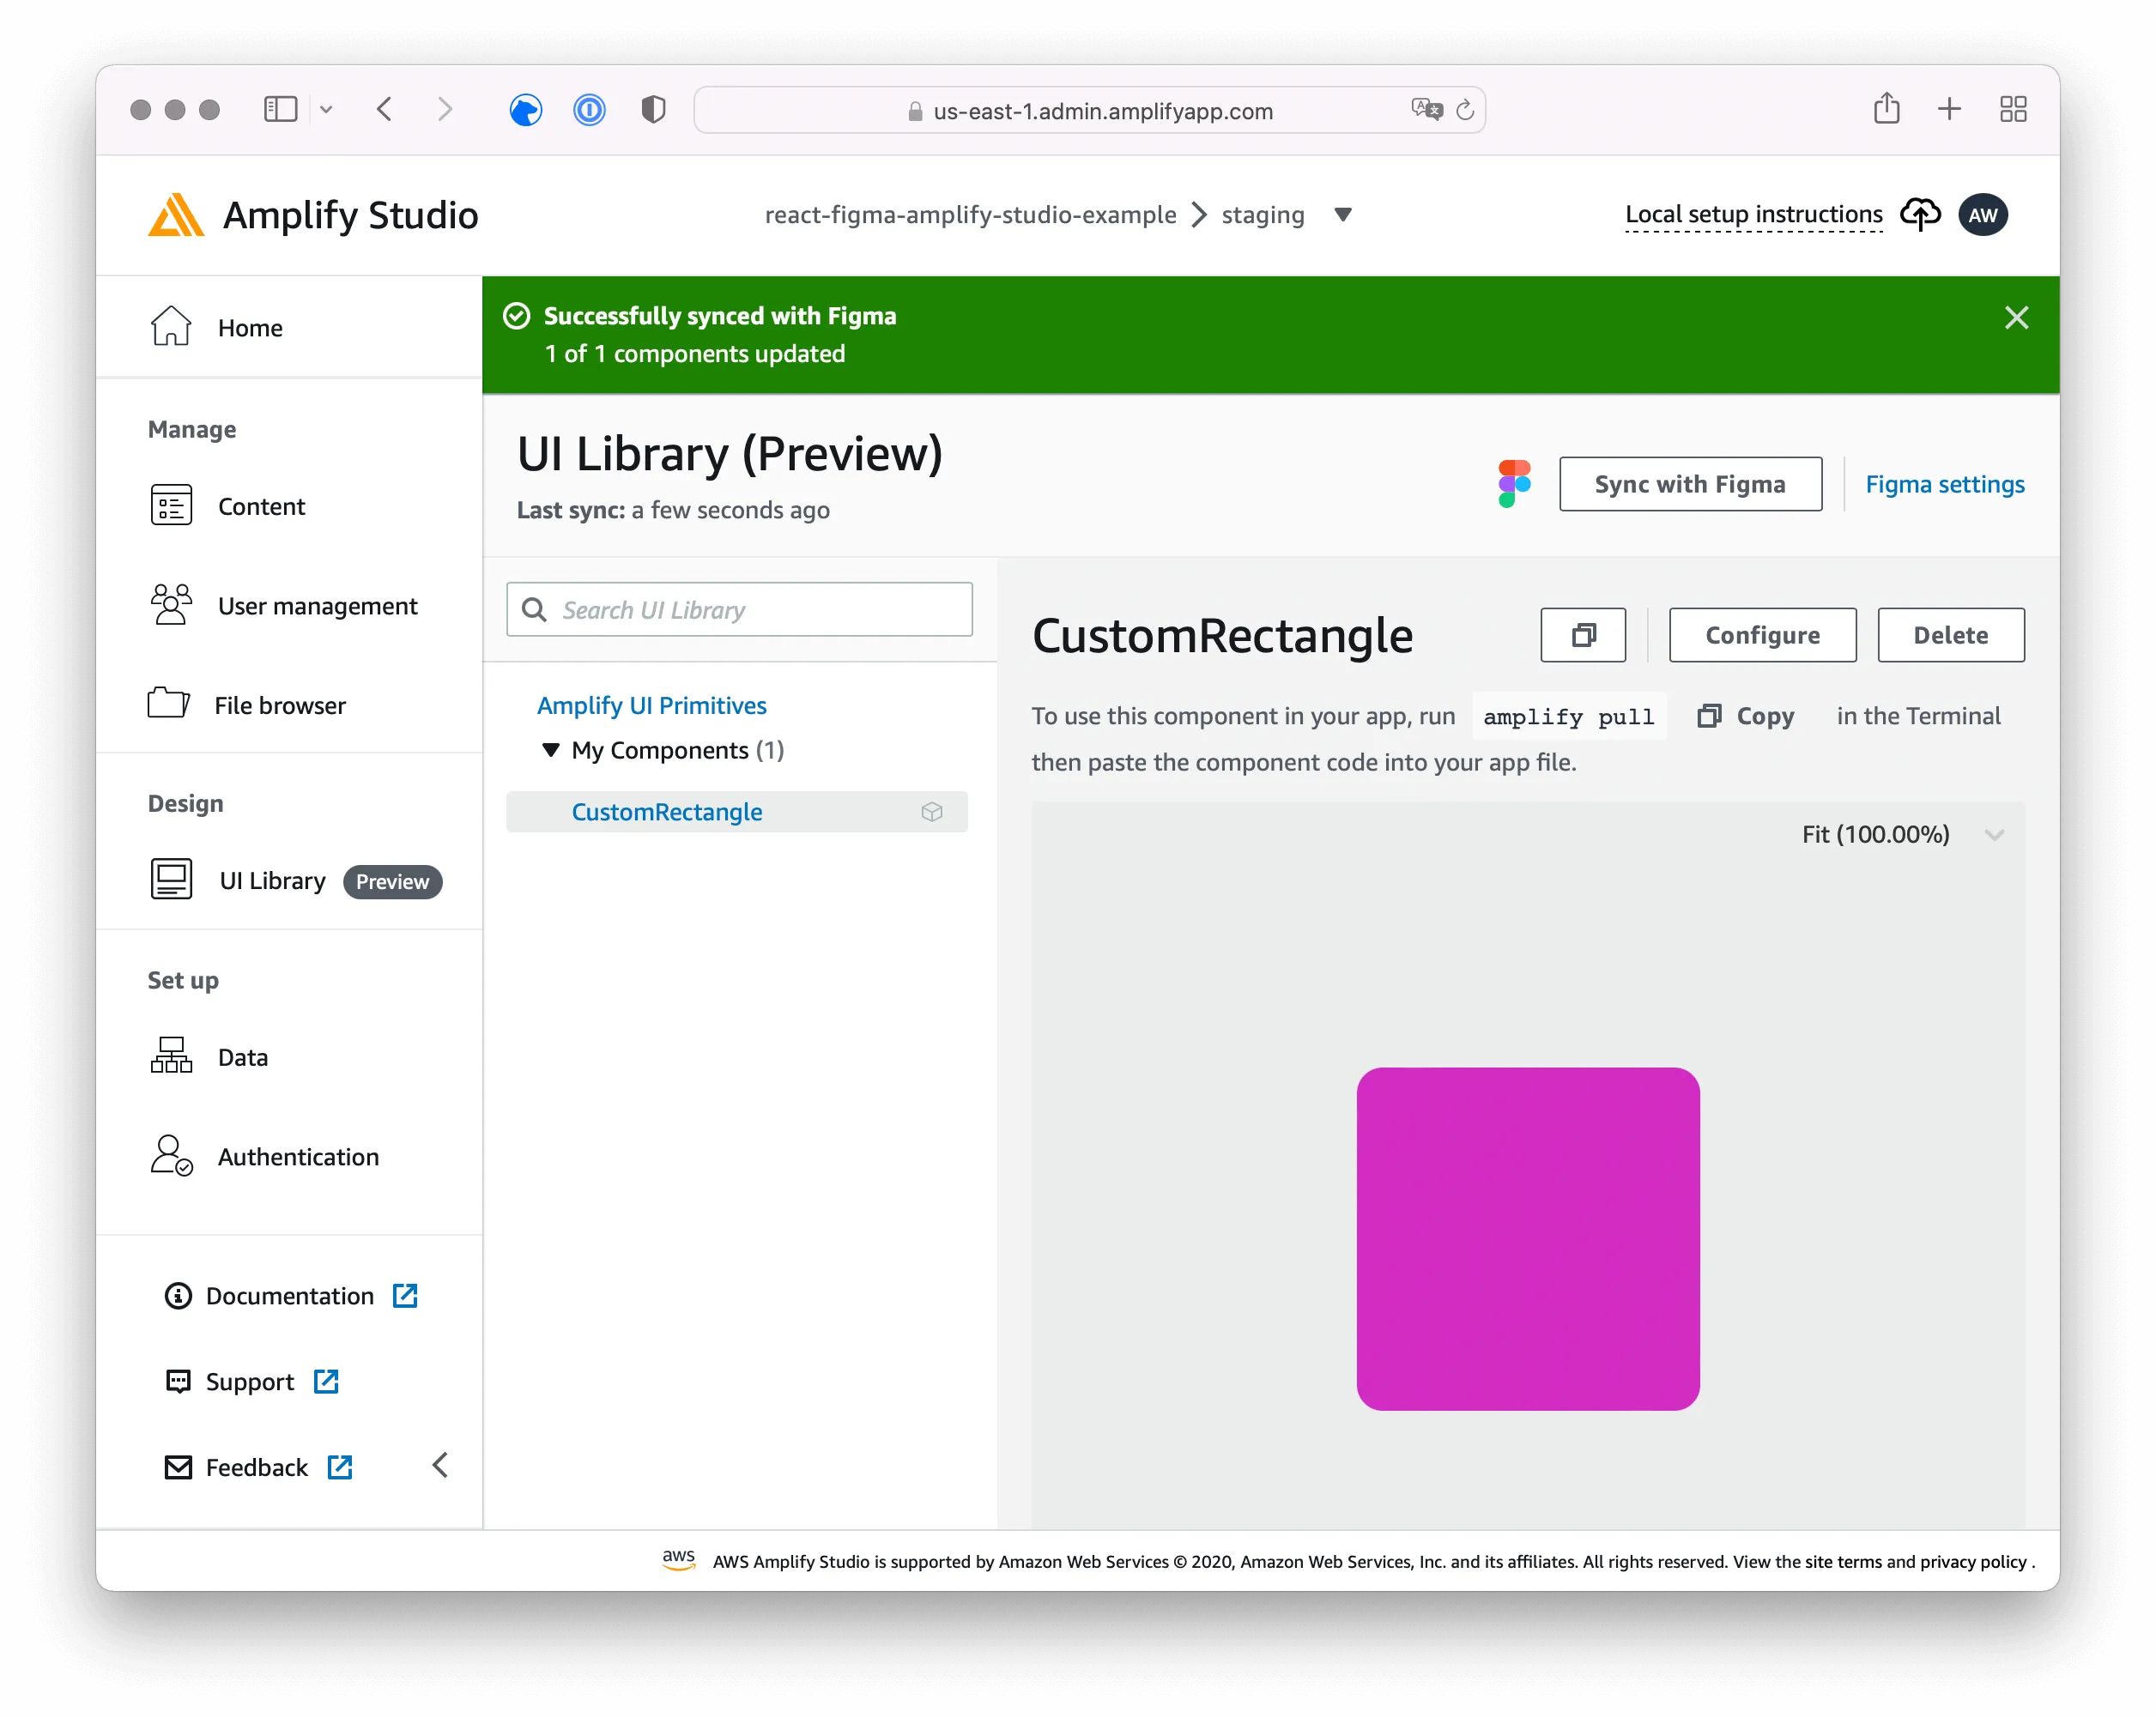
With these steps, you imported your Figma components into the UI Library in AWS Amplify Studio, now you need to create the react components in your local project.
Download React Components
As with all changes you apply using the AWS Amplify Studio, you need to pull them using the AWS Amplify CLI command before using them with your local project.
$ > amplify pull --appId f41ody12kcnw5p --envName staging

Pre-pull status:

    Current Environment: staging

┌──────────┬───────────────┬───────────┬─────────────────┐
│ Category │ Resource name │ Operation │ Provider plugin │
└──────────┴───────────────┴───────────┴─────────────────┘

✔ Successfully pulled backend environment staging from the cloud.

✔ Synced UI components.

⚠️ UIBuilder components required "@aws-amplify/ui-react" that is not in your package.json. Run `npm install @aws-amplify/ui-react`
⚠️ UIBuilder components required "aws-amplify" that is not in your package.json. Run `npm install aws-amplify`

Post-pull status:

    Current Environment: staging

┌──────────┬───────────────┬───────────┬─────────────────┐
│ Category │ Resource name │ Operation │ Provider plugin │
└──────────┴───────────────┴───────────┴─────────────────┘
If you have a look at your local files now, you see a new ui-components folder with your imported components from Figma.
$ > tree src

src
├── App.css
├── App.test.tsx
├── App.tsx
├── aws-exports.js
├── index.css
├── index.tsx
├── logo.svg
├── react-app-env.d.ts
├── reportWebVitals.ts
├── setupTests.ts
└── ui-components
    ├── CustomRectangle.jsx
    ├── CustomRectangle.jsx.d.ts
    └── index.js
Use React Components
To use the generated UI Library from AWS Amplify Studio, you need to install two npm packages first; aws-amplify and @aws-amplify/ui-react.
$ > npm install @aws-amplify/ui-react aws-amplifyWith both packages installed, you configure the basics in the index.ts file: Add a few import statements and wrap your existing <App /> in <AmplifyProvider> .
/* index.ts */

[...]

import Amplify from 'aws-amplify';
import "@aws-amplify/ui-react/styles.css";
import {AmplifyProvider} from "@aws-amplify/ui-react";
import awsconfig from './aws-exports';
Amplify.configure(awsconfig);

[...]

ReactDOM.render(
  <React.StrictMode>
    <AmplifyProvider>
      <App />
    </AmplifyProvider>
  </React.StrictMode>,
  document.getElementById('root')
);

[...]
With the AmplifyProvider in place, you can use the CustomRectangle component:
/* App.tsx */
[...]
import { CustomRectangle } from './ui-components';
[...]
<CustomRectangle />
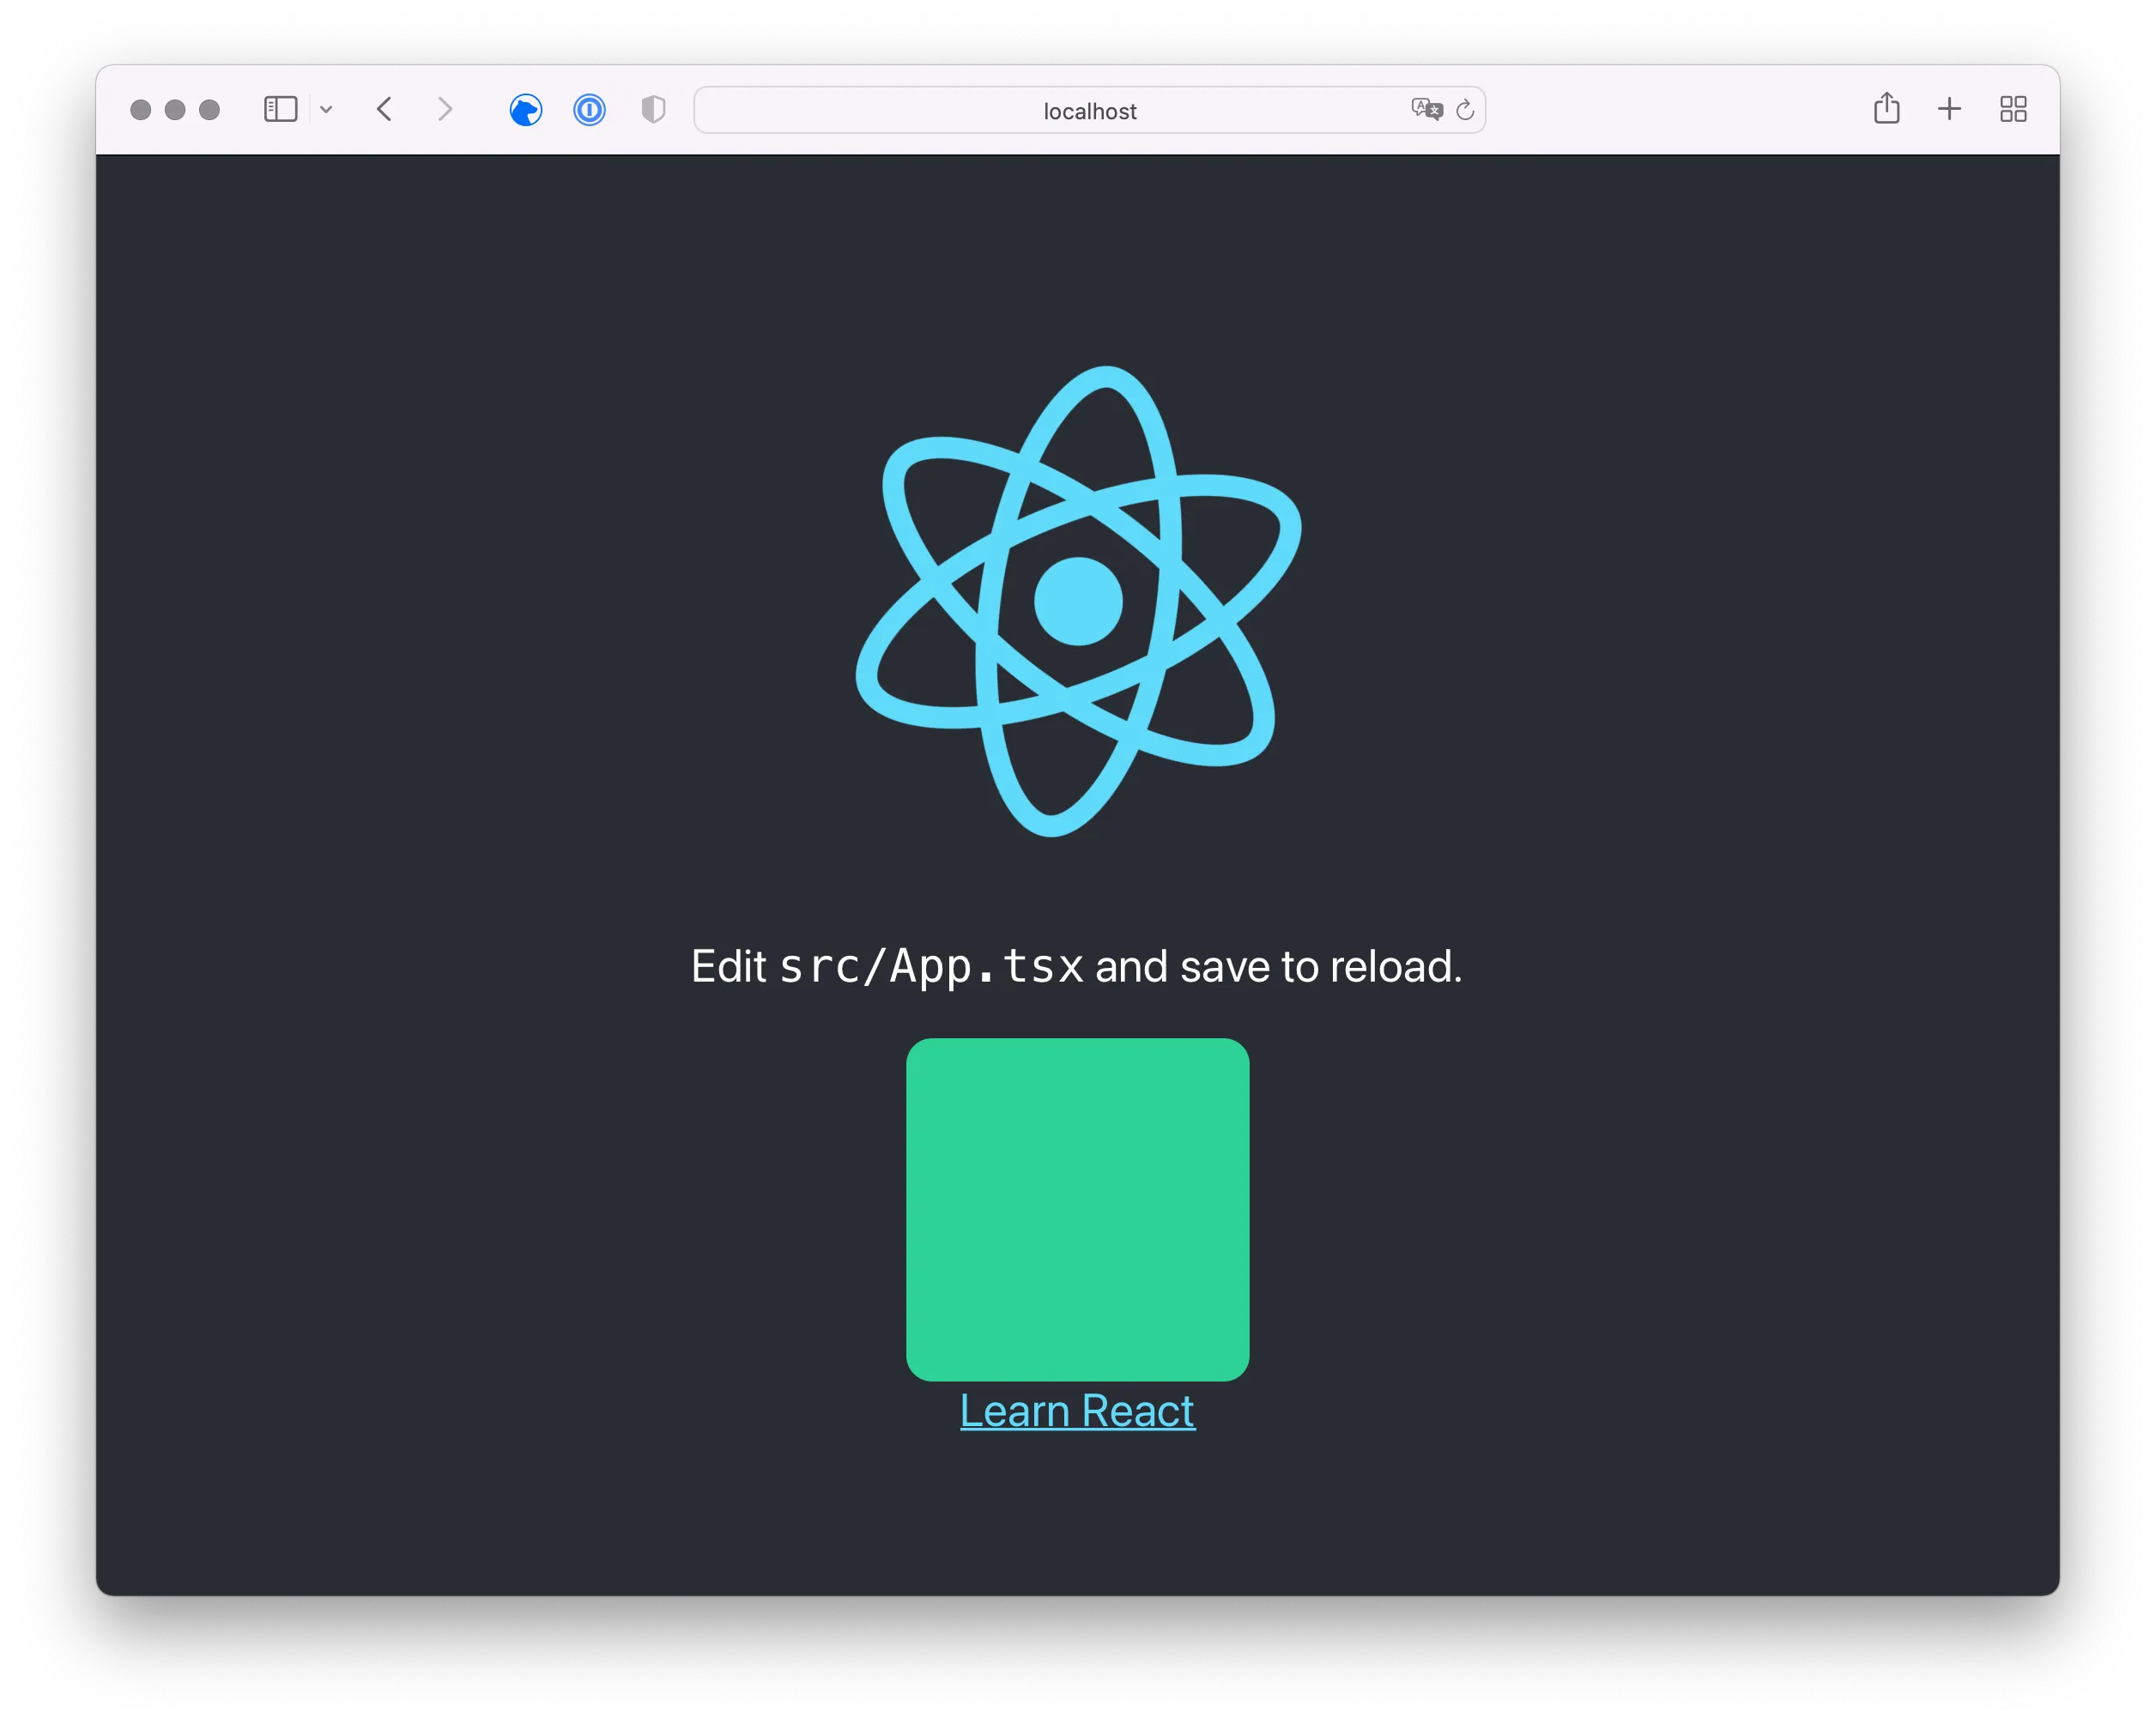
[...]Start the local webserver again and you see your Figma component!
$ > npm start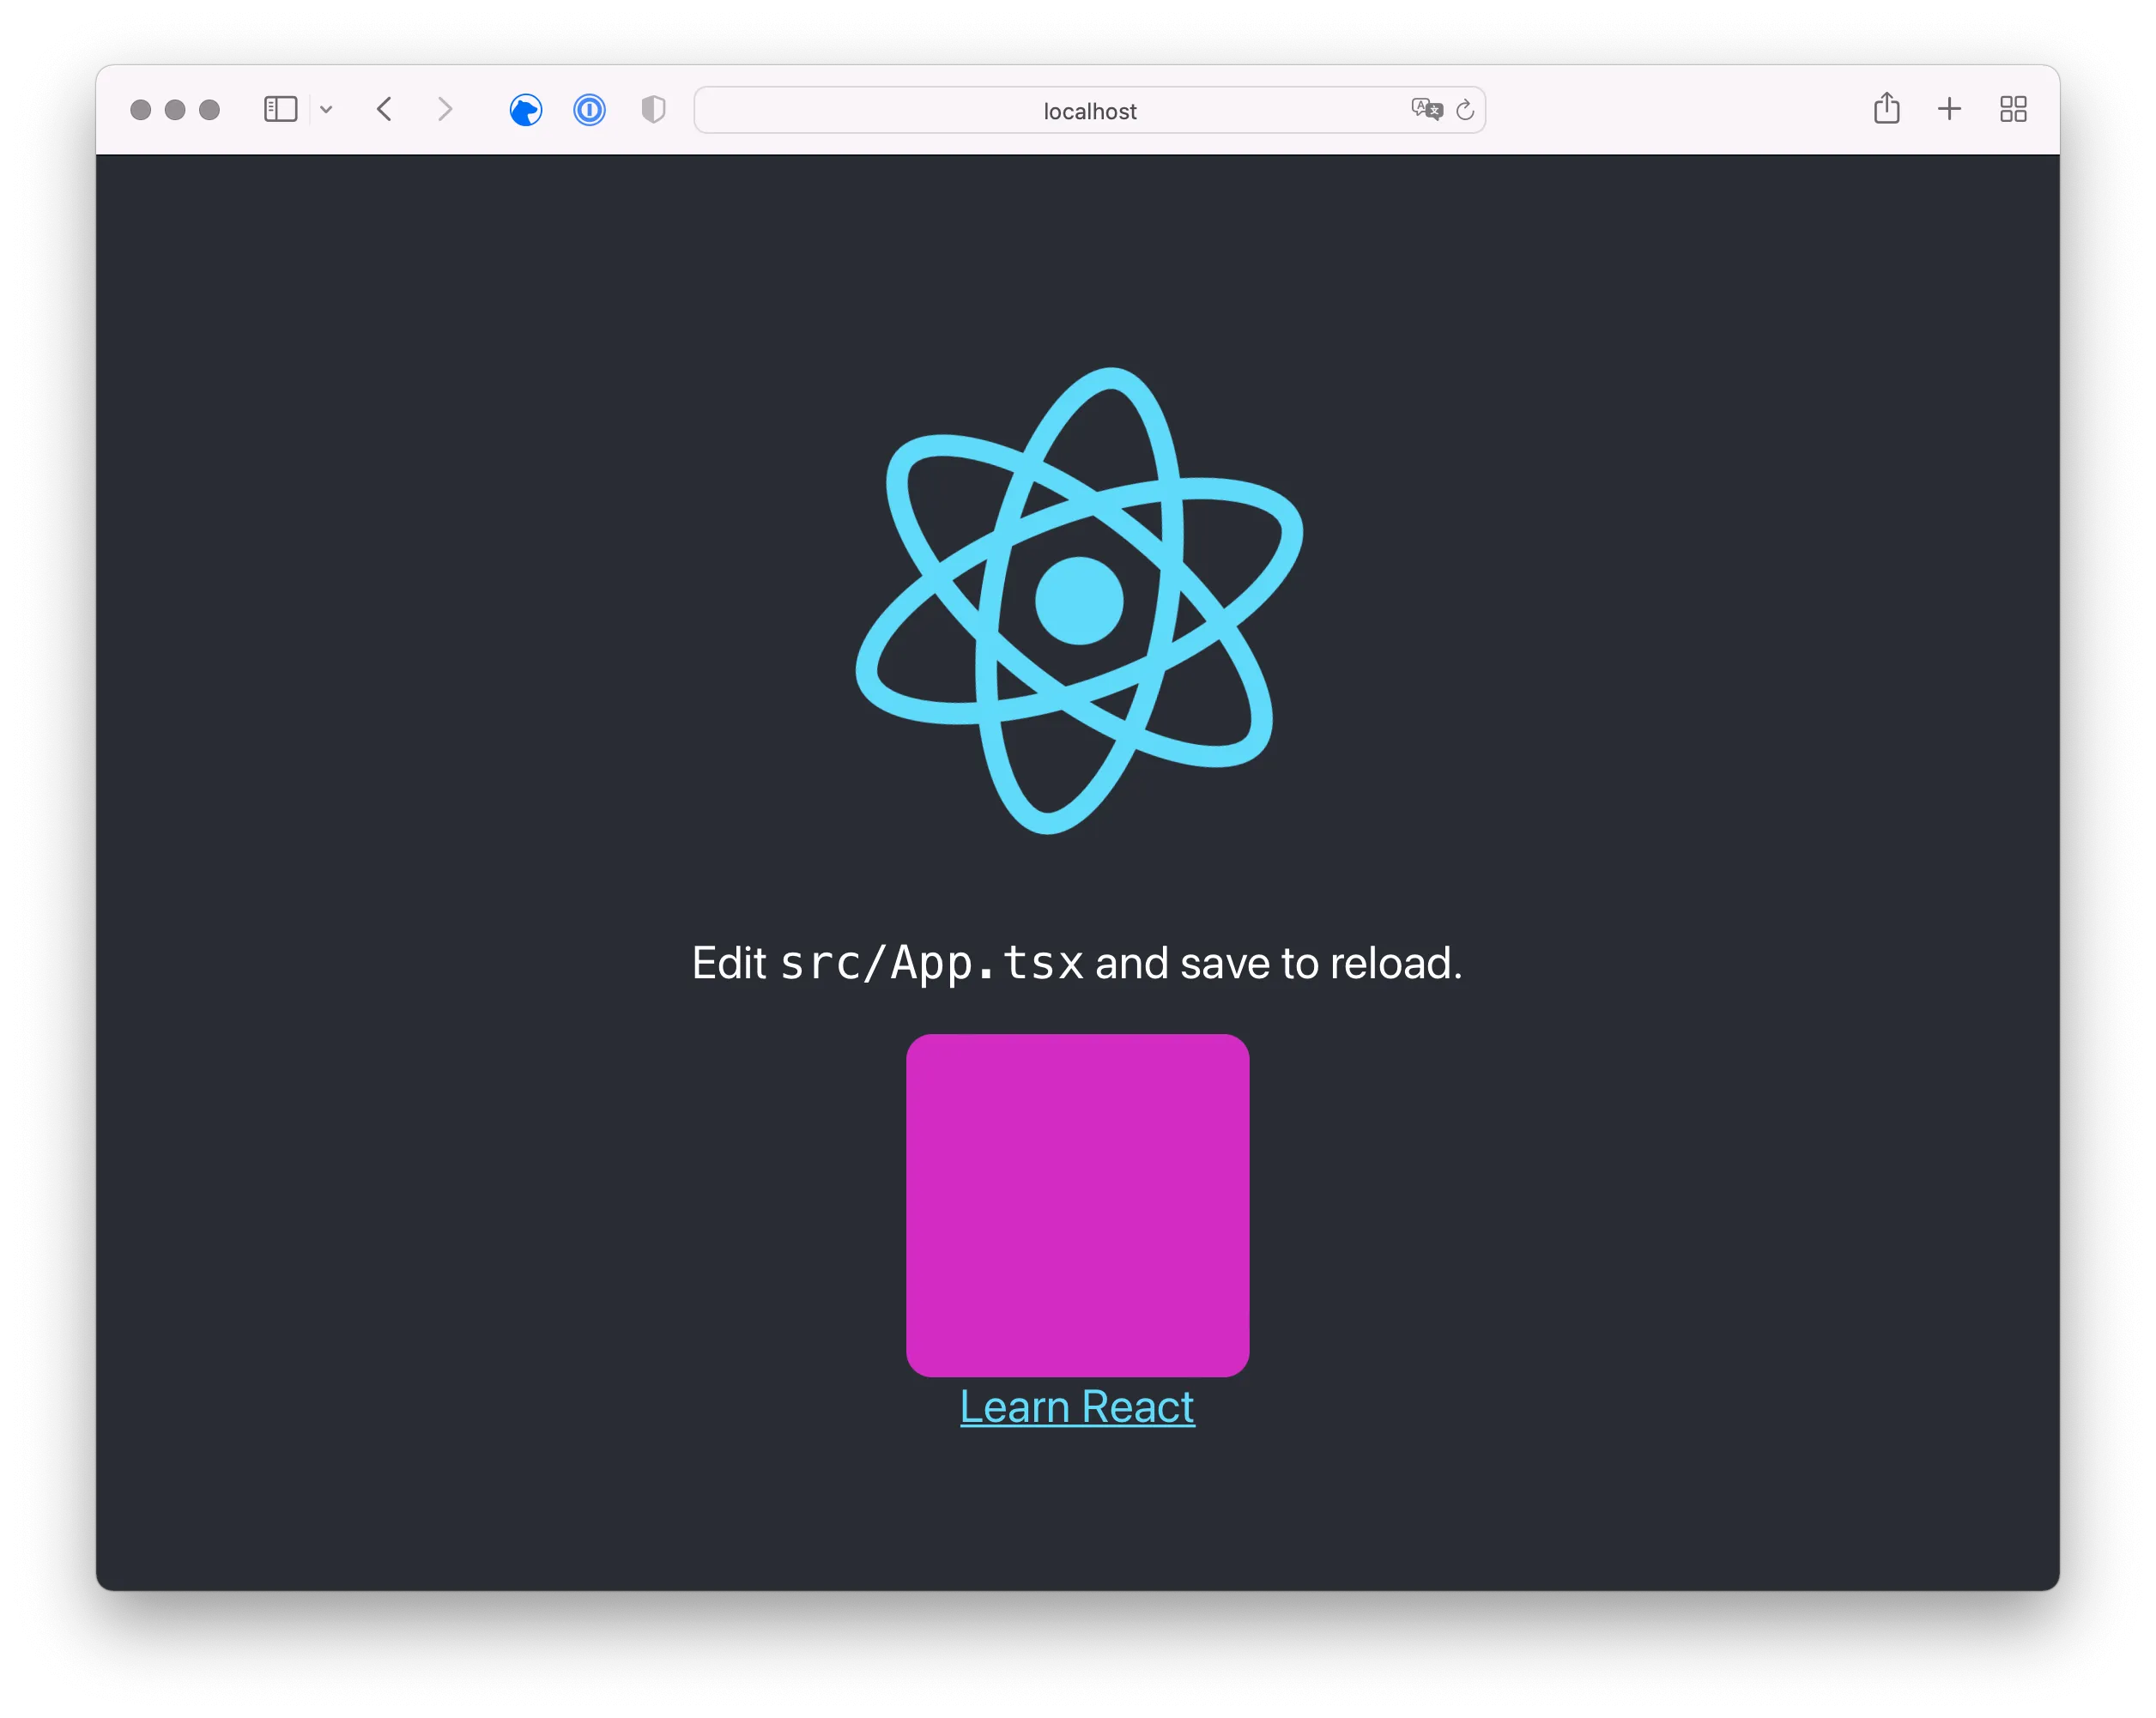
Update Component
One benefit of having an UI Library is to easily integrate changes and updated components. Head back to Figma and change the rectangle’s background color.
In AWS Amplify Studio, check the UI Library again and select Sync with Figma to check for updates in your components.
AWS Amplify Studio shows you a preview of your changes and - of course - asks you to Accept or Reject them again. You can either check on every component individually or Accept all using the orange button.
After accepting all changes, you need to pull the updated components using the AWS Amplify CLI and download them to your local project.
# Pull changes from AWS Amplify Studio
$ > amplify pull --appId f41ody12kcnw5p --envName staging

# Start local web server
$ > npm start
When you start the local webserver again, you will notice the changed background color!
This covers all basic steps needed to integrate and update a UI Library using Figma Components and AWS Amplify Studio for your React Application. Have fun!
Done! 🎉